Walking the Fields (Recipe: Hand-Rolled Pasta with Crab and Tomatoes

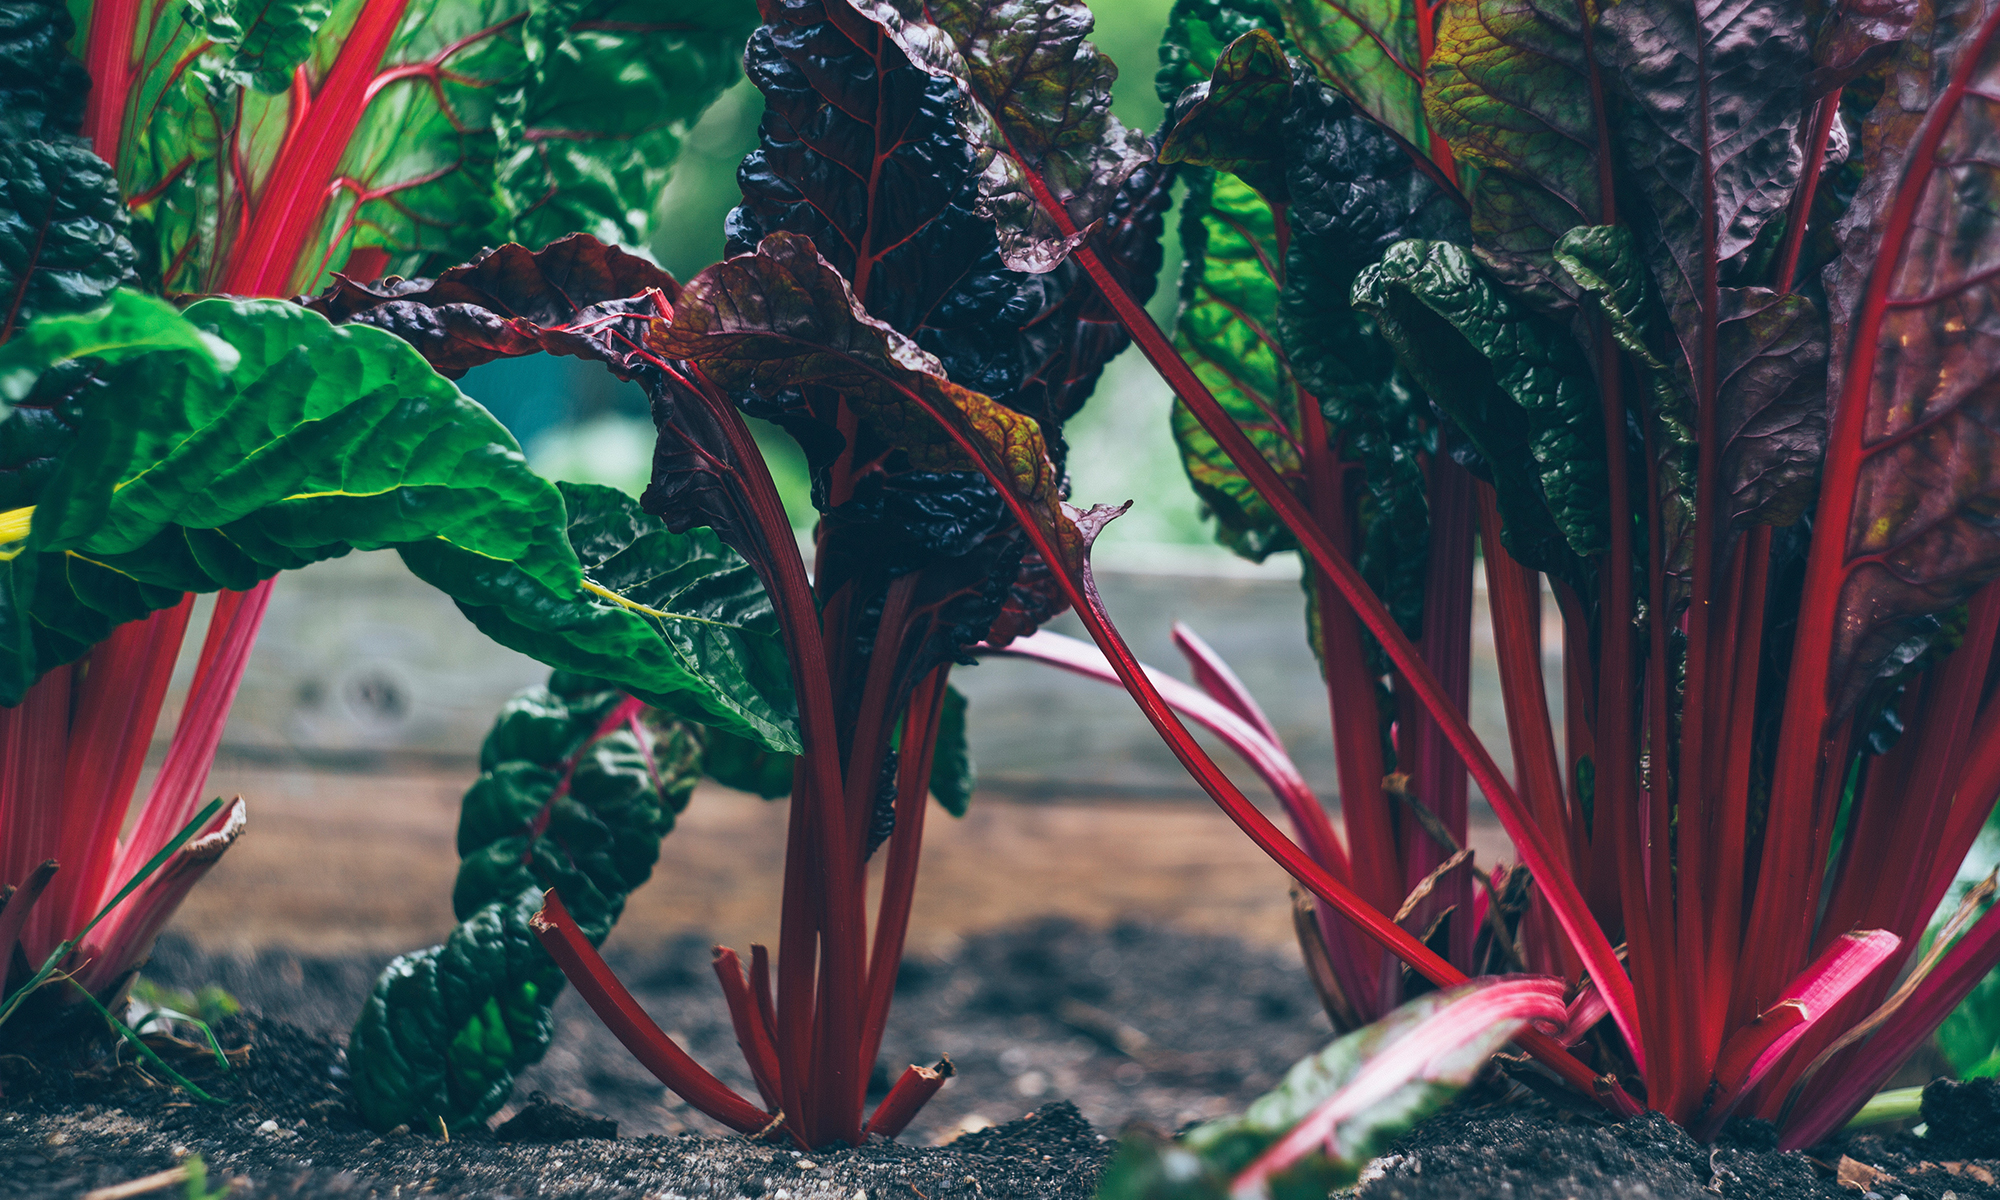
When I arrive on the farm, Brett takes me on a tour of the fields– showing me where the different crops are (with a rigorous schedule of crop rotation, it changes every year), what’s in season and what’s fading.  There’s a squash bug that’s feasting away on the courge longue de nice.  The cucumbers are starting to wane.  And the cherry tomatoes are just going crazy. He takes me into the packing room.  Crates and crates of tomatoes, eggplants, potatoes and melons are stacked high.

I also have time to ask my gardening questions… the aphids on my kale and Brussels sprouts continue to plague me.  I’ve tried (organic) sprays, planting marigolds in between the rows and releasing lady bugs onto the plants to eat the aphids.  Nothing seems to work.  Brett suggested that I have too much nitrogen in my soil.  This makes sense since I tend to add a decent amount of compost to my soil every year because I don’t have the space for crop rotation. 

After all these years of visiting the farm, I have my own routine.  The first few days are focused on canning tomatoes.   Brett has set aside cases of tomatoes for me, and I start cutting them up.  Halved tomatoes for smoking and chunks for stewing.  A separate container of tomatoes get a very coarse chop and are destined for ketchup. 

Once the tomatoes are ready for cooking, Brett lights a fire under the 100 gallon kettle.  I cook the tomatoes in batches.  And while they’re simmering, we start another fire under the canner – a flat-bed kettle that will hold about 100 canning jars and enough water to cover them. 

Despite the plethora of tomatoes and the canning capacity of the farm’s outdoor kitchen, I only can about 60 jars of tomatoes.  I make 6 gallons of ketchup, but only take 1 gallon for my own stash.  I leave the rest for Brett and his crew.
Canned-tomatoes-2011
With the canning out of the way, I fall into a more lazy routine.  In the morning, I do my work – catching up on email, writing. I fix the crew’s lunch.  I pick okra in the afternoon.   Around 3pm, Brett heads back to the house, fixes us a few cocktail and we head over to the Bay to check on the crab pots.  Even with the warm weather, a few male crabs find their way into the pots every day.  The crabs make a great afternoon snack while I’m fixing dinner.  But when they become abundant, I shell the meat and make them into a meal.

Pasta-with-crab-and-tomatoe

Pasta with Tomato-Crab Sauce
4 live blue crabs
1 tbs. chopped garlic
1 small onion or shallot, peeled and chopped
¼ cup white wine
2 cups chopped or jarred tomatoes
1 – 2 eggplant cubed
1 tbs. butter
1 tbs. fresh basil
Salt, pepper and lemon juice to taste
¾ pound fettuccine (I rolled my own pasta)
Canola oil

1.    Scrub the crabs clean under cold water.  Dry on a paper towel.
2.     Heat a large skillet over high heat.  Add the oil and then the crabs, upside down.  Let the crab shells toast in the oil for a few minutes.  
3.    Add the onions and garlic to the crab pan and cook for 2 minutes until they begin to soften.  Then add the white wine and tomatoes.  If the pan seems dry, add 1/3 cup of water too.
4.    Cover the pan and let the crabs steam for about 5 minutes.  Remove crabs from pan, making sure to scrape off and save the tomatoes.
5.    Let the crabs cool and remove the meat.
6.    Cook the eggplant:  season cubes with salt and pepper.  Heat a large skillet over high heat.  Add a tablespoon of olive oil and then the eggplant.  Let sit for a few minutes so the eggplant can brown.  Toss and continue cooking until eggplant is tender.  Set aside.
7.    Bring a large pot of salted water to a boil.  Cook pasta for 1 minute less than the package instructions
8.    While pasta is cooking, toss the crab meat and eggplant with the tomato sauce.  Add a pat of butter, basil. Season to taste with salt, pepper and lemon juice.
9.    When pasta is done, drain.  Toss pasta with sauce.

From the farm: tomatoes, eggplant, basil, eggs
From the bay: crabs

Totally From Scratch Lasagna

Lasagna

My friend Lydia asked if I would lead a lasagna cooking class as a fundraiser for her non-profit Drop In and Decorate.   Though it doesn’t fit into my usual style of teaching cooking of preparing more refined recipes, I love the idea of building lasagna from scratch.   Lasagna from scratch can seem like an overwhelming task, but each of its components is pretty straightforward – pasta, ricotta, mozzarella and Bolognese sauce.

This is a perfect example of the whole being greater than the sum of its parts. 

Even with 45 minutes of baking, the fresh pasta retains its toothsome texture.  Homemade ricotta with fresh basil brightens each bit with its lemony tang.  And the mozzarella adds creaminess.  The rich Bolognese sauce lends a surprising lightness to the dish, perhaps from the minimal tomato product.

The net result is much lighter than the lasagnas I’ve been served in the past; satisfying without being heavy. 

Totally From Scratch Lasagna
I have previously posted recipes for each of the components on my blog.  Click on the links for more details.
 
2 cups ricotta
1 egg
2 tbs. plus ½ cup parmesan
1 tbs. fresh basil
pinch fresh nutmeg
3 tbs. butter
3-6  Sheets Fresh Pasta (use equal parts semolina and flour)
Bolognese Sauce
Fresh Mozzarella, thinly sliced or grated
Olive Oil
Salt and Pepper
 

1.    Bring a large pot of water to a boil.  Cook pasta sheets for 2 minutes.  Drain well, and toss with olive oil
2.    Mix ricotta with egg, 2 tbs. parmesan, basil, nutmeg, salt and pepper to taste
3.     Brush the bottom of lasagna pan with butter
4.    Spoon about 1/3 cup sauce on the bottom of pan. 
5.    Cover with a layer of pasta, overlapping slightly.  Spread a heaping 1/3 cup of ricotta mixture evenly over noodles.  Spread ¾ cup sauce evenly over cheese.  Spread a layer of mozzarella over this.  Layer pasta and then repeat process 2 or 3 more times.
6.    Sprinkle remaining parmesan on top.  Bake at 400 for 45 minutes.  Let stand for 5 minutes before slicing and serving.

No Bones About It (Pasta with Crabs and Tomatoes

Crab-pasta
So much flavor comes from the bones of meat, fish and the shells of crustaceans.  Resourceful chefs learned this long ago, and reserve what otherwise might be discarded to make flavorful stocks and sauces.

Many recipes suggest cooking meat and fish on the bone as another way to preserve some of that flavor.  Though, most bones aren’t palatable, they are easily removed (and discarded) once a dish is cooked. With a roast chicken, for example, you can just carve the meat off the bone before serving. 

With lobster, crabs and shrimp, I’ve seen chefs cook them first, remove the meat and then use the shells to make a stock.  While this maximizes every ounce of flavor, it requires many steps – cooking the lobster separately, then making the stock, and then using the stock to flavor a sauce.

A few weeks ago, whilst visiting a friend on the eastern shore of Maryland, I saw an ingenious way of simplifying this process.  He put live crabs in a skillet, toasted the shells and then added the remaining ingredients for his sauce.  The crab meat had the benefit of being cooked in the shell and the sauce had the benefit of crab shells cooking in that.  Brilliant!

Crabs-cooking-in-sauce

When the crabs were cooked, he removed them from the sauce, shelled the meat and added it back.   This technique would work well with any shellfish.

Pasta with Tomato-Crab Sauce

4 live blue crabs
1 tbs. canola oil
1 tbs. chopped garlic
1 small onion or shallot, peeled and chopped
¼ cup white wine
2 cups chopped or jarred tomatoes
1 tbs. butter
1 tbs. fresh basil
Salt, pepper and lemon juice to taste
¾ pound fettucine

  1. Scrub the crabs clean under cold water.  Dry on a paper towel.
  2.  Heat a large skillet over high heat.  Add the oil and then the crabs, upside down.  Let the crab shells toast in the oil for a few minutes.  
  3. Add the onions and garlic to the crab pan and cook for 2 minutes until they begin to soften.  Then add the white wine and tomatoes.  If the pan seems dry, add 1/3 cup of water too.
  4. Cover the pan and let the crabs steam for about 10 minutes.  Remove crabs from pan, making sure to scrape off and save the tomatoes.
  5. Let the crabs cool and remove the meat.
  6. Bring a large pot of salted water to a boil.  Cook pasta for 1 minute less than the package instructions
  7. While pasta is cooking put the crab meat back in the tomato sauce.  Add a pat of butter, basil. Season to taste with salt, pepper and lemon juice.
  8. When pasta is done, drain all the liquid except ¼ cup.  Toss pasta with sauce.


Serve immediately.

Special thanks to Daniel for taking photos, and to Richard and Michael for an amazing meal and weekend!

When Summer and Fall Collide

Salad-and-pasta

This week, I’ve harvested cucumbers, tomatoes and eggplant in plentiful numbers. And I also plucked a late planting of radishes and cut my first salad for the fall. The window when summer and autumn collide is small, but the bounty is intoxicating.

As simple as it sounds, I couldn’t resist just making a minimally dressed garden salad with arugula, tat soi, cucumbers, tomatoes, radishes and basil. The radishes were still a bit spicy, but sliced thin they had just enough kick to play well with the tomatoes and cucumbers. A drizzle of olive oil and lemon juice was superfluous.

I think of Bolognese as hearty autumnal cooking. But with the plethora of summer tomato sauce this seemed like the perfect accompaniment to my salad. I added ground meat, carrots, celery, onions and garlic to the tomato sauce and let it simmer for an hour. And for my facebook friends — yes, I did make my own pasta even though the humidity was crushing.
Pasta-bolognese
Here's the link to the Bolognese Sauce, previously posted.

Here's the link to the pasta recipe, also previously posted.  And step by step photos to make your own pasta.


Impatient Gardener (Recipe: Pasta with Young Garlic, Tomatoes and Basil)


Green-garlic-pasta
I’ve developed a strategy for crop rotation that, up until this year, has been pretty successful. I plant lettuces and spring crops in half the yard and then the summer crops in the other half. When the spring crops wind down, usually in late June, I prep the soil and get it ready for the fall crops which go in in August.

This year, I have a problem. I planted garlic for the first time with the notion that I would harvest the bulbs in late May/early June, just in time for the summer crops to go in. The stalks were looking thick, so I thought I’d pull one up to see how it progressed. It looks closer to a leek than a garlic bulb. They will need at least a month more. 

Green-garlic2
The garden is quite full right now. Summer veggies that are already planted: celery, leeks,  kale, beets, broccoli, brussels sprouts. The spring veggies that will be harvested over the next few weeks: lettuce, radishes, strawberries and the questionable garlic.
If I want to plant tomatoes, cucumbers and eggplant, something has to go.

I’m not sure what I will do… which would you sacrifice?

In the meantime, I couldn’t let the young garlic go to waste… I rolled out fresh pasta and tossed it with tomatoes, arugula and shrimp. 

Green-garlic-pasta3

From the garden: garlic, arugula, basil and tomatoes.

Pasta with Young Garlic, Tomatoes and Basil

1/2 pound shrimp, peeled and deveined
1 tbs. olive oil
1 stalk young garlic chopped, or two cloves chopped
1/4 tsp (or more) chili flakes
1 – 15 oz. canned tomatoes
1/4 cup white wine
1 tbs. fresh (or frozen) basil
1/2 pound fettuccine

  1. Bring a large pot of water to a boil. Season generously with salt.
  2. Season shrimp with salt and pepper. 
  3. Heat olive oil in a large skillet over medium heat.  Add garlic and cook for 1 minute until it softens.  Add shrimp and chili flakes and cook for 2 minutes until it begins to turn pink.  Add white wine and tomatoes, continue cooking until tomatoes thicken and shrimp cook through.  If the sauce seems thin, but the shrimp are cooked, pick them out and set them aside.
  4. Cook pasta according to package direction, but for 1 minute less.   When pasta is cooked, drain and toss with tomatoes.
  5. Mix in basil. Season to taste with salt and pepper.

Carbo-Loading (Recipe: Spaetzle)

 Spaetzle2

The Boston Marathon is just around the corner and the elite athletes are tapering their running and increasing their carbs. Our bodies take longer to break down complex carbohydrates, thus giving runners more sustained energy.

I won’t be running the marathon this year (nor have I ever, or likely ever will), but in solidarity with my fellow Bostonians, I will carbo-load with them.
One of my favorite starchy side dishes in spaetzle, a German boiled dumpling made with flour, eggs, milk and salt. It couldn’t be easier to make, but it’s a bit of a mess to clean up which is probably why I don’t make it more often.

Though, I usually serve spaetzle with chicken picatta, last night’s dinner was focused on cooking from the larder. I still have a hefty stash of tomatoes from last summer. Since I’m in the home-stretch until I’m knee-deep in tomatoes again, I’ve become more reckless using them in recipes. Some leeks in the crisper drawer were not looking so crisp. I further softened them in butter… the richness of the leeks played well with the spaetzle and offered a nice counterpoint to the acidic brightness of the tomato sauce.

Spaetzle
Spaetzle

Spaetzle can be adorned with fresh herbs (such as scallions, basil or sage) or spices (nutmeg is most common). I prefer mine plain.

2 cups flour

2 tsp. salt

¾ cup milk

3 eggs

1 stick butter or 1 cup chicken broth or a combination of the two.

1. Whisk flour and salt together.

2. In a separate bowl, whisk eggs until well beaten, combine with milk. Spaetzle3

3. Whisk flour with egg/milk mixture for about 30 seconds, or until just combined. Alternatively, mix in a food processor for 15 seconds. Let rest. 

 
4. When water boils, push spaetzle dough through the spaetzle maker. (You may need to cook them in batches, depending on the size of your pot). Wait until they float to the top and cook for 1 minute more. Scoop out with a slotted spoon and put in butter broth dish.

 Spaetzle5
Spaetzle6

Winter Break (Recipe: Brussels Sprouts ” Carbonara ” )

Perhaps my biggest gardening challenge is that I want to grow more vegetables than I have room for in my tiny little patch. The upshot is that I crowd my plants, trying to squeeze as much in as possible, and my vegetables tend to be smaller since they don’t have as much room to spread out and grow.

So my plants are smaller than the “supermarket size” benchmark. As I harvest throughout the season, I try to thin the plants so that the survivors will have more room to grow. And I try to hold out and wait until the vegetables get bigger. With Brussels sprouts, I have an additional challenge: the weather. I want them to get decent sized, but also survive a few day frost to help sweeten these petite cabbages.

This year, winter arrived with a vengeance, and I didn’t have a chance to harvest all the Brussels sprouts before they were buried in a layer of snow. And while the snow melted off the plants, they never fully defrosted so that I could cut them off the stock… until this weekend.

I had about a 5 hour window on Saturday, after the temperatures had been above freezing for 2 days and the plants had thawed, and before the next cold front passed through. I harvested enough for a delightful meal. The rest will wait until the next thaw.

Brussels Sprouts “Carbonara”
I had intended to make a carbonara style pasta dish, substituting Brussels Sprouts for the spring peas. But as I rummaged through the refrigerator, I discovered I had run out of bacon. I did have smoked chicken in the freezer, so I added that instead – giving the dish a meaty, smoky, rich flavor. And in an attempt to keep my diet healthy, I added just a few tablespoons of cream to keep the pasta moist, but didn’t make it rich and gooey as is more traditional.

½ pound pasta
2 chicken thighs, smoked, or two slices of bacon, diced
Brussel sprouts
2 tbs. olive oil
2 garlic cloves, ch
Pinch chili flakes
3 tbs. cream
Freshly grated Parmesan cheese – at least 1/4 cup, but use more if you’d like.
Salt and pepper to taste.

1. Preheat the oven to 425F. Bring a large pot of water to a boil. Season generously with salt.
2. Meanwhile, cut Brussels in half. Toss them with olive oil (or bacon if using), salt and pepper. But them in the oven to roast for 15 minutes.
3. Boil pasta for 1 minute less than the package instructions.
4. After the Brussels have roasted 15 minutes, toss them with garlic and chili flakes. Return to oven for an additional 5 minutes to toast the garlic.
5. Drain pasta. Toss with cream, Parmesan. Add chicken and Brussels. Adjust seasoning with salt and pepper (and lemon juice)

I'm submitting this to January's "Grow Your Own" round-up.  Originally, started by Andrea of Andrea's Recipes, Nate and Annie have picked up hosting responsibilities.  

The Economics of Cooking

If I recall correctly from my micro-economics class, pricing in a competitive marketplace is set by “supply and demand”. A greater demand for a product will command a higher price. And by contrast, a greater supply will lower the price. The supply and demand model finds the equilibrium between these two forces to set the price. Whole Foods is defying all models by selling beef tenderloin for $28 (!!) a pound. How could there possibly be any demand at that price??

Certainly no demand from me, despite a craving for the buttery texture and flavor from this prime cut.

Instead, I found an alternative source for beef tenderloin (a local place like Costco). The only hitch is that I have to purchase the full cut and trim it myself. At $10.50 per pound, it seemed worth the “extra” effort. It doesn’t take much to trim a beef tenderloin – I need to pull of the chain (a side muscle that is not as tender, but plenty flavorful), and trim off the silver skin – a thin, shiny membrane that covers the muscle. When it’s cleaned, I cut it into individual portions. And now that I’ve cleaned out the freezer a bit, I have room for more “leftovers.”

photo credit: Scott Phillips

The silver skin goes into the dog-bowl, and the chain goes into the meat grinder. In the end, it cost me $15 per pound for fully trimmed beef tenderloin, with a bonus pound of ground beef.

The beef tenderloin was used for the Beef En Rollo. I added the ground beef to a jar of tomato sauce for a quick Bolognese.

If you look closely at the photo, you may notice two kinds of pasta in the bowl – fusilli and orecchiette. I had about a half serving of pasta in each box. In the spirit of using up leftovers, I combined the two. Of course, they didn’t cook at the same rate… the orecchiette required 14 minutes, and the fusilli 12. So I put the orecchiette in the boiling water, set the timer for 2 minutes, and then added the fusilli. From there, I cooked it 11 minutes more. Yes, that’s one minute less than the recommended cooking time. I like to finish cooking the pasta in its destination sauce – I find the pasta absorbs more of the flavor and the sauce clings better.

Grow. Kale. Eat. (Recipe: Spicy Fideos)

Fideos1

Given the amount of kale I’ve been cooking lately, I think I should rename my blog, “Grow. Kale. Eat.”

It’s hard to ignore the bushy plot of kale chugging along by the edge of the driveway. I see it every time I pull in. And when I think about cutting back on my grocery bill (you really would be shocked how much one person can spend!), it’s hard to justify purchasing other vegetables when I have so much in my garden. Unfortunately, right now, I just don’t have the variety. The Brussels sprouts are slow to come in, the salad greens aren’t yet producing enough to make a suitable salad, and the leeks just don’t quite count as a serving of vegetable for me.

So I’m eating lots and lots of kale.

When cleaning out my office the other day, I stumble across a recipe from Oleana that I had been intending to make for years! I live just down the street from this James Beard award winning restaurant, and for a while it was practically my second dining room. The Spicy Fideos dish is still one of my favorites! Reading the recipe, it calls for Swiss chard… I decided that Kale would be a suitable substitute, and into the kitchen I went.

The recipe reminds me of Mexican mole (with chocolate and chilies) and Thomas Keller’s Vanilla-Saffron Sauce. It blends all the intoxicating flavors and aromas of both into one luscious broth. The broth is then used to cook the kale, chick peas and noodles.

A few thoughts on the recipe: It recommends cooking the noodles directly in the broth. Too me, the broth became too gummy. I would recommend cooking the noodles for half the recommend time in salted boiling water (you should read Lydia's post about cooking pasta, GREAT tips) and then finish cooking them in the broth. The dish can become quite spicy with the anchos chilies. Because I was serving a few toddlers, I decided to omit the anchos and just added a pinch of cayenne to give it a little depth. And I used my first can of tomatoes for this recipe.

One other digression before I give you the recipe: A while back, I started a list of my ten favorite dishes from Boston-area restaurants. I got distracted, and never gave you my last 2 picks. Well, my friends, this is #9!

Spicy Fideos
(Adapted from Spice: Flavors of the Eastern Mediterranean by Ana Sortun)

1 tbs. canola oil
1 small onion, peeled and chopped
1 carrot, peeled and chopped
3 cloves garlic, peeled and chopped
Pinch of saffron
¼ cup white wine
1” piece of vanilla bean, split in half
½ tsp. coriander
½ tsp. ground fennel
1 ancho chili (substitute a pinch of cayenne for a milder sauce)
1 can tomatoes
½ tbs. cocoa powder
4 cups water
1 can chick peas
1 bunch kale or Swiss chard
½ pound angel hair pasta or fideos
Salt and pepper

1. In a large pot, add oil. Sauté onions, garlic and carrots until they begin to soften. Add saffron, vanilla, coriander, fennel and chili. Cook for 1 minute more to aromatize the spice.
2. Deglaze pan with wine and add tomatoes, cocoa powder and water.
3. Reduce heat to a simmer and cook for 35 minutes or until vegetables are very soft.
4. Meanwhile, wash kale, and chop.
5. Bring a large pot of water to a boil. Season generously with salt. Crush noodles with your hands. Cook noodles for half of the recommended package time. Drain, rinse under colder water and set aside.
6. Remove vanilla bean. Let broth cool to room temperature (otherwise pureeing it will be challenging)
7. Puree broth until very smooth.
8. Return broth to the pan and reheat. Season to taste with salt and pepper. Add the greens, chick peas and noodles. Cook until the greens are wilted and tender, about 5 minutes.

August Will Come

Ricotta-ravioli2 "Midnight will come tonight as it does every night." Those were Frank King's famous words as he pranced through the kitchen I was working in —they were meant to be a comfort as we cooked as fast as we could on a busy Saturday night. At 8 o'clock, I could not see beyond the five skillets I was juggling on the stove-top and as many in the oven. Stacks of plates awaited roast chicken, seared foie gras and soft-shell crabs.

As I look out the window at the gray skies, I think of Frank, slightly modifying his famous words, "August will come as it does every year."

Last summer, I canned 24 quart jars of tomatoes, which I have judiciously used over the winter. With August just around the corner, I know I will soon again be knee deep in the coveted summertime queen of the garden. I’m more brazen using the last few jars of tomatoes in my cooking.

This week, I made ricotta ravioli, served atop garden kale and tomato coulis. The pea greens on top also came from the garden. Alas, I did not have much for more than a garnish.…

Ricotta Ravioli with Tomato Coulis

Filling:

1 ½ cups fresh ricotta
¼ cup parmesan
2 tablespoons fresh basil
Salt and pepper to taste

1. Mix everything together.

Pasta dough:

2 ¾ cups unbleached all-purpose flour, plus ¼ cup for dusting
4-5 large eggs as needed
1 tbs. olive oil
1 tsp. salt

1. Sift 2 ¾ cup flour onto a clean counter. Make a well in the flour, and add 4 of the eggs, olive oil and the salt.
Pasta-dough-1

2. Beat the eggs with a fork, gradually bringing in the flour from the sides of the well, until the paste has thickened enough so the liquid will not run onto the counter. Switch from a fork to a pastry cutter. Bring all the flour into the already wet part and cut through the dough several times until it is evenly moistened. Start kneading with your hands until the dough forms a ball and looks homogenized, about 8 minutes.
Pasta-dough-2
Pasta-dough-3
Pasta-dough-4
3. If the dough becomes stiff, and refuses to bend, rub in a little of the remaining egg. If the dough becomes too moist, add a bit of the flour.

Work the dough by machine:

4. Divide the dough into 3 balls, and let rest under a damp towel for 20 minutes. (This is a good time to make the rest of the recipe). Start working the dough through the pasta machine starting with the widest setting. After running it through the machine, fold it into thirds, and run it through again. When the dough is smooth, run the dough through the machine through successively small settings. The dough will stretch out, and be rolled very thin.

5. When you have achieved thin sheets, you can let the dough rest for a few minutes before filling and cutting. Use the remaining egg as glue for the ravioli sheets to stick together.

Tomato Coulis
1 tablespoon butter
1 tablespoon chopped shallots
1 – 16 oz. can best quality tomatoes
¼ cup white wine

1. Melt butter in a small saucepan over medium heat. Add shallots and cook for 3 minutes, or until soft. Add tomatoes and white wine.

2. Cook tomatoes until much of the water has evaporated.

3. Puree tomatoes in a blender. Season to taste with salt and pepper.