Creamy Polenta with Fresh Tomatoes

Creamy-polenta
At Restaurant Nora (my first job out of culinary school 17 years ago), I worked the grill station. I was responsible for cooking and plating any entrée that was grilled as well as the vegetables that garnished the entrees from the sauté station. On a usual night I was responsible for 5 of the 10 entrees. By my rough calculation, I cooked 65% of the 200 main dishes that went out of the kitchen. Oh, and I was also cooked the staff meal. I would serve 10 – 12 plates of left-over chicken, steak or fish from the previous night. The waiters swooped into the kitchen to grab their meals. I had no time to eat as I was busy setting up my station.

On one night, Nora decided to test my muster, and assigned to my station nine of the ten entrees. Effie, the sauté cook, had far more experience than me, but could only watch as I spun in circles trying to keep up with all the orders. He helped when he could, but unfortunately, there just wasn’t enough room behind the grill for both of us.

As the orders began to wind down, I fixed myself a little snack: one of my favorite meal — creamy polenta with steamed carrots and demi-glace on top. It was satisfying without being heavy.

I still love creamy polenta, even though it reminds me of the abuse at Nora’s. I guess it’s that good! With the bumper crop of tomatoes from the garden, I’m using them as a sauce, taking a departure from the Nora days.

Creamy Polenta with Fresh Tomatoes
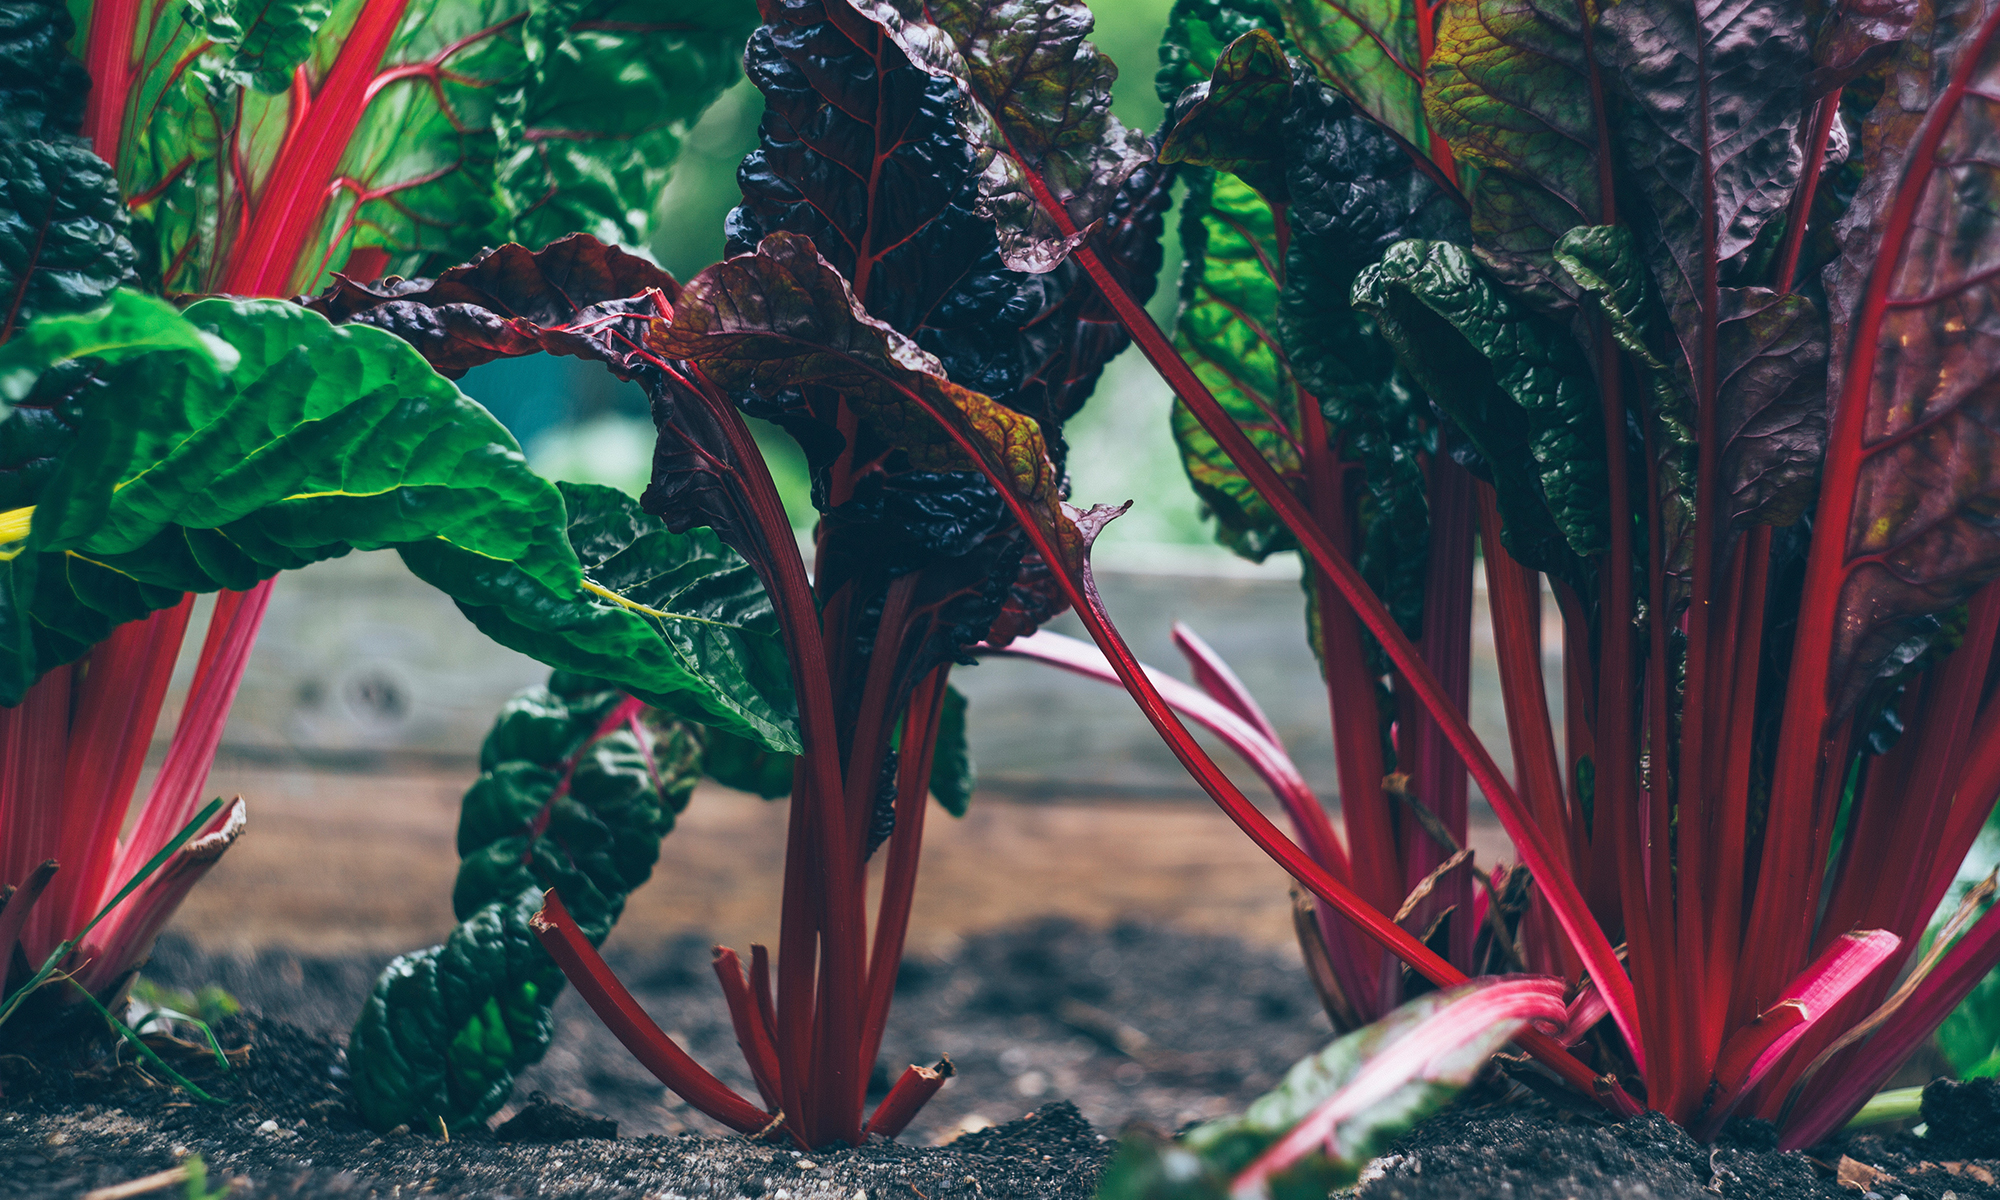
Most recipes for polenta suggest a ratio of 4 parts liquid to 1 part polenta. For my taste, the polenta gets too firm. I prefer a 6:1 ratio. And given the continued abundan ce of kale in my garden, I could help but sauté a bunch with garlic for a garnish.
Creamy-polenta-with-kale

3 cups liquid: any combination of chicken stock, water, or milk. I prefer 1 cup of each
½ cup coarse corn meal (grits or polenta, do not use instant)
1 tsp. salt
½ tsp. pepper
½ cup freshly grated parmesan or asiago cheese

1-2 tbs. butter
1 large garlic clove, minced
1 small shallot, minced
4 tomatoes, cut in half, seeds removed and diced
¼ cup white wine
Salt and pepper to taste

1. Combine the liquid in a pot with salt and pepper. Bring to a boil. Reduce heat to a simmer and whisk in polenta.

2. Continue whisking polenta until it starts to thicken. Then switch to a wooden spoon or rubber spatula. Stir frequently, being sure to scrape the bottom. Continue cooking for 20 minutes.

3. Meanwhile, start the tomato sauce: Heat a large skillet over medium high heat. Add the butter. When it’s melted, add the garlic and shallots and cook for 1 – 2 minutes… just until soft. Add the wine and tomatoes. Continue cooking for about 10 minutes, or until tomatoes start to thicken. The timing depends on how watery your tomatoes are. Season to taste with salt and pepper.

4. When polenta is tender, stir in the cheese. Serve with tomato sauce. Garnsih with basil if available

Finger Lickin’ Good (Recipe: Korean Fried Chicken)

Fried-chic1
I went to bed last night stuffed to the gills, but also a little giddy about the left-overs I’d have for lunch today. Dinner was that good!

How could I have not loved it? It was fried chicken, after all. And my love affair with fried chicken – from Popeyes to General Gau’s – is well documented. The recipe came from a recent article in the New York Times about fried chicken that showcased variations of the classic Southern as well as a Korean version.

I didn’t have the Korean chili paste that the recipe called for. But with a little research, I discovered that it is a spicy bean paste. I had sriracha (Thai Chili Paste) and sweet bean sauce (a Chinese condiment), and blended the two. I used my homemade ketchup which had a nice balance of warm spice.

I’ve struggled over the years to get my general gau’s chicken to stay crispy after it’s been tossed in the sauce. Only once did I achieve that. With this recipe, the chicken is tossed in a mix of corn starch *and* wheat flour. This made a huge difference in crisp-maintenance.

Traditional Fried Chicken is often served with cole slaw. Inspired by Cooking with Amy’s recipe for raw Brussels sprouts, I made an Asian flavored slaw with shredded brussels sprouts.

Korean Fried Chicken
Adapted from Quick and Easy Korean Cooking by Cecilia Hae-Jin Lee

Time: 30 minutes, plus one hour’s marinating

1 small yellow onion, peeled and coarsely grated
3 cloves garlic, minced
6 scallions, cut into rings
1/2 teaspoon salt, plus more for coating
1/4 teaspoon black pepper, plus more for coating
8 to 10 boneless, skinless chicken thighs, quartered
3 tablespoons Korean chili paste (gojuchang), or a blend of Chinese Bean Sauce and Sriracha
3 tablespoons ketchup
1/4 cup sugar
2 tablespoons toasted sesame seeds, more for garnish
Juice of 1/2 lemon
Oil for deep frying
1/2 cup all-purpose flour
2/3 cup cornstarch

1. In a medium-size bowl, combine grated onion, garlic, 1/2 of the scallions, salt and pepper. Add chicken and toss to coat well. Cover and set aside to marinate for about 1 hour.

2. In a large bowl, stir together chili paste, ketchup, sugar, sesame seeds and lemon juice. Taste and adjust flavors to get a spicy-sweet-tangy finish. Set aside.

3. Pour oil into a large heavy pot to a depth of 1 1/2 inches. Heat to 350 degrees. Combine flour and cornstarch in a shallow bowl and season with salt and pepper.

4. Working in batches to avoid crowding, lift chicken from marinade, dredge lightly in seasoned flour and cornstarch, gently drop into oil and fry for 5 to 7 minutes, turning occasionally, until golden brown and crisp. Drain on paper towels. Repeat with remaining chicken, checking oil temperature between batches.
Chic-frying
5. When all pieces are done, increase oil temperature to 375 degrees and refry in batches for 30 to 60 seconds, until very crisp. Drain once more on paper towels. While chicken is still hot, brush thickly with chili sauce. Serve hot, sprinkled with sesame seeds and scallions.

Yield: 4 to 6 servings.

August Will Come

Ricotta-ravioli2 "Midnight will come tonight as it does every night." Those were Frank King's famous words as he pranced through the kitchen I was working in —they were meant to be a comfort as we cooked as fast as we could on a busy Saturday night. At 8 o'clock, I could not see beyond the five skillets I was juggling on the stove-top and as many in the oven. Stacks of plates awaited roast chicken, seared foie gras and soft-shell crabs.

As I look out the window at the gray skies, I think of Frank, slightly modifying his famous words, "August will come as it does every year."

Last summer, I canned 24 quart jars of tomatoes, which I have judiciously used over the winter. With August just around the corner, I know I will soon again be knee deep in the coveted summertime queen of the garden. I’m more brazen using the last few jars of tomatoes in my cooking.

This week, I made ricotta ravioli, served atop garden kale and tomato coulis. The pea greens on top also came from the garden. Alas, I did not have much for more than a garnish.…

Ricotta Ravioli with Tomato Coulis

Filling:

1 ½ cups fresh ricotta
¼ cup parmesan
2 tablespoons fresh basil
Salt and pepper to taste

1. Mix everything together.

Pasta dough:

2 ¾ cups unbleached all-purpose flour, plus ¼ cup for dusting
4-5 large eggs as needed
1 tbs. olive oil
1 tsp. salt

1. Sift 2 ¾ cup flour onto a clean counter. Make a well in the flour, and add 4 of the eggs, olive oil and the salt.
Pasta-dough-1

2. Beat the eggs with a fork, gradually bringing in the flour from the sides of the well, until the paste has thickened enough so the liquid will not run onto the counter. Switch from a fork to a pastry cutter. Bring all the flour into the already wet part and cut through the dough several times until it is evenly moistened. Start kneading with your hands until the dough forms a ball and looks homogenized, about 8 minutes.
Pasta-dough-2
Pasta-dough-3
Pasta-dough-4
3. If the dough becomes stiff, and refuses to bend, rub in a little of the remaining egg. If the dough becomes too moist, add a bit of the flour.

Work the dough by machine:

4. Divide the dough into 3 balls, and let rest under a damp towel for 20 minutes. (This is a good time to make the rest of the recipe). Start working the dough through the pasta machine starting with the widest setting. After running it through the machine, fold it into thirds, and run it through again. When the dough is smooth, run the dough through the machine through successively small settings. The dough will stretch out, and be rolled very thin.

5. When you have achieved thin sheets, you can let the dough rest for a few minutes before filling and cutting. Use the remaining egg as glue for the ravioli sheets to stick together.

Tomato Coulis
1 tablespoon butter
1 tablespoon chopped shallots
1 – 16 oz. can best quality tomatoes
¼ cup white wine

1. Melt butter in a small saucepan over medium heat. Add shallots and cook for 3 minutes, or until soft. Add tomatoes and white wine.

2. Cook tomatoes until much of the water has evaporated.

3. Puree tomatoes in a blender. Season to taste with salt and pepper.

Bermuda Onions (Recipe: Alsatian Tart)


I used to work for a company that had over a dozen lunch-time cafes that featured sandwiches and salads. As one of the more experienced chefs within the company, I was called upon to help with new store openings and trainings. My boss assigned me to work with the deli staff and train them on the recipes. He didn’t think he needed to train me.

The signature tuna salad recipe called for Bermuda onions. Not seeing any sweet, young onions in the storage room, I grabbed a few Spanish onions and started peeling and chopping.

“Didn’t you read the recipe?” My boss asks.

“Yes, of course, " I said somewhat defensively. "It called for Bermuda onions, but there were none, so I used the yellow onions.”

“Bermuda Onions are red onions.”

What??? I had never heard that before. I had learned in cooking school that Bermuda onions were sweet onions, related to the Vidalia or Walla Walla.

Instead of researching on-line or in a food dictionary, I took a poll around the office. Everyone agreed that Bermuda onions were red onions. Still not convinced – I have a sharp memory for things like this, and I knew I couldn’t be wrong – I researched Bermuda onions.

Turns out we were all wrong (though I was less wrong). Bermuda onions fall into the category of sweet onion, whereas, the red and yellow onions are storage onions. Bermuda onions can be white or red, but are young, without the papery skin and often with the green tops still attached.

Bermuda Onion….

Red, Storage Onion….
For more about information about onions, click here. Pictures come from Cook's Thesaurus.

Alsatian Tart
Most sweet onions can be enjoyed raw in sandwiches or salads. But they also caramelize nicely making them great for classic recipes like French Onion Soup or an Alsatian Tart. I use a variation on a pizza dough, but pre-baked puff pastry or pie dough also works well.

Crust
¾ cup warm water
1 pkg (or 2 tsp.) yeast
2 ¼ cup flour
½ tsp. salt
½ tsp. sugar
¼ cup melted butter

Topping
3 smoked bacon slices, diced
3 tablespoons unsalted butter
3 Bermuda onions, halved lengthwise and very thinly sliced crosswise
1 1/4 teaspoons salt
1 teaspoon black pepper
1 1/2 teaspoon fresh thyme
1 cup grated gruyere cheese

Make the crust:
1. Dissolve yeast in water.
2. Mix salt, sugar and flour together.
3. Make a well in the flour. Pour in yeasty water and melted butter
4. Incorporate liquid into flour to make dough. Knead until smooth and elastic.
5. Cover dough and let rise in a warm place for 2-3 hours.
6. Punch dough down, and form into 6 balls. Roll each ball into round disks, about ¼ inch thick.
7. Bake in a preheated 450 oven for 12 minutes

Make the Topping:
1. Cook bacon in a 12-inch nonstick skillet over moderate heat, stirring occasionally, until crisp, 6 to 8 minutes. Transfer bacon with a slotted spatula to paper towels to drain and pour off bacon fat.

2. Add butter to skillet and cook onions with 3/4 teaspoon salt and 1/2 teaspoon pepper over moderate heat, stirring, until just wilted, about 2 minutes. Cover surface of onions with a round of parchment or wax paper (or cover skillet with a tight-fitting lid) and continue to cook, lifting parchment to stir frequently, until onions are very soft and pale golden, about 20 minutes. Stir in bacon and thyme, then remove from heat.

Assemble:
Top the crust with onions, bacon and gruyere cheese. Bake until cheese melts, about 5 minutes. If your onions come with green, scallion-like tops, use these to garnish.

Cooking Foie Gras (Recipe: Five Spice Duck Breast with Spring Green Bao)

Foie duck bao

If you ordered foie gras at Biba restaurant in the mid-1990’s, I apologize. I was just learning how to sear foie gras, and it took me a while to internalize all the nuances of the liver and the cooking pans to really perfect my technique. While I learned, I sent out a lot of portions that were flabby and pale. I can’t tell you how much I appreciate the opportunity to learn at your expense, sometimes cooking as many as 20 portions a night. And the folks that have eaten my foie gras since then thank you too.

Alan Brock is one of them. He ate at Biba at least once a week. I only knew him by name: “Alan Brock’s eating at the bar….” And we’d pull out the special plates, the new ingredients we were experimenting with and cook him the best dish we could imagine at the moment.

At the end of my shift one night, the sous chef came to me with a glass of red wine. This was highly unusual since we only got shift drinks on Saturdays, and then it was only beer. The glass was from Alan Brock and he wanted to thank the cook who prepared his foie gras. Not the chef, not the sous chef, but me, the LINE COOK. YES! I did it, I did it! I finally learned to sear foie gras.

Cooking Foie Gras intimidates both professional and home cooks. They don’t teach you in cooking school, and it’s not readily available at supermarkets. When it is available for purchase, it can cost as much as $60 a pound. Most cooks don’t have the financial wherewithal to experiment with such a persnickety ingredient to learn how to cook it properly.

When I worked at Biba, the butchers would clean the foie gras for me and the other line cooks. They would gently break it open, clean out the blood veins, and piece it back together in perfect 2 ounce portions. Now when I cook foie gras at home, I don’t bother. I either by “A Grade”, which is quite clean, or I buy “B’s”. Then, I slice the liver and use a toothpick to clean out the veins.

Foie Gras shines when it’s seared to a crispy brown, salty crust. But because the liver is 90% fat, it’s imperative that it’s cooked quickly, otherwise it literally melts away and you’re left with sinewy fat. The secret is cold foie, hot pan. After I slice and season the foie gras, I put it back in the refrigerator. I heat the pan over a high flame for a few minutes. When it’s smokin’ hot, I press the foie gras into the dry pan. It immediately sizzles, rendering enough fat to release it from the pan. After 1 ½ – 2 minutes, I flip it over for 5 seconds, just to take the raw edge off the other side. I let the foie gras rest on a slice of toasted brioche. The brioche soaks up all the juices and makes a wonderful accompaniment to the dish.

I love pan sauces with foie gras, which I make while it’s resting. I drain the excess fat from the pan, to which I add minced shallots. They cook quickly from the residual heat of the pan. Then I deglaze with sherry and chicken stock. After it reduces to a thick sauce, I finish it by swirling in a pat or two of butter. Finally, I balance the sauce with a squeeze of fresh lemon and a pinch of salt and pepper.

For Foie Gras – Three Ways, I served it with this:

Five Spice Duck Breast with Spring Green Bao

12 duck breasts
1 tsp. Sichuan pepper
1 tbs. five spice powder
salt
¼ cup sake
1 tbs. hoisin
pinch of chili flakes
1 tbs. chopped shallots
pinch of nutmeg
1 cup chicken broth or stock
butter to taste

Score the skin side of the duck breast. Season meat with salt, pepper and five spice. Cook duck, skin side down over low heat for 10 minutes, or until the fat is rendered and the skin is crispy. Cook breast for 1 minute on flesh side for medium. Remove duck from pan and let rest for 5 minutes before slicing.

To the duck pan: drain off excess fat. Return pan to heat. Add the shallots and chili flakes. Cook for 2 minutes until the shallots are soft. Deglaze the pan with sake. Stir in hoisin and nutmeg. Add chicken broth, and let reduce by half. Swirl in butter to taste.

Spring Green Bao

3 cups AP flour
1 Tbs. Yeast
¼ cup sugar
1 cup hot milk
1 tbs. Soft butter
½ tsp. Baking powder

1. In a small bowl, combine milk and yeast.
2. Put all dry ingredients in mixing bowl with paddle and mix at low speed. Add the milk to make a dough. Then, add the butter. Switch to a dough hook, and knead for 5 minutes. Add the baking powder last, and be sure it all gets incorporated.
3. Place into a lightly oiled bowl and cover…letting rise for 45 minutes.
4. Punch down the dough, and divide into 12 pieces. Let rest for another 10 minutes…then roll out, put a spoonful of filling in middle, and pinch dough around it.
5. Place each bao on a small square of parchment paper, and stem for 10-15 minutes. Don’t crowd your steamer as the bao will almost triple in size while cooking.

Filling

1 tbs. canola oil
3 cups mixed spring greens: pea tendrils, ramps, leeks, spinach
1 tbs. chopped ginger
1 tbs. chopped garlic
2 tbs. soy sauce

1. Heat oil in a large skillet or wok. Add ginger and garlic. Cook for 1 minute, until soft. Add greens, and cook until wilted. Season with soy sauce. Let cool before filling.

Lobster with Cioppino Broth and Leeks

Lobster-2--cippino

When I was in cooking school, I interned at Bix in San Francisco. It was my first exposure to the adrenaline and excitement of a restaurant kitchen – and my first experience in the mass quantities of prep. On my first week, someone handed me a five gallon bucket of steamed lobsters to shell. The sous-chef gave me a quick tutorial on how to break them down efficiently and a kitchen towel to use as protection for my hands. Thinking the towels was for sissies, I declined. After more than a dozen lobsters, my hands were shredded by the little shells and spines of the lobster. And, of course, my next task was to juice a case of lemons.

A few months later, I visited my grandmother in Alabama. We order lobsters from the local “fish-monger” (Thinking back on this memory, it’s hard to believe Montgomery, AL had fish mongers selling fresh lobsters in the mid-90’s. But I digress.) I deftly shelled our lobsters in less than 5 minutes. While eating was far easier, it detracted from the fun of digging and picking at the shells for all the meat.

Now-a-days, I rarely eat steamed lobster. Too often it’s overcooked and rubbery. I prefer to cook it at home when I can steam it to my desire of doneness.

In tribute to Bix, I served the lobster at a recent dinner with a Cioppino-style sauce.

Lobster with Buttery Leeks and Spicy Tomato Sauce

6 – 1 1/2 pound lobsters
3 leeks
2 tablespoons butter
1/3 cup olive oil
2 large onions, chopped
1 cup minced celery
1/3 cup chopped fresh parsley
2 tablespoons minced garlic
2 cups canned crushed tomatoes with added puree
1 28-ounce can diced tomatoes
1 cup dry red wine
1 tablespoon red wine vinegar
2 cups chicken or seafood broth
1sprig fresh thyme
1 sprig fresh oregano
1 small bay leaf
1/2 teaspoon dried crushed red pepper
Pinch of ground allspice
Pinch of ground cinnamon

1. Bring a lobster pot 1/2 full of water to a boil. Add salt and seaweed, if you have it. Boil the lobsters for 8 minutes. Drain and run under cold water to stop the cooking process. The best video demonstration for cleaning lobsters that I've seen is here.

2. Heat oil in heavy large pot over medium-high heat. Add onions, celery and garlic. Sauté until soft and translucent, about 5 minutes. Add crushed red pepper and cook for 1 minute. Add crushed tomatoes and diced tomatoes with their juices; simmer 10 minutes. Add red wine, red wine vinegar, thyme, oregano, bay leaf, allspice, cinnamon and seafood broth. Simmer 30 minutes. Season to taste with salt, pepper and lemon juice. To give the base more body, puree half of it in a food mill.

3. Heat a medium skillet over medium flame. Melt butter. Add leeks and cook stirring occasionally until leeks are soft. Season with salt and pepper.

4. Before serving, warm lobster in leek butter. Serve with grilled bread or pasta.

My Favorite Client

I met Gordon about 10 years ago when he was a guest at an Interactive event I led. The dinner had been a party in honor of his birthday. The hostess had alerted me that Gordon was in a wheelchair. Though he would not be able to participate in the Interactive cooking, she knew he would appreciate the demonstration of how the meal was prepared.

Seared Sesame Crusted Tuna Sashimi with Pickled Ginger and Asparagus Relish

Striped Bass with Sauteed Pea Tendrils in a Green Curry-Coconut Broth
with Jasmine Rice Cakes


Jasmine Tea Crème Brulee.

He recalls that night fondly, “I've always loved tuna sashimi and the jasmine rice cakes were wonderful. Mom and I made them a few times after your training and they were always a treat.”
As it turns out, that first party was the only time Gordon ever tasted my food. Nonetheless, he loves to entertain! Over the years, Gordon regularly emails me with “an unusual request” for a distinctive cuisine event: An ice-cream party for his colleagues at work, a going away party for dear friends from his church, a pool party for 75 of his closest friends.

Gordon has been in a wheelchair since he was 8 years old, a result of Duchenne Muscular Dystrophy. He is now close to forty-five. A tracheotomy tube in his throat assists him in breathing, and though he used to be able to swallow, the disease has taken that away from him, too. Gordon speaks slowly and quietly, but is always charming. It’s worth waiting to hear him. With limited mobility he can type and works for a networking company. He controls his wheelchair with a joy-stick.

The going away party at his church was one of the first times he socialized when he could no longer swallow. “I was so worried how people would react if I didn't eat, and was scared that I would lose such an important part of socializing. You prepared a wonderful meal at church, and between your understanding as well as that of my friends, I realized it would be OK. Phew.”

The disability does not prevent him from relishing the hospitality that food creates. “You know, probably better than I, that food is a sensual experience, and such an important factor in building relationships. From sharing food off each others plates to cooking for someone, food is so integral to friendships. I know that is one of the many things that attract me to you and your gifts. You prepare, present, enjoy and respect food in a way I wish I could.”

After each event, I receive a lovely thank you note. He recalls the wonderful aromas, the lovely presentations, and the sounds of “oohs and aahs” as his guests enjoy each morsel. Invariably, he will have a favorite dish. In one note, after many praises, he referred to his one regret of the evening, “My only disappointment is that three people did not show up. Alas, you cannot dictate good manners.”

On a crisp fall day, the air lingering with warmth of the summer, Gordon planned for a walk in the Wellesley Horticultural Garden with his friend Patricia. He wanted to surprise her with a picnic in the rose garden. Though Gordon would not eat or drink at the picnic, we planned the menu, with corresponding wines for each course. I arranged for linens, a table and chair, and china. Gordon requested two long stem roses in a simple vase.

As they walked casually by the garden, Patricia could see the table and commented on how romantic it looked and wondered who would be dining there. As they approached, I appeared from the hedges with champagne and hors d’œuvres. They sat down to a three-course lunch, chatting leisurely and laughing often. At the end of the lunch, they walked away, Patricia with roses in hand. They thanked me for the wonderful afternoon, and presented me with one of the roses.

_____________________________
If you would like more information about muscular dystrophy or wish to donate for research, Gordon suggests contacting the Muscular Dystrophy Association.

Where the Magic Happens

I rarely complain about the size of my kitchen. And it’s tiny at 9 feet long by 7 ½ feet wide — and that’s the area according to the ceiling. When you consider a few appliances, cabinets and a sink, there’s barely enough room for me in there. I joke that my refrigerator has a self-regulating mechanism that prevents me from over-eating and becoming too big. If I gain too much weight, it’s a logistical impossibility to open the refrigerator to eat more food. And yet, when friends visit, they are always surprised by the coziness of the space. More curious to them, when I talk about renovating my house (a pipe-dream in its own right), I talk about adding a fireplace or a foyer, but never do I suggest that I want a bigger kitchen. Would it be nice? Yes! Are there other places I’d rather spend my money? Most definitely! So until I become independently wealthy, I’ll make do.

Mark Bittman’s
Manhattan kitchen is even smaller – 7 feet by 6 feet. Yet he manages to test all the recipes for his cookbooks and newspaper articles. In today’s New York Times, he writes that most chefs, food writers and cooks that learned their skill pre-world war II agree that size does not matter. Fancy equipment does not make a better cook; skill, practice and taste do.

Working in restaurants, I learned to contain my work to the area that’s just as big as my cutting board, plus about a 6 inches perimeter. Other cooks would encroach on my space from either side. I learned to work efficiently and neatly. Cooking at home, I’ve become a bit sloppy, but I can only go so far because my kitchen is still small.

My saving grace is the mini speed-rack I had custom built. The shelves hold 9 half-sheet pans. It’s a standard counter height with a wood block on top to match the size and shape of the other counters. I use the sheet-pans for cooking and as shelves. When things come out of the oven they slide right onto the speed rack until they’re cool. I can also store prep on the shelves until ready to be used. It’s an incredibly efficient space-saving piece of furniture/equipment.

Kitchen Tales – Watercress Salad

As a line-cook working in restaurants, I can tell you Saturday nights are ugly. As my old boss, Lydia Shire always said, this one’s for the house. With the majority of the restaurants’ business on one night, we worked at break-neck speed to serve as many dinners as possible. The specials were designed for speed not creativity. By contrast, Sunday nights were for the kitchen. With the head chefs taking the night off, this was my opportunity to try out my menu ideas as specials. It was also a chance to have fun with the staff. The spirit in the kitchen was lively and jovial, unwinding from the craziness of the previous night. Sunday nights we also got a little lazy.

On one Sunday night, I ran out of watercress on my station. I raced to the walk-in refrigerator to get another bunch. And as I ran back to my station, I tried to untwist the rubber-band that held the bunch together. I dressed the watercress, mounded it on the plate and put it in the window. Michael Murphy grabbed the plate to bring to the table. Not five minutes later, Michael returned with the plate and a rubber-band on top. Whoops! Apparently, I had not effectively untwisted the rubber band from the watercress.

To have a little fun, I ran back to the walk-in and pulled the rubber bands off of everything I could find: watercress, scallions, leeks and celery. I mounded them on a plate and garnished it with a sprig of watercress. Into the window, I called Michael back to the kitchen. With my apologies, I said, this is how the salad had meant to be presented.

Michael one-upped me, and served the “salad” to his customers. His guests were very good natured, and we all had a good laugh!

Braised Endive with Watercress and Apple Salad

2 large endive, cut in half lengthwise, or 4 small endive
1 bunch watercress
1 red apple
3/4 cup grated gruyere cheese
2 lemons, juiced
2 tbs. sugar
1 shallot, diced
1 tbs. cider vinegar
3 tbs. extra virgin olive oil
salt and pepper to tastea

1. Put endive in pot with sugar and lemon juice. Cover with water. Season water to taste with salt and pepper, and additional lemon juice or sugar as necessary. Bring water to a boil, reduce heat to simmer. Let endive simmer for 30 minutes, or until tender.

2. Meanwhile, Core and slice apple (do not peel). Toss apples and watercress with vinegar, olive oil and shallots. Season to taste with salt and pepper (and fresh thyme if you’d like).

3. When the endive is tender, remove from liquid. Put endive in an oven-proof dish. Cover with cheese. Melt cheese in oven (350) for 5 minutes.

4. Serve half a large endive, or 1 whole small endive with a small watercress and apple salad.

Watercress Picture comes from Mochachocolatarita.

Homemade Ricotta

Ricotta-prep-1

It first occurred to me to make fresh ricotta when I was approached to teach a class at Williams-Sonoma. I was going to demonstrate how to make fresh mozzarella (which I learned at Restaurant Nora ). To give the class a theme, we decided on “Homemade Cheeses.” I had never made ricotta before, but I was a quick learner.

Since then, I’ve revised my theme to “The Ultimate Homemade Lasagne.” With the exception of the parmesan, I can make everything from scratch: pasta, Bolognese, ricotta and mozzarella. I can even use the tomatoes and basil from my garden! It’s truly rewarding to do it! The satisfaction of making a meal entirely from scratch, but also how deliciously amazing lasagna can be… the ultimate homemade is really a different beast.

Ricotta is the simplest recipe of the whole process. And it doesn’t require any special ingredients: just milk, cream, salt and lemon.

Combine ½ gallon of whole milk with 1 pint of cream and 1 tablespoon of salt in a large pot, stainless steel pot. Bring it to a simmer over medium heat.

While the milk is heating, squeeze enough lemon juice to yield ½ cup. Line a colander with cheese cloth or coffee filters.

When milk starts to simmer, stir in lemon juice. Stir just enough to combine. The more you stir, the smaller the curds (which is a bad thing). Let sit for 20 minutes to let the curds separate from the whey. They whey will be a translucent, white liquid.

Ricotta---draining

Scoop out the curds into the colander and let drain for about 1 hour, or until the curds are dry. Keeps for about three days. Yield: 3 cups.

Serving suggestions:

  • Mix with basil and serve with crackers as an hors d’œuvres
  • Use as a filling for raviolis or cannelloni’s
  • Use as a filling for cannolis
  • Make a sweet ricotta tart

CROSTATA di RICOTTA

Crust
1 cup sifted all purpose flour, plus extra for “dusting”
6 tbs. butter, room temp
2 egg yolks
4 tbs. sugar
4 tsp. Marsala
1/2 tsp. freshly grated lemon peel
1/4 tsp. salt

Ricotta filling

2 1/2 cups ricotta cheese
1/4 cup sugar
1 1/2 tsp. flour
1/4 tsp. salt
1/2 tsp. vanilla extract
1/2 tsp. freshly grated orange peel
2 egg yolks
3 tbs. raisins, rinsed and drained
2 tbs. slivered, blanched almonds or pine nuts

1. Preheat oven to 350 degrees F.

2. Make the crust: In a large mixing bowl make a well in the flour. Drop in the butter, egg yolks, sugar, Marsala, lemon peel and salt. Mix the ingredients together, but don't overwork the dough. Roll out the dough on a floured surface until it is about 1” around wider than the pan, and about 1/8" thick.

4. Lightly butter the sides and bottom of a 9 1/2" false bottom pan. Carefully, press the pastry into the bottom of the pan and around the sides. Be careful not to stretch it. Trim excess.

5. Combine cheese with sugar, flour, salt, vanilla, grated orange peel and egg yolks; beat until they are thoroughly mixed. Stir in the raisins. Spoon the filling into the pastry shell and smooth with a rubber spatula. Sprinkle the top with slivered almonds or pine nuts. Bake in the middle of the oven for about 1/2 hour, or until the crust is golden and the filling firm. Remove from oven and let the pie cool before serving. Garnish with fresh strawberries, if you like.