My Favorite Meal

It’s not the fanciest meal.  No refined ingredients or exotic preparations.  Just simple, fresh food from the garden. 
Zucchini-broccoli
There’s a distinct pleasure in knowing that most of the food on my plate came from my garden, picked just minutes before cooking. 
Broccoli-head
Zucchini

Zucchini-and-tomatoes
Zucchini Stewed with Tomatoes
From The Farmer's Kitchen

2 small zucchini
½ onion, sliced thin
4 garlic cloves
2 tablespoons olive oil
Salt and pepper to taste
1 – 2 cups stewed tomatoes
¼ cup white wine (optional)
2 tablespoons butter (optional)
2 tablespoons fresh herbs such as basil, parsley or tarragon (optional)
 
1.    Slice zucchini into 1/2” thick circles.

2.    In a large skillet, over medium flame, add olive oil. Sauté onions and garlic, the edges barely browning, about 5 minutes. Add squash slices, ¾ teaspoon salt, and ½ teaspoon black pepper. Continue cooking and stirring until squash begin to soften, approximately 5 minutes.

3.    Add stewed tomatoes. Continue cooking as long or as briefly as you like; this is traditionally cooked until fully soft but need not be.

4.    Add the optional fresh herbs at the very end.

From the garden: zucchini, garlic, broccoli, basil, tomatoes
Garden to Table: 30 minutes

Five Tips for Helping Your Garden Survive the Heat Wave

Here in Cambridge, we haven’t seen a drop of rain in over a week, and none is on the horizon for many more days.  Given the wet June we had, it may seem like a relief. But with temperatures soaring into the 90s and even scraping the triple digits, my garden is looking a bit withered.

Obviously, watering your garden is key, but how you water is just as important. Here are five tips to help protect your garden from the dry spell.

1.    Water the garden after 5pm.   This will give the soil (and plant roots) a chance to absorb the water before the sun hits it and starts to evaporate.  Do not water your garden during the middle of the day.  Water droplets on the leaves will cause reflection from the sun and burn the plants.

2.    Water the soil, not the plant.   You may even want to consider buying a soaker hose.  These are black mesh hoses that snake around the garden to make watering easier.

3.    Water for longer than you think necessary.  There have been many times when I’ve watered my garden, and then gone back 10 minutes later to discover the wet earth is not even a centimeter deep.  With the soil as dry as it is, you’ll need to water longer to penetrate the layers of earth and get to the plant roots.

4.    Weed.  The weeds want water just as much as the plants.  But you don’t want your weeds competing for this precious commodity.  Getting rid of them helps ensure that your prized plants won’t have to fight as hard for the water they need.

5.    Container plants do not hold water as well as plants directly in the earth.  Consider moving these pots to the shade during peak-sun hours.

How do you help your garden survive dry spells?

Fava Beans (Mock Risotto with Favas and Basil)

Fava-Beans-3
So many vegetable conjure up negative emotions – whether it’s Swiss Chard, kohlrabi or beets… people just won’t try this things no matter how hard you try to convince them they’ll like them when prepared properly and well.

For me it’s fava beans.  I actually like the taste, but they are (in my opinion) too labor intensive to be worth the effort.  Unlike other shell beans, favas require a double-shell…. That is, the beans need to be removed from the pods. Then the beans are boiled to remove the husk off them.  Feh. 
Fava-Beans-2
But when I went to the farmers market last week, I became intrigued.  One of the employees of Drumlin Farms was walking around with a long fava bean pod that had black pock marks.  She told me, the pock are a sign of properly grown and delicious beans.  So I bought a pound.
Fava-Beans-1

The extra step of removing the husk added about 10 minutes and an additional pot to the process. Not a big deal when serving 2 people for dinner, but I wouldn’t do this for a large dinner party. And when I go out for dinner I will savor fresh fava beans even more.

Mock Risotto with Fresh Favas and Basil
I had some leftover brown rice in the fridge which, when I started to reheat, released its starches and became creamy.  I decided to mix in the fresh favas with some bacon and basil and pretend  it was risotto. 

3 slices bacon, chopped
1 cup shelled fava beans
2 cups cooked brown rice
1 tablespoon butter
¼ cup basil leaves cut into long strips
Salt, pepper and lemon juice to taste

1.     In a large skillet, cook the cook bacon until it releases its fat and crisp.  Remove from pan.
2.    To the bacon pan, add the favas and ½ cup of water. Cook for 3 minutes.  Add the brown rice and continue cooking until heated through.
3.    When rice is heated, mix in butter, bacon and basil.  Season to taste with salt, pepper and lemon juice.

A Slow Food Dinner at Rendezvous (Recipe: Swiss Chard Dolmas

After my guest chef stint at EVOO, I was wiped out.  I wasn’t used to standing on my feet for 12 hours in a day… and two days in a row.  As fun as it was, I decided it was time to hang up my apron for good.

Until Slow Food Boston called…. They wanted to do a special dinner for their members that would offer insight into how to cook with CSA veggies.  As they wrote in the event’s description:

“Do you have a love-hate relationship with your CSA? Do you love supporting local farmers and being able to really taste summer in New England? But are you perplexed by what to do with 12 Japanese eggplants, a bunch of callalloo and six pickling cukes?” 

Having just published The Farmer’s Kitchen, they decided I would be the ideal chef to cook for such an event.

But we needed a venue.  I called Steve Johnson… he’s been a star chef in Boston since I moved here in 1994.  And at his latest restaurant, Rendezvous, he’s become a locovare guru – I see him shopping weekly at the Central Square Farmers’ market, and read in the paper about his rooftop garden and fishing adventures that supply the restaurant.  His restaurant would be the perfect spot for a Locavore Feast.

We set the date, the price and capped the guest count.  The final detail was writing a menu.  Unlike the EVOO dinner, Steve and I wrote the menu together – each dish blending one of his recipes with one of mine from the cookbook.  Even the pasta dish, which on the surface was all my recipe, took on a Rendezvous flair from toasting the cooked orecchiette. 

First Course
Toasted Orecchiette with Homemade Sausage and Broccoli Raab (page 65)

SF---Orrechiette 

Seared Scallops with Braised Leeks and Mustard Vinaigrette (page 157)

SF---Scallops 

Second Course
Swiss Chard Dolmas with Moroccan Beet and Carrot Salad (page 58) and Cucumber Raita (page 106)
Roast Chicken with Caramelized Cherry Tomato Sauce (page 217), Early Summer Succotash and Garlic Scape Pesto (page 250)

SF---Chicken 
Dessert
Carrot Cake (page 266) with Mascarpone
Honey Lavender Ice Cream with Minted Berries (page 276)

The intimate crowd of 26 guests filled the front of the restaurant.   Friends and couples arrived, a few guests arrived solo, but by the end of the evening, we were all conversing as long-time friends… perhaps the effect of communal tables with honestly prepared foods and plenty of wine to savor.

Everybody kept asking about Steve’s dolma recipe since it was not listed in the book.  If it were not for my nut allergy, I’m sure he would have added walnuts.

And just like a chef, Steve offers the technique and ingredients, but no measurements.  As with most recipes, trusting your own judgment and taste is key.

Steve Johnson’s Swiss Chard Dolmas
"Cook the bulgur briefly in lightly salted water with a little bit of minced garlic.  When the bulgur is tender, I drain the excess water.  When the bulgur is cool, I mix in some minced red onion, chopped golden raisins, lemon zest, a pinch of ground coriander, a tiny pinch of ground allspice, a tiny pinch of maras pepper and ground black pepper, and some freshly chopped mint.

"Obviously, different wrappers can be used.  Although grape leaves are the most common, I like to use either red or green chard when it's available; it gives the whole thing a more "green vegetable" flavor.  The leaves are a little difficult to work with, because I use them uncooked to wrap the stuffing, but after cooking them everything works out fine in the end.  In a hotel pan or baking pan, I steam the packages for 10 minutes using a splash of water, a drizzle of olive oil and a sprinkle of salt."

Cross Promotion

A few times a month, I will post articles from my monthly "Food Consulting" Newsletter Click here to receive the newsletter by email.

Last month, I guest-cheffed at EVOO Restaurant in Cambridge to promote my new cookbook.  From a simple financial perspective, this may have seemed foolish. EVOO didn't pay me, and though I earned royalties from that evening's book sales, it amounted to about $3/hour.  EVOO had to hire extra staff for the evening, and they probably ran a higher than normal food cost, too.

But we both benefitted from the special evening:

  • All my clients and friends learned about EVOO, with my endorsement of their quality.
  • Of the 130 covers of the evening, at least 40% came were first-time diners, coming in explicitly for the guest-chef appearance.  These guests had a chance to sample EVOO's fine service and cuisine, and are more likely to become repeat customers in the future.
  • Likewise, EVOO's entire client base (both from the mailing list and from dining in the restaurant) learned about my new cookbook.
    And the customers who came into EVOO unaware of the special event were able to sample dishes from the cookbook.
  • Finally, we had an opportunity to send a press release, and the event was mentioned in both the Boston Globe and Stuff Magazine.  This exposure benefitted both of us in building awareness of our respective brands.

Building partnerships with similar, but non-competing businesses can be a great way to promote your business to an expanded client-base.  Viewed as a marketing effort instead of a revenue stream, these promotions make business and financial sense.

Here are some examples:

Farmers

  • Not all farmers can grow the diversity of crops for their region.  Partner with a farmer to sell their complimentary products at your farm-stand and vice versa.  Be sure that your customers know you support each other.

Cafes/Restaurants

  • Hang artwork of local artists on your wall.  This can be an economical way to decorate your space while creating new opportunities to promote your restaurant.  Additionally, opening parties that showcase the artist's work will bring in new customers.
  • Host special events with local organizations.  This could be a fundraiser for the Boys and Girls Clubs, or a book-signing for an author. Darryl's Corner Bar + Kitchen closes the regular dining room every Monday for these types of events.

Food Producers 

  • Showcase the source of your ingredients on the label. If, for example, you make your famous Bolognese sauce with meat from Pete and Jen's Backyard Birds, mark that on your label.  Pete and Jen may consider giving you a discount for the promotion. And if not, they may be willing to promote your product on their website.

Cross-promotion can be a low-cost, win-win marketing tool.  For assistance in creating these promotions, call or email. 

Grilled Sweet Potato Salad

Grilled-sweet-potatoes 
 
In the summertime, grilling seems to be the favored cooking technique for so many reasons – we can cook without heating up the house, there are no pots and pans to scrub, and we get to be outside in the garden.

Last year, on the Fourth of July, in keeping with the holiday tradition, I grilled hamburgers… it went against my general style of entertaining in that I usually cooking everything ahead of time.  But I thought, “How hard can burgers be? Even if for 12 people.” Actually, it was a nightmare (okay, maybe that’s an exaggeration, but it wasn’t great).  Instead of drinking G&T’s and chatting with my guests in the garden, I was contending with an overcrowded grill that was flaring up from all the fat drippings, shuffling around patties and buns.

This year, I still grilled but went back to my usual mode – cooking everything ahead of time.   My “barbecue” still had the summertime mark of grilling, without the stress created by live fire.  I twisted around an old favorite into Grilled Flank Steak with Grilled Sweet Potato Salad and Cilantro Mojo. The flank steak was seasoned with fresh oregano, lime juice, salt and pepper before grilling. 

Sweet Potato Salad
Adapted from the Weber Cookbook courtesey of Dan Kirsch.

3 large sweet potatoes (about 2 pounds)
2 – 3 stalks celery, diced
2 red bell peppers
3 scallions, cut into rings
¼ cup cilantro sprigs, chopped

Dressing
6 tbs. olive oil
3 tbs. lime juice
1 clove garlic, or 1 garlic scape
1 small jalapeno, diced (remove seeds first for a more mild dressing)
1 tsp. salt
½ tsp. ground cumin

1. Combine all ingredients for dressing.
2. Peel sweet potatoes and cut lengthwise into ½ inch thick slices
3. Toss sweet potato slices with about 3 tablespoons of dressing.
4. Prepare a charcoal grill on one side of the grill.
5. When it’s hot, blacken the skin of the red peppers on all sides and then put in a stainless steel bowl, covered with plastic.
6. Grill the sweet potato slices on the hot side of the grill until nicely marked on both sides. If there’s dressing leftover in the bowl, save to add to the salad at the end.  Move the slices to the cool side of the grill.  Cover the grill, leaving the vents open, to “roast” the sweet potato slices until tender, about 15 minutes.
7. Meanwhile, peel away the blackened skin of the peppers, and scrape out the seeds.  Dice the peppers and toss them, along with the scallions and celery in the dressing.
8. When sweet potatoes are tender, remove from grill and dice.   Add to the other veggies and toss with cilantro and extra dressing.
9. Adjust seasoning with salt and pepper.

Growing Tarragon (Recipe: Chicken with Honey-Tarragon Sauce)

Tarragon-chicken I’ve been thinking about chicken with honey/mustard/tarragon sauce for a while; I hadn’t made it in years. With the tarragon in full bloom in the garden and plenty of snow peas, which also pair beautifully with the soft, anise flavor of tarragon, it seemed like the perfect time to resurrect this dish.

Tarragon is a perennial herb, meaning that the plant regrows every year.  Basil, in contrast, is an annual and needs to be replanted every year.  But tarragon's perennial status, does not guarantee success.  I’ve had to start a new tarragon plant almost every year.

The first mistake I made in growing tarragon is that I didn’t mark where it was.  In early spring, when I started cleaning the garden, turning the soil and mixing in compost, I turned over the patch where the tarragon was… killing the plant.  The next year, I did not harvest it correctly, and also killed it.

By some miracle, last year, a little fledgling sprout of tarragon, not more than 2 inches high with leaves just the size of thyme, appeared in the tomato bed.  I let it stay there, develop a root structure and suck whatever nutrients it needed from the soil.  By late August, I moved it near the compost bin, in a place I knew I could remember. This year it came back, robust as ever. 

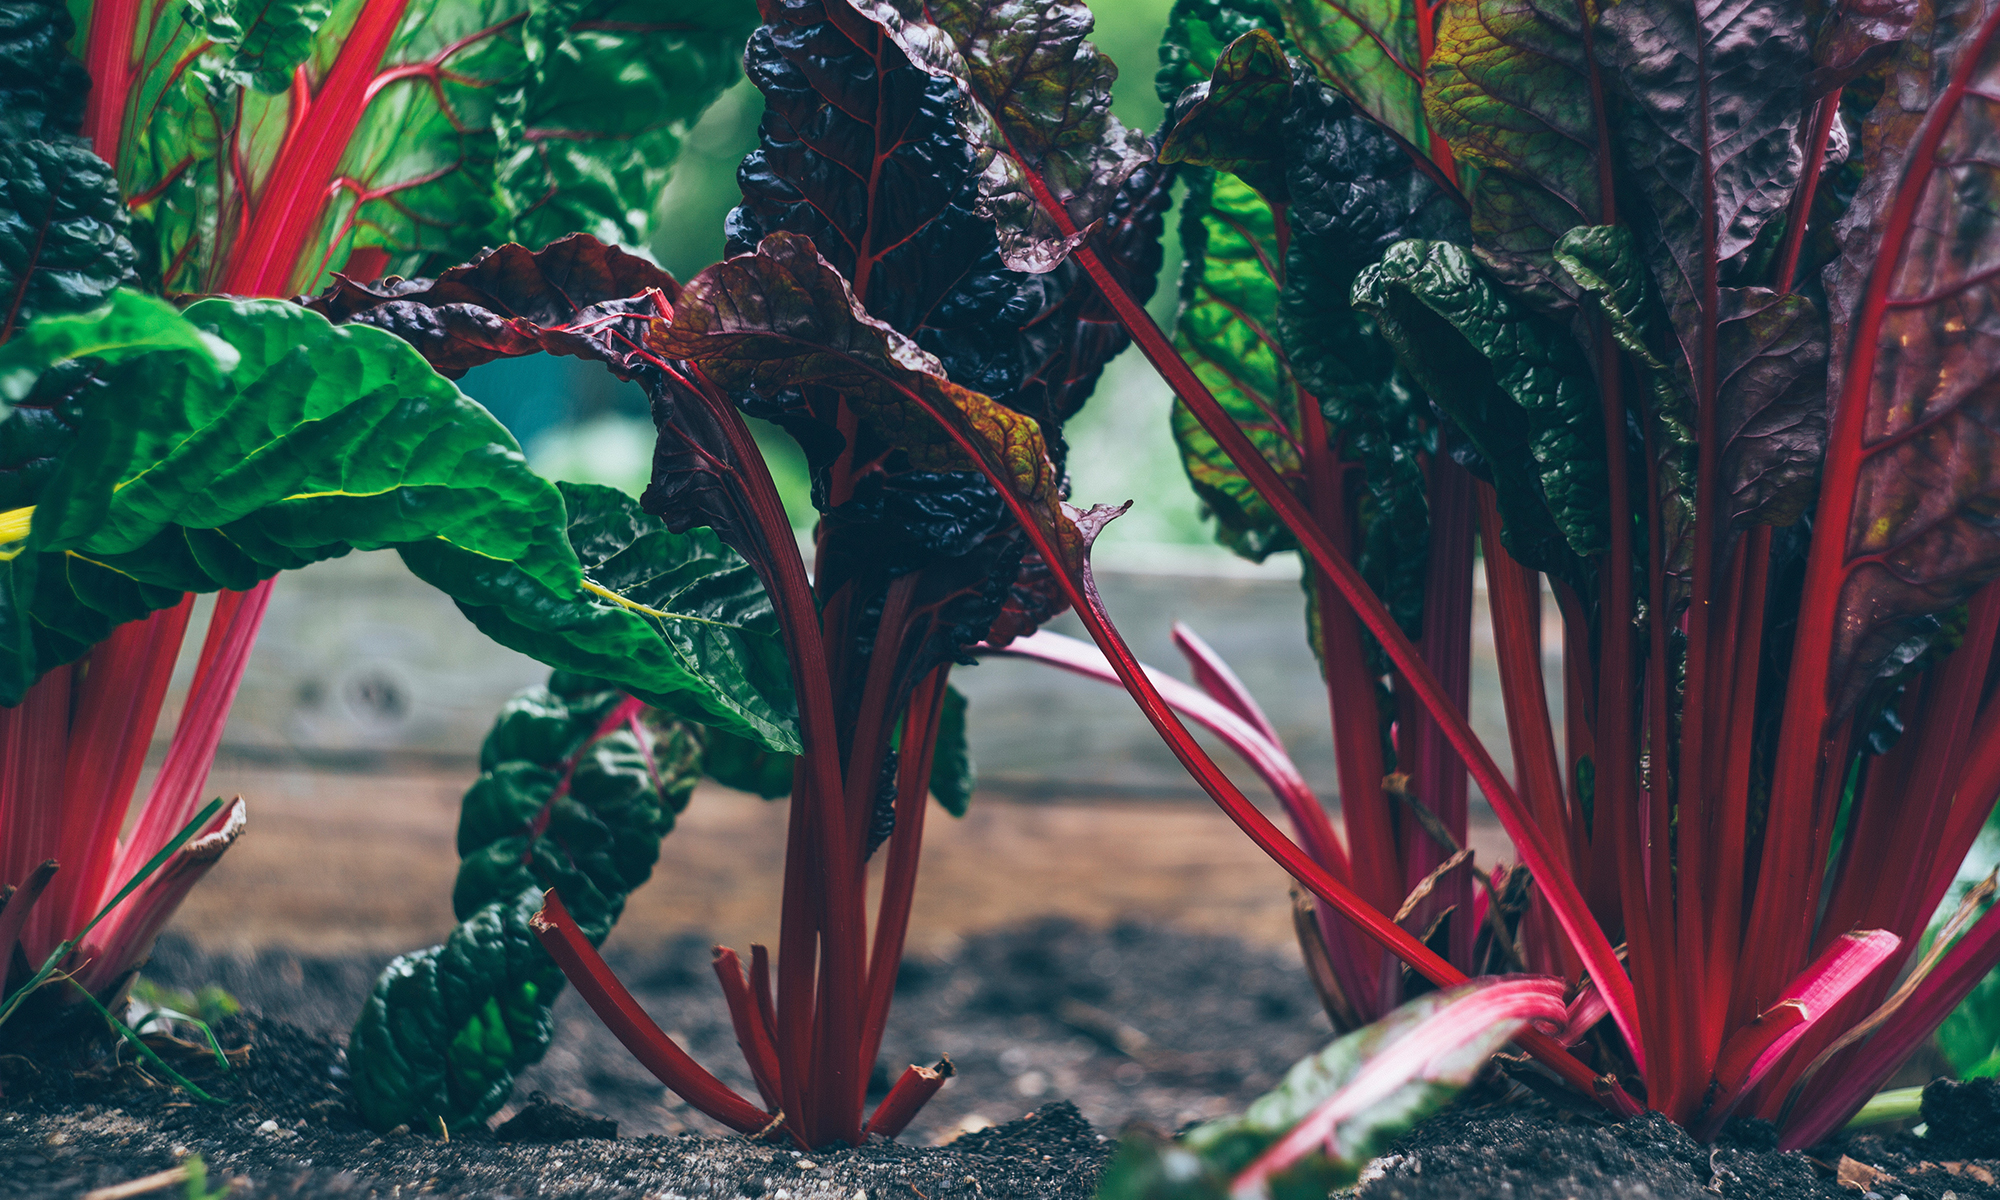
At the base of the plant are tough stalks that shoot off more tender stalks and leaves.  When harvesting, only cut the tender, upper sprig.   If you cut the base stalks, you doom the plant to "annual" status.

Chicken with Honey-Tarragon Sauce and Snow Peas
Veal stock has more gelatin and body than chicken stock.  When reduced, it thickens and turns velvety on the palate.  I don’t normally have veal stock in the house, but since I made osso buco a few weeks ago, I strained the extra braising liquid, called it stock and tossed it in the freezer. I used this stock for my sauce, creating a luscious sauce that you’ll want to sop up with bread or anything else you can get your hands on.

4 chicken breasts, boneless, skin on
1 bunch tarragon, chopped
1 tsp. mustard
1 large shallot, minced
1/4 cup white wine
1 cup veal or chicken stock
1 tbs. honey
4 tbs. butter
1 tbs. plain oil
½ pound snow peas
salt and pepper to taste

1.   Season chicken with salt and pepper.

2.  Heat a large sauté pan with oil.  Add chicken, skin side down.  Cook on high heat for 4 minutes, or until the skin crisps and turns golden brown.  Turn over.  Add shallots, mustard, white wine, 1/2 of tarragon and honey.  Reduce heat to simmer, add stock and continue cooking for 10 minutes or until chicken is almost done.

3.  Remove chicken from pan and swirl in 3 tablespoons of butter.  Adjust seasoning with salt and pepper.  Set aside.

4.  In a small skillet, melt the remaining tablespoon of butter.  Add the snow peas and cook for 30 seconds, or until they turn bright green.  Toss in remaining tarragon.

5. Slice chicken and serve with sauce and snow peas.  If you’d like, pour the sauce through a strainer before serving for a more refined texture.

Growing Snow Peas (Recipe: Snow Peas with Butter and Mint)

  Snow-peas-3

After three years of trying to grow snow peas and pea tendrils, I think I’ve finally figured what works… at least for my garden.

Pea tendrils are the young vines of the snow and snap pea plants.  If left alone, they flower and shoot off pods from behind the flower.  If you cut them back, you can add them to your salad mix or sauté them like spinach or kale… they have a wonderful pea-flavor, and are the perfect crop for the impatient gardener.  As the plants mature, the leaves get tougher, so if you are growing peas for their tendrils be sure to only harvest the new young leaves. 

Because my garden is so small, I’ve just grown peas for the tendrils – I could get away with a smaller planting and still get a decent yield.  Or so I thought.  The first year, I planted 10 seeds, hoping that would give me a decent yield.  I got maybe three or four snap peas a day, not even enough for snacking in the garden.  The next year, I decided to harvest the tendrils instead, thinking that would give me a better yield.  That’s when I discovered that only the young leaves are tender – They look like little buds, a tight cluster of small leaves.

Snow-peas-1

Snow-peas-2

This year, I went on a planting spree – planting in three different locations, in two rows each.  The back row had a trellis for the vine to climb up.  With the front row I figured it would either crawl up the trellis also, or it would flop over and I would harvest the tendrils to mix in with my lettuces.

With peas growing in so many different configurations in the garden, I learned not only about the peas, but also about my garden.

-    The peas that flopped on the ground didn’t produce any tender tendril leaves.  The peas that grew up the trellises produced a decent amount of pods.
-    The peas that were planted in a planter box, and flopped over the sides, also produced the tendril clusters and the pods, perhaps more than any where else.  Despite having a more confined space, the extra sun did them good.
-    The front row of pea vines weren’t able to grab onto the trellis that was 6 inches away.

Not that you care about these specific details, but I now know what plots work better for the peas than others.  I also discovered a dead zone in the front of the yard where nothing grows well.  I have tried several crops there and nothing works.  Without a doubt, I know it’s the soil and not the plant variety.

Snow peas cook very quickly – 30 seconds or less until they turn bright green. And with fresh young pods, they don’t require a longer cooking to tenderize them.

Snow Peas with Mint
1 tablespoon butter
¼ pound of snow peas
Mint
Salt, pepper and lemon juice

1.    Melt butter in a skillet over medium heat.
2.    Add the snow peas and cook for 30 seconds, stirring all the while.
3.    Remove from heat.  Season with salt, pepper and lemon juice.  Toss with fresh mint.

Strawberry Daiquiris

Strawberry-dacquiris
Strawberries grow in a three year cycle, the first two years yield modest quantities of berries and the third yields a bumper crop.  After that, the plants lose their oomph. If you’re careful to save the runners – the small off-shoot plants from the primary plant – you can continue to propagate strawberry plants year after year.

This is my third year on these strawberry plants – my first attempt at growing my own. Indeed the yield has been impressive. I’m picking pints at a time instead of handfuls. And I’m getting a little decadent in my consumption.  The first few days, I savored each berry on its own. Then I started adding them to my morning cereal.  And now I’m making daiquiris.  It feels so decadent to enjoy them in a blended cocktail; perhaps not the best showcase of the sweet flavors.  But they were so delicious, I didn’t care.  I’m sure the rum added to my sense of complacency.

Strawberry Daiquiris
1 pint fresh strawberries
1 pint ice
¼ cup rum
1 tablespoon sugar (more or less to taste)
Mint to garnish

1. Wash and hull the strawberries.  Cut if half.

2. Put in the blender the strawberries, rum, ice and sugar.  Blend until smooth.

3. Serve immediately.  Garnish with mint sprigs.

From the garden: strawberries and mint.

Farrotto!

Farrotto 
Behind the scenes here, I’ve been taking strides to make my meals bit healthier.  One big change is in that I’m trying to reduce the empty calories in my diet.

I love jasmine rice, and it has always been a staple in my pantry. Besides the fragrant, soft texture, it cooks very quickly – in 15 minutes.  It became my go-to starch when preparing dinner.   But it has absolutely no nutritional value. No vitamins, trace amounts of minerals, and barely any fiber.  It does have plenty of carbohydrates, but the nutritional benefit of that is questionable.

Brown rice would have been an easy switch if it weren’t for the fact that it takes 45 (!!!) minutes to cook.  Instead, I started mixing the jasmine rice with other quick-cooking grains to bulk up its nutritional value.  My favorite is blending quinoa with the rice, cooking it all together in a single pot.  I still get all the flavor of the rice with the nutty nuances of the quinoa.  And it still cooks in 15 minutes.

A few weeks ago, I started experimenting with farro, a variety of wheat that has a firm, chewy texture.  I wanted to make beef-barley soup. But if you can believe it, not a grain of barley was to be found in the market. I purchased farro instead. 

I cooked it separately, as I didn’t know how it would behave in the soup, and I couldn’t seem to find directions on the package that would tell me the cooking time, nor the amount of liquid needed.  When it was tender, 20 minutes and 2 parts water later, I added it to my brothy soup.  Within 30 minutes, the farro had absorbed all the liquid and instead I had a creamy stew.

I still had a few cups of farro left when I planned a meal of osso buco.  This time, I was prepared for how it would behave and cooked it in the style of risotto… farrotto!  I cooked the farrotto exactly as I would traditional risotto.

The grains were chewy and toothsome, surrounded by a creamy broth of cheese and chicken stock.  And unlike Arborio rice, it has a healthy dose of protein and fiber.