Once a year, I retreat to Kripalu in the Berkshires of Western, MA for a weekend of yoga, relaxing and cleansing. The tranquil setting offers a respite from all the toxins of my urban lifestyle – noise, pollution, decadent eating and drinking.
I make no pretense that I would embrace this lifestyle in its entirety on a regular basis — though I very much enjoy the elements. But every once in a while, it feels great to refresh my body. I relinquish wine and red meat in favor of the light cuisine they offer in the cafeteria. Honestly, it’s the quintessential “granola-crunchy-health” food. I never cook this way at home, but it tastes great, and I feel refreshed after eating like I never do after a meal of foie gras and truffles.
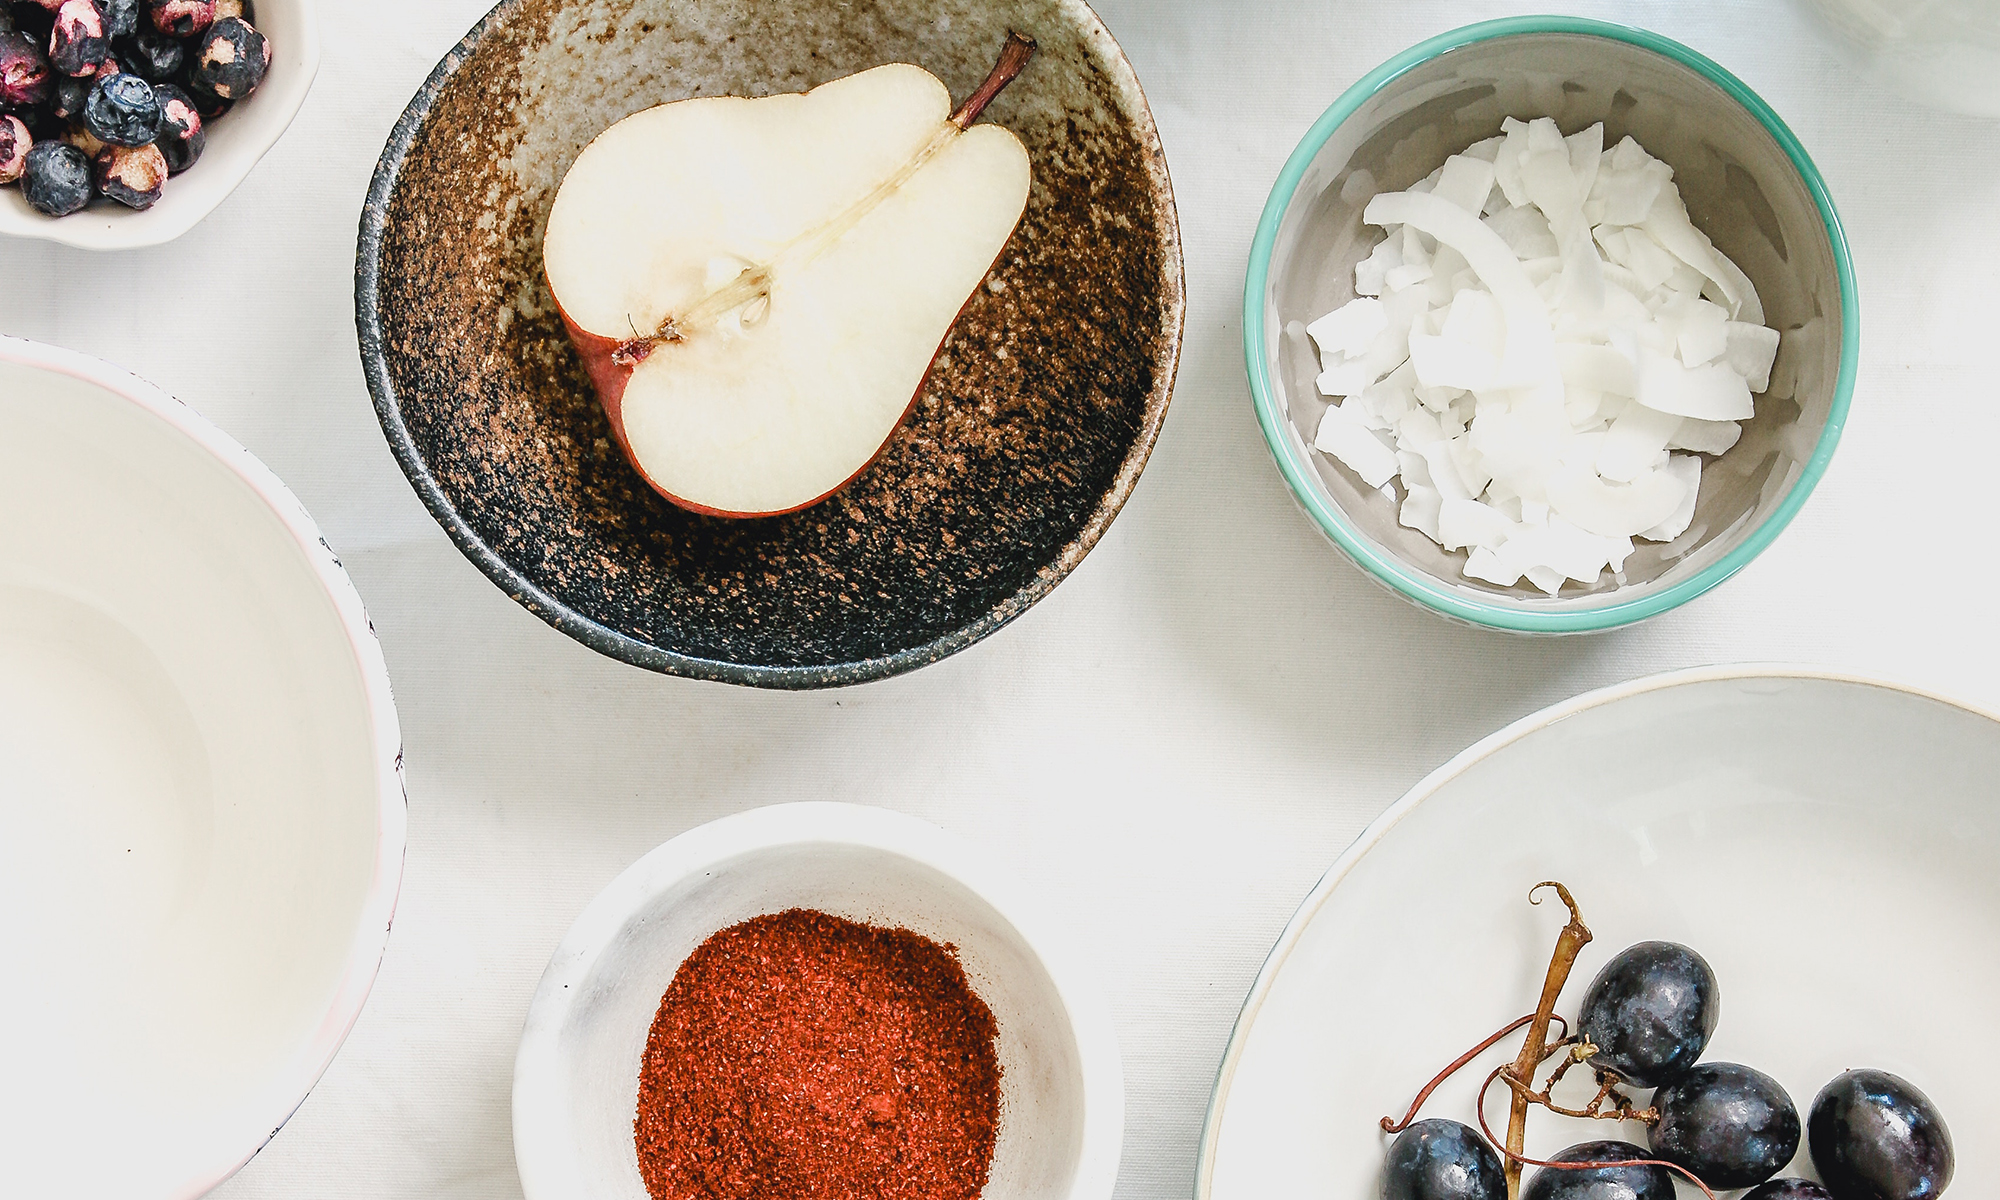
I have no plans for visiting Kripalu in the near future, but definitely need a little detoxing – especially after Taste of the Nation and Foie Gras Three-Ways. A friend just unearthed the recipe their famous salad dressing. I made a salad full of virtuous ingredients. After this meal, I feel light and rejuvenated.
Salad (Serves 2 an invigorating lunch)
2 cups arugula or baby spinach 1 small can tuna fish, drained ½ cup cooked chickpeas 2 tablespoons sunflower seeds 2 tablespoons dried cranberries 1 cup steamed broccoli.
Kripalu Dressing 1 cup sunflower oil or grape seed oil 2 tablespoons toasted sesame oil ¼ cup soy sauce ½ cup lemon juice ? cup sesame tahini 2 cloves garlic ½ tablespoon dry mustard powder ½ teaspoon salt ½ tablespoon chili powder pinch cayenne ½ cup water
Combine all ingredients and puree in a blender until smooth. Makes about 2 1/2 cups and lasts for a week in the fridge.
Growing up, I cooked mostly from the Time-Life Cookbooks. I loved the pictures in The Good Cook series that guided me through the techniques of each recipe. When I tired of those, my mom bought me the Healthy Home Cooking series and then the Great Meals in Minutes. To me, these books were far more interesting than Judy Blume or Nancy Drew. I would browse through the pictures, and ask my mom to buy the ingredients of the most enticing photos.
On the cover of Fresh Ways with Fish & Shellfish was the most enticing photo of Shrimp and Asparagus Wrapped in Sole. I read the recipe once, twice and then after the third time, I finally queried my mom – how was I going to wrap the fish around the shrimp and asparagus to look like the photo? She couldn’t figure it out either, and so she got on the phone to call the editor. I guess at this point in the story, I should mention that she worked for Time-Life Books so it wasn’t completely over the top that she should pick up the phone.
It was at that moment I discovered what food styling is all about: making food look enticing and succulent for the camera. Realistic and edible are not required.
Every once in a while, I will style food for local photographer Ellen Callaway. Together we created a portfolio of food shots. Unlike the recipes I create for my blog, we pick dishes that inherently will work for the camera. Because of that early childhood trauma, I refuse to stage food that is not created according to the recipe accompanying the shot.
For a recent photo shot, I wanted to create a pasta dish with chanterelle mushrooms, but only hedgehogs were available.
Fettuccine with Wild Spring Mushrooms and Parmesan
½ pound fettuccine 3 scallions, cut lengthwise into 4 pieces each 2 tablespoons extra virgin olive oil 3 tablespoons butter ½ pound chanterelle or hedgehog mushrooms, brushed clean and cut into quarters 3 garlic cloves, sliced 1 shallot, peeled and finely chopped 1 tablespoon fresh thyme, chopped ¼ cup dry sherry Salt, pepper and lemon juice to taste Freshly grated parmesan
1. Cook pasta according to package directions. One minute before it’s done, add scallions to the water. Drain pasta and scallion together and toss with olive oil. 2. Meanwhile, heat a large skillet over medium high flame. Add butter. When it’s melted, sprinkle the mushrooms in one layer in the pan. Top with a sprinkling of garlic, shallots, thyme, salt and pepper. Let cook for 3 minutes without stirring. Stir and then let cook for another 3 minutes. 3. Deglaze the mushroom pan with sherry. When mostly reduced, adjust seasoning with salt, pepper and lemon juice. 4. Toss pasta with mushrooms. Serve with freshly grated parmesan cheese.
Another 6 inches of snow fell in Cambridge this week, and the warmth of Vietnam seems so far away. Since, I know we have another few months of winter, I try to conjure up memories of steamy summer nights… sitting on the back porch eating a light summer meal – a cold salad, maybe, with grilled meat or fish… the scent of honeysuckle wafts through the air; a few beads of sweat trickle down my back. And the warm breezes that bring relief… aaahhh summer…
What I didn’t tell you this summer, when I was knee deep in tomatoes and jars, is that I really don’t like canning. It’s a long process. The largest pot I own only holds 8 pint jars… and with this pot on the stove, I only have enough room for a second pot of simmering tomatoes. It takes many, many batches and a solid day or two to process enough tomatoes and peachy mama peppers to get me through the winter. But now that it’s the dark days of winter, I’m so grateful for my stash!! And indeed my appreciation stays with me through the summer canning process.
Simple pasta tossed with a can of tomatoes and a basil “ice cube” offers the quintessential taste of summer. Still simple, but with a more complex ingredient list, I toss quinoa and black beans with the tomatoes and basil and serve it with grilled chicken sausage. Can you feel the warmth?
Black Bean Quinoa Salad 1 cup dried quinoa 1 cup cooked black beans 1 pint jar of summer canned tomatoes 1-2 ice cubes of basil 2 scallions, cut into rings 1/2 lime, juiced salt and pepper to taste
1. Rinse quinoa under cold running water.
2. Put quinoa in a pot with 3 cups of water. Add 1 teaspoon salt. Bring water to a boil over high heat. Reduce heat to a simmer, and cover pot. Cook quinoa for 10 minutes, or until grains pop open and have a little tail. Drain any excess liquid.
3. Toss quinoa with remaining ingredients. Serve with chicken sausage.
I’m submitting this recipe to Andrea’s Grow Your Own, a blogging event that celebrates the dishes we create from foods we’ve grown, raised, foraged, or hunted ourselves.
I know, I know. I just came back from vacation, but with a fresh 10 inches of snow on the ground, I am craving the warmer weather. “Only 2 more months,” I tell myself, before the weather starts to turn around.
Last night, I was invited to a friend’s house for dinner. When asked what I could bring, she appreciatively suggested I bring a starch to accompany the steak and broccoli they were serving. I knew the steak would have some hearty spices and the broccoli with a heavy hit of lemon and garlic. I opted for tater tots, which gave me a good excuse to open a can of the smoked tomato ketchup I canned last summer. I knew that the flavors would be strong enough to hold their own with the steak, but straightforward as to not clash with the spices.
4 yukon gold potatoes ½ cup parmesan cheese ½ cup flour 1 – 2 teaspoons salt 1 egg 1 cup panko crumbs 1 cup clarified butter or canola oil
1. Put potatoes in a pot and cover with cold water. Bring to a boil and cook potatoes until tender, about 20 minutes. 2. When potatoes are cooked, drain them and put them through a potato ricer. The ricer will extract the skin from the potatoes, so no worries. Alternatively, you can grate the potatoes using a food processor or hand grater. In any case, grate the potatoes while they’re still warm
3. Let potatoes cool to room temperature
4. Mix potatoes with parmesan cheese, flour, salt (to taste) and egg.
5. Divide dough into 4 balls and roll potato dough into 4 logs. Cut each log into 1 inch pieces.
6. Roll each tot in panko bread crumbs. If you’d like, you can further reshape the tots to a round shape.
7. Heat a large skillet over medium high heat. Add butter or oil. In batches, cook tots on all sides until evenly browned, about 5 minutes. Serve with ketchup.
I'm submitting this recipe to this month's Potato Ho Down, being hosted by the delightful Christie of Fig and Cherry.
Russo’s Market in Watertown has an extraordinary produce selection – appealing to just about every ethnic group from South East Asian to Armenia to Europe and the Americas. I can often find unusual herbs and vegetables that I’ve seen in my travels or in ethnic cookbooks. It makes for more adventurous culinary experimentation. There are several things I see on a regular basis that I have no idea how to use. One such thing is methi leaves.
When I signed up to participate in “Taste & Create,” I didn’t expect to encounter such exotic ingredients. Taste & Create is a monthly food blog event, in which participants are randomly paired with other food bloggers and asked to choose and prepare a recipe from their partner's blog. I was paired with “Tasty Curry Leaf.” The recipes on this blog have a decided Indian, vegetarian bent. As I browsed through the recipes looking for something fun to try, and I was beside myself to find a recipe that used an ingredient I had seen in the markets, but had never cooked.
I’m not as familiar with Indian cooking so I was intrigued by some of the techniques. Most notably, the raw potatoes are salted before cooking. The excess water is squeezed out. And unlike typical French fried potatoes, the salty seasoning penetrates and satiates.
The methi leaves are considered a vegetable and not an herb. As they are sold with the roots attached, like cilantro or basil, this was not overtly obvious. When cooked, they retain more substance than spinach but have a similar texture: a cross between crunchy and creamy. If you can't find methi leaves, watercress would make a fine substitution.
Though the spice combination is straightforward, the flavors are quintessential Indian: a wonderful and simple recipe. The one modification I made was the addition of a few drops of lemon juice. The next day, we made omelets with the leftovers.
Ingredients:
Potato:1 cubed Eggplant:1 cubed (long purple Chinese eggplant/long green eggplant) Methi leaves: 1 bunch Onion: 1 medium Tomato:1 medium Chilli powder:1/2 tsp Coriander Powder:1/2 tsp Turmeric Powder:1/4 tsp Salt:as per taste
Preparation:
Cube the potato and eggplant.Apply salt to them and deep fry in hot oil after squeezing them.For potato cubes,you soak them in salted water in order to season them and also prevent them from turning brown. For eggplant you simply apply salt and keep aside.You squeeze the salted eggplant to remove the bitterness if any.Make sure you squeeze the potatoes and eggplants as well before deep frying.
Now you can avoid deep frying by roasting them in the oven.This is my enhancement to the masala.You squeeze the salted potatoes and eggplant cubes and roast them in a 475F oven for 20 minutes (potatoes) and 10-15 minutes for eggplants in a greased dish.
Chop onions into long thin pieces.Cube tomatoes as well.You can also use tomato puree or tamarind paste/concentrate instead of tomatoes.Chop the methi leaves.Keep aside.
Heat oil in a pan.Add chopped onions,saute till brown.Then add tomatoes cubed/pureed/tamarind concentrate,fried /roasted cubes and salt and powders.Saute till oil separates,add methi leaves and saute for a second then add water and cook till done.
Over at Very Good Taste, they have a little challenge. They put together a list of 100 foods that they think every good omnivore should try at least once. I could add a few things to this list — based on strange, and usually unfortunate things I've eaten — like beaver, cow's foot or steak and kidney pie.
Want to play along? Here’s what you do:
1) Copy this list into your blog or journal, including these instructions. 2) Bold all the items you’ve eaten. 3) Cross out any items that you would never consider eating. (Julia’s note: I’ll try anything once… at least a small bite) and let me know the things you think are missing from the list!
The VGT Omnivore’s Hundred:
1. Venison (I even have a few pictures of the deer, but I don’t think you want to see them J) 2. Nettle tea 3. Huevos rancheros 4. Steak tartare 5. Crocodile (probably when I was 19) 6. Black pudding 7. Cheese fondue 8. Carp 9. Borscht 10. Baba ghanoush 11. Calamari 12. Pho 13. PB&J sandwich 14. Aloo gobi (see below for my recipe) 15. Hot dog from a street cart 16. Epoisses (yummy, creamy, salty goodness) 17. Black truffle 18. Fruit wine made from something other than grapes (and I don’t particularly recommend it) 19. Steamed pork buns (best part of Chinese Dim Sum) 20. Pistachio ice cream 21. Heirloom tomatoes 22. Fresh wild berries 23. Foie gras 24. Rice and beans 25. Brawn, or head cheese 26. Raw Scotch Bonnet pepper – I’ve eaten other varieties raw. 27. Dulce de leche 28. Oysters 29. Baklava 30. Bagna cauda 31. Wasabi peas 32. Clam chowder in a sourdough bowl 33. Salted lassi 34. Sauerkraut – though I do prefer my Reuben’s with coleslaw. 35. Root beer float 36. Cognac with a fat cigar 37. Clotted cream tea 38. Vodka jelly/Jell-O (I’m thinking I had one during my college years, but I must have black it out) 39. Gumbo 40. Oxtail 41. Curried goat 42. Whole insects (- chipolines in Oaxaca Mexico) 43. Phaal 44. Goat’s milk 45. Malt whisky from a bottle worth £60/$120 or more 46. Fugu 47. Chicken tikka masala 48. Eel 49. Krispy Kreme original glazed doughnut 50. Sea urchin 51. Prickly pear 52. Umeboshi 53. Abalone 54. Paneer 55. McDonald’s Big Mac Meal (I must have had one when I was in junior high school) 56. Spaetzle 57. Dirty gin martini 58. Beer above 8% ABV 59. Poutine 60. Carob chips 61. S’mores 62. Sweetbreads 63. Kaolin 64. Currywurst 65. Durian A most unfortunate experience. The durian barely hit my tongue before I spit it out. 66. Frogs’ legs 67. Beignets, churros, elephant ears or funnel cake 68. Haggis 69. Fried plantain 70. Chitterlings, or andouillette 71. Gazpacho 72. Caviar and blini 73. Louche absinthe 74. Gjetost, or brunost 75. Roadkill 76. Baijiu 77. Hostess Fruit Pie 78. Snail 79. Lapsang souchong 80. Bellini 81. Tom yum 82. Eggs Benedict 83. Pocky 84. Tasting menu at a three-Michelin-star restaurant. So close, I had a tasting menu at Le Bristol in Paris, only a two star restaurant 85. Kobe beef 86. Hare 87. Goulash 88. Flowers 89. Horse 90. Criollo chocolate 91. Spam – I’m proud to say no! 92. Soft shell crab 93. Rose harissa 94. Catfish 95. Mole poblano 96. Bagel and lox 97. Lobster Thermidor 98. Polenta 99. Jamaican Blue Mountain coffee 100. Snake – In the bayou country of Louisianna
For a grand total of: 81! What's your score?
1 lb. cauliflower, separated into florets 3 tbs. ghee ½ tsp. brown mustard seed ½ tsp. cumin pinch fenugreek ½ tsp. turmeric 3 slices fresh ginger, minced 2 cloves garlic, finely chopped 1 onion, finely sliced 1 tomato, chopped 1 fresh green chili, sliced ½ tsp. salt Heat ghee and fry mustard seeds until they start to pop. Add cumin, fenugreek, turmeric, ginger, garlic and onions. Cook, stirring frequently, until onions are soft. Add cauliflower, and stir until well coated. Add tomato, chili, 1/4 cup of water and salt, and cook covered for 15 minutes, or until cauliflower is tender.
Each morning, while savouring my first cup of coffee, I inspect the garden for what’s ready or near ready to harvest.It’s been an exciting week: 3 Chinese eggplants, 2 Italian eggplants, 5 cucumbers, 4 tomatoes, 3 kohlrabi and lots of herbs.I had wanted to take a photo of the bounty, but I’ve been eating everything just as quickly as I harvest.
The cucumbers are surprisingly sweet.Cut in half or sticks, they make a great snack. I’ve sliced tomatoes with the intention of making a sandwich, but with a little sprinkle of salt, I can’t get them from the cutting board to a plate without “tasting” them first.Needless to say, I have yet to make a sandwich or collect enough cucumbers to make pickles.
The eggplant is too bountiful to consume on my own.On Thursday evening, my neighbors (who have since returned from vacation and reclaimed their CSA subscription) and I combined the corn from their farm share with my eggplant for a Japanese-inspired vegetable feast: Miso-Rubbed Grilled Eggplant and Chile Glazed (think Spicy Tuna Roll sauce) Corn on the Cob.
3 Japanese Eggplant, sliced in half lengthwise 3 cloves garlic 3 tablespoons olive or canola oil 1 cup white miso ½ cup sugar ¼ cup mirin (sweet rice wine) ¼ cup sake
1. Finely chop garlic. Toss eggplant with garlic and oil to marinate.
2. Combine remaining ingredients in a sauce pot. Cook over medium heat, stirring constantly until completely combined and sugar has dissolved.
3. Prepare a charcoal grill. Grill Eggplant, cut side down, for 3 minutes or until lightly charred. Flip over and brush with miso paste. Cook for 2 minutes more. If you’d like, flip again to char the miso paste onto eggplant.
There are three big reasons why Even’ Star Farm’s produce is superior to its competitors. Since it’s organic, we know that it has not been grown with synthetic pesticides or artificial fertilizers. This does not necessarily enhance the flavor, but it protects the environment and our natural resources. More importantly, because they sell only to local markets, the produce is able to ripen on the vine instead of in the back of a truck. The produce develops sweeter flavors and better texture. Most importantly, though, is how farmer Brett protects his gene line of seeds.
When I start my garden in the summer, I purchase seeds and seedlings from random suppliers. I still have the advantage of growing all-natural and fully ripening on the vine, but am beholden to their quality control.
Seed management is a rather straightforward process. For every crop, you save the most flavorful, hearty plants and harvest the seeds for the following year’s crop. The sheer volume of seeds necessary for production farm like Even’ Star means that one person could work solely on this project, and work full time. Further, the seeds are harvested when the farm is in peak production – essentially doubling an already full workload. In the midst of harvesting tomatoes, okra, eggplant and watermelon, the crew generates hundreds of pounds of seed!
Each crop has different criteria for ideal. For the ancho chilies, it’s the size, shape (perfect conical) and color (evenly red ripe). Meredith, who was charged this week with harvesting the breeders, had to taste each pepper to make sure the heat level was appropriate. Brett wanted just the slightest hint of spice. For the arugula, the seeds are saved from the hardiest plants that survive cold, frost and wind. The peachy mama’s which have an obscenely long maturation time, are bred to shorten that span. The tomato seeds are selected from the healthiest, disease-resistant plants. After several years of picking the best seeds, the gene lines get better and better. So good in fact, that Brett sells his seeds to Fedco in Waterville, ME – a national, highly regarded seed supplier. Even’ Star seeds sell for 4 times more than the equivalent “generic” variety.
You may recall that earlier this season, I harvested some of my broccoli raab seed for Brett. Because the raab had “wintered-over”, that is, it re-grew after being buried for 5 months under a blanket of snow and ice. Should Brett be able to grow raab from this seed, the plants will be more tolerant of cold weather.
To keep the workers/crew happy through all this work, I usually make them special lunches when I visit. One of their perennial favorites is arepas. The corn comes from Alan Sivak, whose farm is just 2 miles down the road.
Arepaswith Tomatillo Salsa
1 – 1 lb. bag hominy 4 ears corn 1 tbs. chopped garlic 4 scallions, chopped 2 tbs. chopped cilantro *or more 1 – 2 cups grated jack cheese 3 tbs. butter salt and pepper plain oil
3 green tomatoes or tomatillos, finely diced 1 red pepper, finely diced 1 onion, finely diced 1 tsp. Tabasco (or more to taste) 1 smoked tomatoes, chopped 1 tbs. lime juice 3 scallions, thinly sliced 2 tbs. chopped cilantro salt and pepper to taste
1. Cook hominy according to package directions. 2. Heat a large skillet. Melt butter. Add the corn, then the garlic. Cook over medium heat until the corn begins to roast and brown. 3. Drain hominy. Grind with a medium hole. Grind corn and garlic mixture as well. 4. Mix in by hand the jack cheese, scallion and cilantro. Season to taste with salt and pepper. 5. Form patties with dough. Pan fry in plain oil until crispy on both sides.
The Potomac River and Chesapeake Bay converge in Southern Maryland’s St. Mary’s County, and is home to Even’ Star Organic Farm. Brett Grohsgal, a former chef and former boss of yours truly, owns the farm with his wife Christine. In the summer on this fertile 100-acre parcel, they raise 25 varieties of heirloom tomatoes, as well as chilies (including my favorite – peachy-mamas), cucumbers, four varieties of watermelon and okra. They sell their produce at farmer’s markets in DC and Virginia, and to restaurants in the DC metro area. I treasure my visits to the farm because of the nonpareil produce and meats. The cooking is simpler because we cook mainly with farm products and other local produce.
Now that I’ve left Sebastians, I finally have time to visit the farm, and reconnect with (of course, Brett, Chris and Allesandra, but also) where our food comes from. I’ve been visiting the farm for as long as they’ve lived here – over 10 years – but it seems I am always learning and discovering something new.
The farm is “working” three seasons – harvesting the last of the winter crops, coaxing the spring crops and getting the summer crops in the ground. In terms of salable produce, the winter crops trickled down – mostly lettuces and braising green. The spring crops have not yet reached peak – the strawberries are only yielding a pint or two a day. Instead of gleaning the crops for maximum yield, Brett and his crew are working feverishly to get the summer crops in the ground.
Timing the planting of the summer crops is crucial. Last year, the farm experienced the worst drought on record, with less than 1” of rain from April 15 to October 1st. The effects were severe at best, but would have been tolerable if the crops had been in the ground long enough to establish their root systems. This year, Brett’s not taking any chances.
With a soaking rain forecast for Sunday, the mad dash begins to prepare the land. The clover that grew through the winter – 3 feet tall with red flowers — will now be turned into the soil nourishing it with nitrogen and other critical compounds. When the rain stops, the soil will be tilled and is now ready for planting the next day. First crop in: Sweet Potatoes.
The other trick in timing is the temperature. In Southern Maryland, the last frost can be relatively early, in March or April. And every year, Brett experiments with getting a crop of tomatoes in the ground by mid-April so that he can be the first to market with ripe, field tomatoes in June. This week, the temperature may drop to 38F at night, which is cutting it close: the tomatoes seedling were just transplanted 5 days ago – but should still be fine for the tomatoes. A second round of seedlings in the green-house will put Brett at the market at the same time as other farmers… and these are his fail-safe.
End of the Season Cannellonis
With a twinkle of summer on the horizon, I’m less abashed using up my canned tomatoes from last summer.
12 Pasta Sheets cut into 4” squares 3 tablespoon olive oil 2 cups homemade ricotta ¼ cup parmesan cheese 2 tablespoons sliced garlic 1 pound braising greens 1 tablespoon butter 1 tablespoon chopped shallots ¼ cup white wine 2 cups home-canned (preferably smoked) tomatoes Salt, pepper and lemon juice, to taste Cream and extra parmesan if desired.
1. Bring a large pot of salted water to a boil. Cook pasta sheets for 3 minutes. Drain, rinse under cold water, and drain well. Toss with 2 tablespoons olive oil. Set aside.
2. Heat a large skillet over high heat. Add remaining 1 tablespoon of olive oil. Add sliced garlic. When the garlic starts to brown, add the green. Cook, stirring often, until the greens have wilted but are still bright green. Remove from pan to cool. Coarsely chop.
3. Make the filling by combining the ricotta, parmesan and braised greens. Season to taste with salt, pepper and lemon juice.
4. In a sauce pot – melt butter over medium heat. Add shallots and cook until translucent, about 4 minutes. Add wine, and cook until evaporated. Add tomatoes and simmer for 10 minutes. Puree. Season to taste with salt, pepper and lemon juice (and a touch of cream if desired).
5. Roll pasta sheets with about 2-3 tablespoons of the filling. Put sauce in the bottom of a 9” x 13” pyrex dish. Place rolled cannellonis top. Drizzle cream and/or parmesan on top if desired Bake for 30 minutes at 350, or until bubbly delicious looking.
Pasta dough: 1 lb. semolina flour, plus extra for dusting 4-5 large eggs as needed 1 tbs. olive oil 1 tsp. salt
1. Make a well in the flour, and add 4 of the eggs, olive oil and the salt.
2. Beat the eggs with a fork, gradually bringing in the flour from the sides of the well, until the paste has thickened enough so the liquid will not run onto the counter. Switch from a fork to a pastry cutter. Bring all the flour into the already wet part and cut through the dough several times until it is evenly moistened. Start kneading with your hands until the dough forms a ball and looks homogenized, about 8 minutes.
3. If the dough becomes stiff, and refuses to bend, rub in a little of the remaining egg. If the dough becomes too moist, add a bit of the flour.
Work the dough by machine: 4. Divide the dough into 3 balls, and let rest under a damp towel for 20 minutes. Start working the dough through the pasta machine starting with the widest setting. After running it through the machine, fold it into thirds, and run it through again. When the dough is smooth, run the dough through the machine through successively smaller settings. The dough will stretch out, and be rolled very thin.
5. When you have achieved thin sheets, you can let the dough rest for a few minutes before filling or cutting
Ricotta 1 quart whole milk 1 cup heavy cream 4 lemons, juiced 1/2 teaspoon salt
In a non-reactive 2 quart saucepan heat milk and cream to a boil and immediately remove from heat. Add juice and salt, stir well and let sit for 20 minutes. Line a conical sieve with cheesecloth or coffee filters and pour through, allowing the whey to drain out. Let stand at room temperature for 2 hours.
 Once a year, I retreat to Kripalu in the Berkshires of Western, MA for a weekend of yoga, relaxing and cleansing. The tranquil setting offers a respite from all the toxins of my urban lifestyle – noise, pollution, decadent eating and drinking.


