Boys and Girls

Zucchini-boy-and-girl Last year, I planted 20 zucchini seeds hoping for a bountiful squash blossom harvest. Any less would not yield enough blossoms for more than just a taste. Part of me was scared with this strategy because of the plants bountiful nature. I envisioned myself peddling zucchini up and down my street. It turns out, I had nothing to worry about.

I did not harvest a single zucchini.

And in case you’re wondering, it’s not because I harvested all the blossoms before they had a chance to metamorphose into zucchini. Early in the squash blossoms life, it reveals its destiny.


As the blossom grows, look at the stem. If the stem remains a stem: no zucchini.
Zucchini-boyjpg
Might as well harvest the blossom and enjoy them in one of these recipes:
Summer Vegetable Quiche
Fried Stuffed Squash Blossoms

For tips on when to pick squash blossom, read this post.

If the stem thickens to resemble a petite courgette, then you have the option to enjoy the blossom or leave it be to let the squash mature.
Zucchini-girl
This year, I planted only 3 zucchini. I had my fill of blossoms last year, and now I just want squash. As these photos were taken today, I’m hopeful.

I’m curious to know what’s different this year. Already, the plants show signs of squash. Last year, there were none. I have a few theories:

1. The soil seems to be in better condition as witnessed by all the earth worms squirming around.
2. Last year, I planted a single seed every few inches, unlike the recommend 3 seeds per mound. I wonder if the seeds “mate” to produce the vegetables.

What do you think happened?
Co-Strangulation

When I began planning my garden for the season, I envisioned spring peas climbing up a little garden fence I posted in the back of the plot. I would start the cucumbers in early May, 6 inches away from the pea vines, and by the time the cucumber plants reached a substantial size, the peas would be over, and the cucumbers would begin to train up the same fence.
See how the cucumber tendrils wrap around the fencing? The pea tendrils do the same thing. The challenge, of course, is to constantly adjust the plants so that the tendrils clench on to what you want, and not onto other plants, strangling the leaves and potentially killing other plants.

In my case, the tendrils of the cucumbers and peas got into a wrangle. I don't know how else to describe it, but co-strangulation.

The peas came out of the garden today. Honestly, I think this is the last year I'll grow peas. When I decided to plant them, I thought the young leaves would be a lovely addition to my spring mesclun mix. As the vines matured, I would have the snap peas. The leaves (tendrils) were too tough and the most peas I was able to harvest in a 3 day period fit into the palm of my hand.

Recycling the 4th

Bolognese When organizing a party, the general rule of thumb is that 60% of the guests will accept the invitation. Somewhere in planning a 4th of July pot-luck in the garden, I messed up the numbers, as I ended up with 15 guests.

Granted, I was thrilled that so many wonderful people could join me, I just don't have the accouterments for that many guests, and had to resort to disposable plates, cups and flatware. During a last-minute run to Target, I was thrilled to discover biodegradable plates made from recycled paper. I didn't feel as guilty about creating all that trash knowing that some of it would end up in the compost bin.
Chinet-2
I billed the dinner as "pot-luck." But as I evaluated the guest list — considering who would bring food vs. beverages vs. nothing at all, I decided it was best if I just cooked enough to cover all the bases. As my friend Paul teased, I could have feed all the guests just on the hors d'ouevres, never mind the assortment of salads, as well as burgers and fixin's.

Needless to say, I had leftovers. From the burger bar, I had leftover patties, tomatoes and onions. From the crudite, I had celery and carrots. Do you see where I'm going with this? With a sprig of basil from the garden and a grating of fresh parmesan, the leftovers hardly felt recycled.

Here's my original recipe with modifications for cooking with leftovers.

Pasta Bolognese

¼ cup olive oil
1 ½ cups diced yellow onions (or red onions)
½ cup diced carrot
½ cup diced celery
2 tsp. salt
1 tsp. black pepper
2 lb. ground beef (or leftover grilled hamburger patties)
2 cups tomato sauce/puree (I pureed raw tomatoes which were quite watery, negating the need for extra broth)
1 ¾ cups beef stock (no need if using fresh tomatoes that are watery)
1 cup dry white wine (surprise, surprise, I had left over of this too)

1. Heat olive oil over medium heat in a large sauce pan. Add onions, stirring occasionally, until wilted and lightly browned. Add carrots, celery, salt and pepper and continue to cook for 5 minutes

2. Season meat with salt and pepper. Add to pan, breaking up meat with back of a spoon. Continue cooking until meat is cooked through, about 5 minutes.

3. Add tomato sauce, wine and stock. Simmer for a very long time.

4. Adjust seasoning with salt and pepper. Serve with pasta, or use for your favorite lasagna recipe

Bumper Crops (Recipe: Goma Spinach)

Spinach---goma
Last week, I visited Waltham Fields Community Farm for a reading by Lisa M. Hamilton, author of Deeply Rooted: Unconventional Farmers in the Age of Agribusiness. They asked me to prepare a few salads with their produce to serve the attendees.

Lisa-hamilton

With all this rain and cool weather, they had a glut of spinach. So much that they could not keep up with the harvest and the leaves were rather large by the time they did. They gave me 11 pounds for the event.

Such spinach is ideal for cooking, less so for a salad, because cooking reduces its mass considerably. My crate cooked down to about ¾ gallon in volume. I snagged a little off the top to eat with my own dinner the night before the event, and reheated it in garlic and olive oil. If I had more, I would have frozen it. The remainder I served with a Japanese style sesame dressing.

Chilled Spinach Salad with Sesame Dressing

(Goma Spinach)

1 pound fresh spinach, washed
8 tablespoons roasted sesame seeds
2 tbs. sake
2 tsp sugar
2 tbs. soy sauce
1 tbs. rice vinegar
¼ cup water or dashi

Heat a large skillet over high flame. Add spinach (no oil, just the residual water from washing). Cook the spinach just until it wilts, turning occasionally.

Chill spinach in refrigerator.

Meanwhile, in a food processor, combine the remaining ingredients together. Blend until smooth.

Squeeze out excess water from spinach. Drizzle dressing on top just before serving.

Buy Local Challenge

"I pledge to eat at least one thing from a local farm every day during Buy Local Week!"

Join me in this challenge: All you have to do to take the challenge is commit to eating local during Buy Local Week (July 18 – 26 in 2009).

Why is buying local so important?

  • Local food is fresher and tastes better than food shipped long distances. Local farmers can offer varieties bred for flavor rather than for long shelf life.
  • With each local food purchase, you ensure that more of your money spent on food goes to the farmer. Buying local food keeps your dollars circulating in your own community. In Massachusetts, if every household purchased just $12 worth of farm products for eight weeks (basically the summer season), over $200 million would be put back into the pockets of our farmers.
  • Locally grown food retains more nutrients and is less likely to cause foodborne illnesses than food that is shipped from far away. Buying local enables you to choose farmers who may avoid or reduce their use of chemicals, pesticides, hormones, antibiotics or genetically modified seed.
  • Buying from a local farm cuts down on the distance food travels, reducing the consumption of oil and carbon emissions nationwide.

When you buy local, you help to ensure that the benefits of our farms survive for many years to come.

Can you take the challenge?

For more information on the Buy Local Challenge, click here.

Psst, pass it on.

August Will Come

Ricotta-ravioli2 "Midnight will come tonight as it does every night." Those were Frank King's famous words as he pranced through the kitchen I was working in —they were meant to be a comfort as we cooked as fast as we could on a busy Saturday night. At 8 o'clock, I could not see beyond the five skillets I was juggling on the stove-top and as many in the oven. Stacks of plates awaited roast chicken, seared foie gras and soft-shell crabs.

As I look out the window at the gray skies, I think of Frank, slightly modifying his famous words, "August will come as it does every year."

Last summer, I canned 24 quart jars of tomatoes, which I have judiciously used over the winter. With August just around the corner, I know I will soon again be knee deep in the coveted summertime queen of the garden. I’m more brazen using the last few jars of tomatoes in my cooking.

This week, I made ricotta ravioli, served atop garden kale and tomato coulis. The pea greens on top also came from the garden. Alas, I did not have much for more than a garnish.…

Ricotta Ravioli with Tomato Coulis

Filling:

1 ½ cups fresh ricotta
¼ cup parmesan
2 tablespoons fresh basil
Salt and pepper to taste

1. Mix everything together.

Pasta dough:

2 ¾ cups unbleached all-purpose flour, plus ¼ cup for dusting
4-5 large eggs as needed
1 tbs. olive oil
1 tsp. salt

1. Sift 2 ¾ cup flour onto a clean counter. Make a well in the flour, and add 4 of the eggs, olive oil and the salt.
Pasta-dough-1

2. Beat the eggs with a fork, gradually bringing in the flour from the sides of the well, until the paste has thickened enough so the liquid will not run onto the counter. Switch from a fork to a pastry cutter. Bring all the flour into the already wet part and cut through the dough several times until it is evenly moistened. Start kneading with your hands until the dough forms a ball and looks homogenized, about 8 minutes.
Pasta-dough-2
Pasta-dough-3
Pasta-dough-4
3. If the dough becomes stiff, and refuses to bend, rub in a little of the remaining egg. If the dough becomes too moist, add a bit of the flour.

Work the dough by machine:

4. Divide the dough into 3 balls, and let rest under a damp towel for 20 minutes. (This is a good time to make the rest of the recipe). Start working the dough through the pasta machine starting with the widest setting. After running it through the machine, fold it into thirds, and run it through again. When the dough is smooth, run the dough through the machine through successively small settings. The dough will stretch out, and be rolled very thin.

5. When you have achieved thin sheets, you can let the dough rest for a few minutes before filling and cutting. Use the remaining egg as glue for the ravioli sheets to stick together.

Tomato Coulis
1 tablespoon butter
1 tablespoon chopped shallots
1 – 16 oz. can best quality tomatoes
¼ cup white wine

1. Melt butter in a small saucepan over medium heat. Add shallots and cook for 3 minutes, or until soft. Add tomatoes and white wine.

2. Cook tomatoes until much of the water has evaporated.

3. Puree tomatoes in a blender. Season to taste with salt and pepper.

The Calendar Says Summer, But… (And give-away winners)

If you entered the “Random Apps of Kindness” giveaway, then you won! Lucky for you, only a few readers responded, so all will receive a random kindness. Just send me your mailing address to julia [at] growcookeat [dot] com. Don’t forget to pass it on.

For those of you keeping track, Boston broke all sorts of records this June, weather-wise. Many questioned if perhaps we had entered an alternate universe that combined the worst features of Seattle and London – only 5 days in the entire month were rain-free. Despite the dreary skies and cool temperatures, the garden is fairing pretty well.

I’m benefiting from a few changes, mainly that I planted more variety of spring crops. That meant that when the salad greens bolted from the heat (yes, there were a few hot sunny days back in May), I have other crops to sustain me until the summer vegetables ripen.

This week, I’ve harvested kohlrabi, kale and beets. All simply roasted with olive oil and garlic.

I no longer expect ripe tomatoes by July 4th as I had hoped before this strange weather pattern locked in over New England. Nonetheless, tomatoes continue to poke through the flowers, weighting the plants down. And though I’ve typically had little success growing heirloom varieties, the black krim shows fruit.

The cucumber plants flowered this morning announcing the location of the baby cukes – 7 – 10 days away from maturity.

Julia on Julie & Julia

When I had my business, Interactive Cuisine, I found the best marketing came from securing press coverage. I did a pretty good job over the years and a few newspapers even referred to me as, “The Other Julia.” Since we both lived in Cambridge, my mentors coached me to work this angle.

A few years into my business, I started hearing about The Julia Project. A woman named Julie was cooking her way through Julia Child’s Mastering The Art of French Cooking, blogging about, and she was getting tons of press for it. I’ll admit it, I was a little bitter. I should have been writing that blog! And getting all the press!

Julie Powell’s book, Julie & Julia came out a few years later. I obstinately did not look at it, purchase it, much less read it. But a few months ago, when I had credit at the used book store, I decided to get over myself and read it.

I’m glad I did, because it was a fun read! Perhaps, I can appreciate it more now as a fellow food-blogger. I enjoyed the voice she created and her ability to admit to her foibles and quirks. From a cooking perspective, I appreciate the challenges of cooking classically French. I recall learning many of the recipes and techniques in culinary school, and know that they take practice. I wonder now, 17 years after I started cooking professionally, would I be able to successfully cook through Master the Art of French Cooking?

Did you read the book or follow the blog?

Urban Gardening at its Best!

Outside the second story window of an apartment building on Hampshire Street in Cambridge…

The gutters have been repurposed….

Perhaps most intriguing is the upside-down tomato plant.

Free Range Eggs (Recipe: Oleana’s Deviled Eggs)

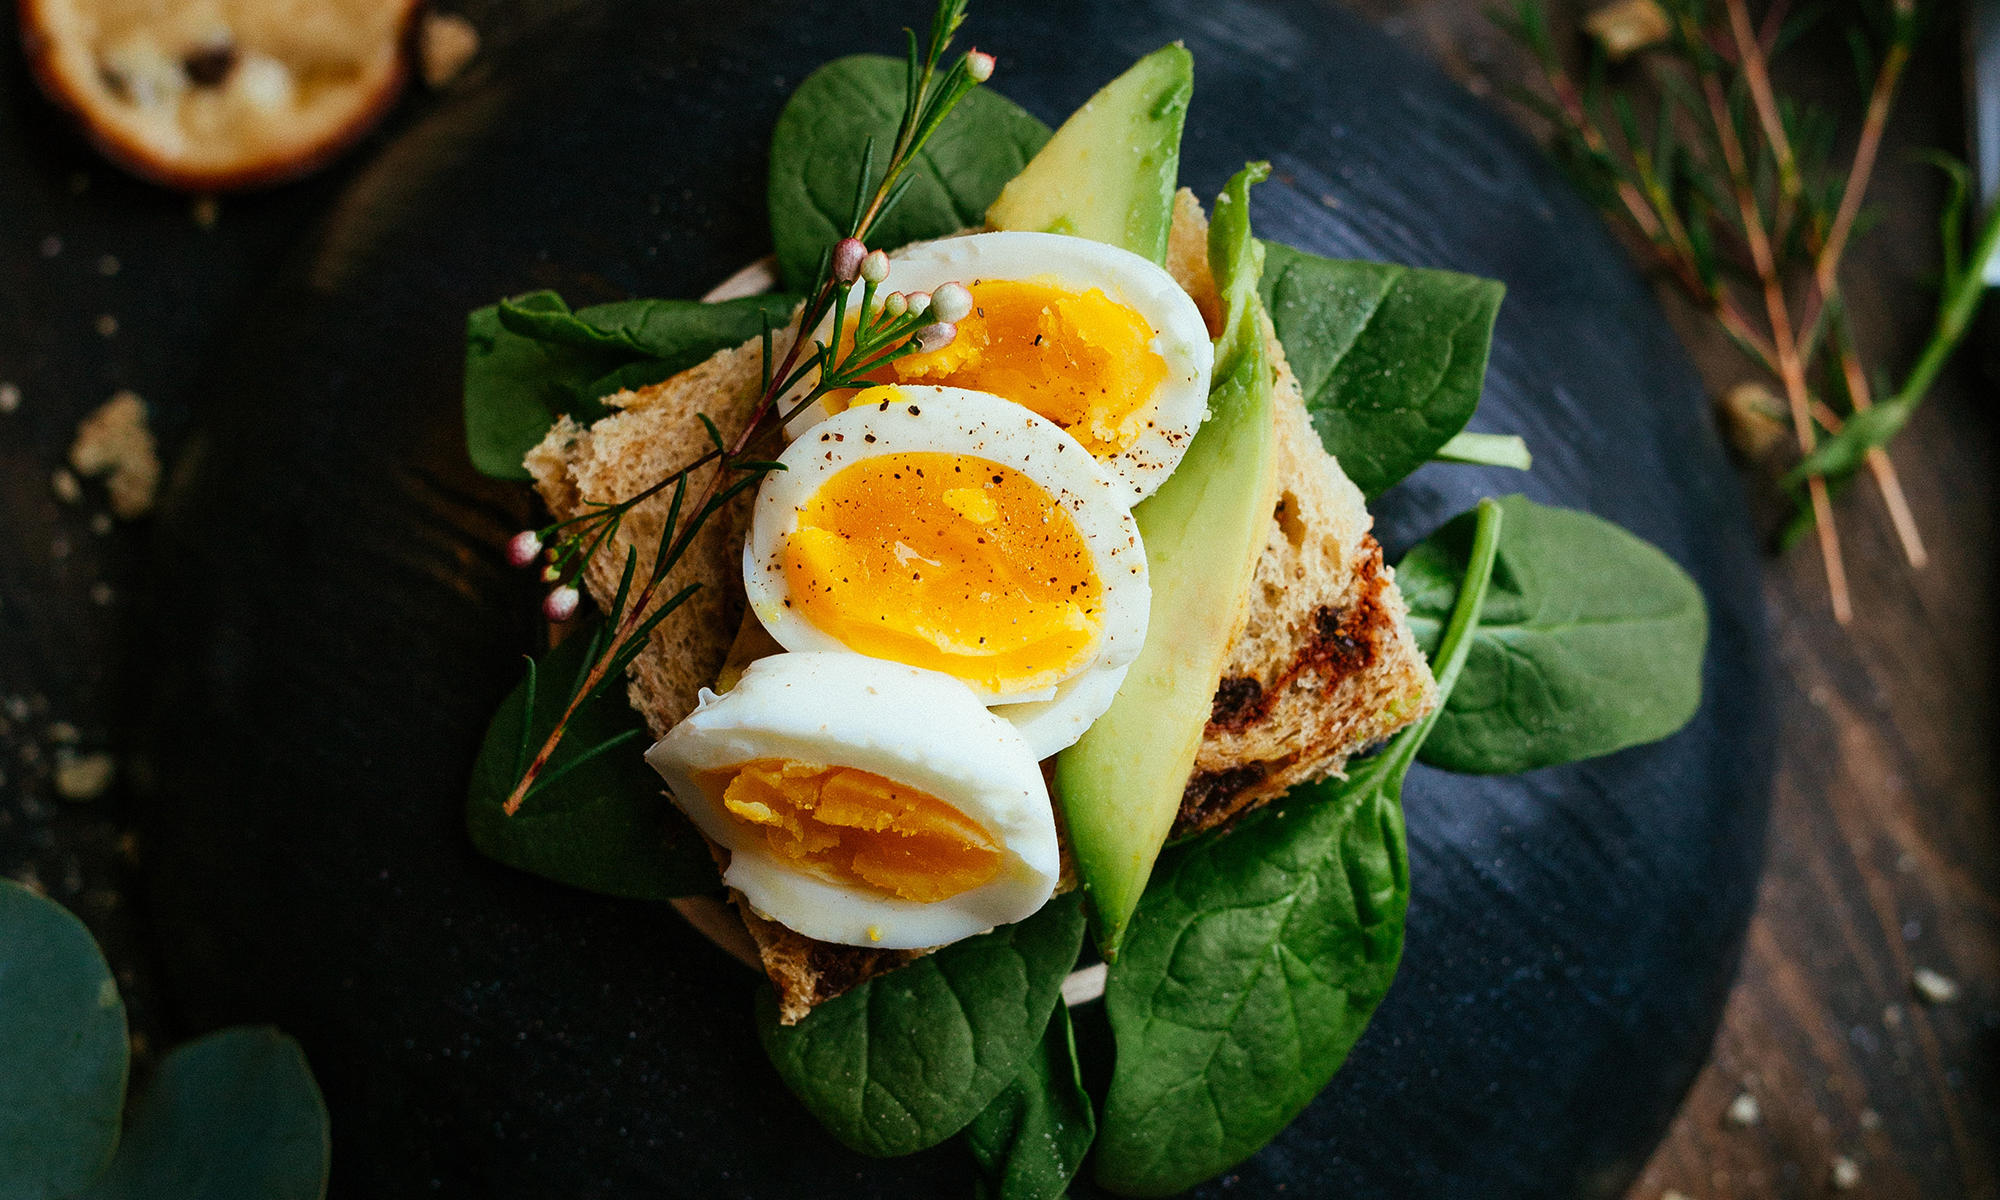
Amazing things happen when animals can roam freely. From all this exercise, more blood flows through their muscles, yielding meat that is more is more flavorful and also has a little more texture. And when egg-laying hens roam freely, the eggs taste better too!

Cooking farm-fresh eggs is different than regular supermarket eggs. They cook more quickly. When used in cakes or other baked goods, the results are lighter. The yolks tend to be more orange and flavorful as a result of the grain and grass diet.

When I get fresh eggs, I tend to make egg salad or deviled eggs so I can really appreciate the flavor and texture. Lately, I’ve tired of my usual recipe and decide to branch out.

With a recent dozen, I made a simple deviled eggs, seasoning the yolks with mayonnaise, mustard and cumin…

And the recipe from Oleana for Deviled Eggs with Tuna and Black Olives…
Ana Sortun's Deviled Eggs with Tuna and Black Olives
1 tablespoon extra virgin olive oil
1 cup minced fresh tuna (about 6 ounces)
1 scallion, minced
1/2 cup minced celery
Tiny pinch curry
Salt and pepper
8 hard-boiled eggs, split in half lengthwise, with yolks and whites separated
1 cup thick mayonnaise, preferably homemade
1 tablespoon chopped parsley
8 black olives, pitted and finely chopped
1 plum tomato, finely chopped

Heat oil in a medium saucepan over high heat. Add the tuna, scallion, celery, curry and salt and pepper. Cook until the tuna is just opaque, about 3 minutes. Cool and drain well.

In a small mixing bowl, mash the egg yolks with a fork. Stir in the mayonnaise, tuna, and parsley. Season with salt and pepper.

Season the egg whites with salt and pepper and fill their centers with heaping spoonfuls of the tuna egg filling. Top each with a black olive and tomato.