One Trick Pony (Recipe: Cauliflower Masala)

Cauliflower-masala

After a recent Slow Money meeting at The Elephant Walk, several attendees and I retreated to the bar to continue the conversation of how we can better develop and support the local food economy.  Several cocktails in, the head of our local chapter invited himself (and everyone else having drinks with us) to my house for dinner.  We all pulled out our iPhones and Blackberries and found a date that worked for everyone. 

When the booze wore off, a round of emails confirmed that dinner was still on.  And the pressure was on me to come up with an interesting meal.  Despite the fact that I haven’t cooked professionally for over 2 years, and no one in this group had ever eaten my food, I still had a reputation for being a really good chef. 

My style of entertaining has decidedly mellowed over the years.  Gone are the days of plated 3-course dinners and a la minute cooking. Now I serve (heavy) hors d’oeuvres followed by a family-style main meal, and everything is cooked in advanced.  I’d rather sacrifice a little refinement in favor of enjoying my company.

Not feeling very creative, I decided on Tandoori Lamb.  I like it because it’s easy to prepare, but still has a complex flavor that always impresses.  Though I’ve made this dish many times for many occasions, no one in this group had had it before.

To shake it up a little, I served it with Cauliflower Masala, another traditional Indian dish…Oddly, I had only prepared this recipe with broccoli, favoring the bright green color and flavor that seems better suited to a pan sauté/steam.   Because steamed cauliflower had little appeal to me, I decided to roast the cauliflower separately – to achieve the wonderful, caramelized brown flavor, and then top it with the roasted spices and tomatoes of the more traditional recipe. 

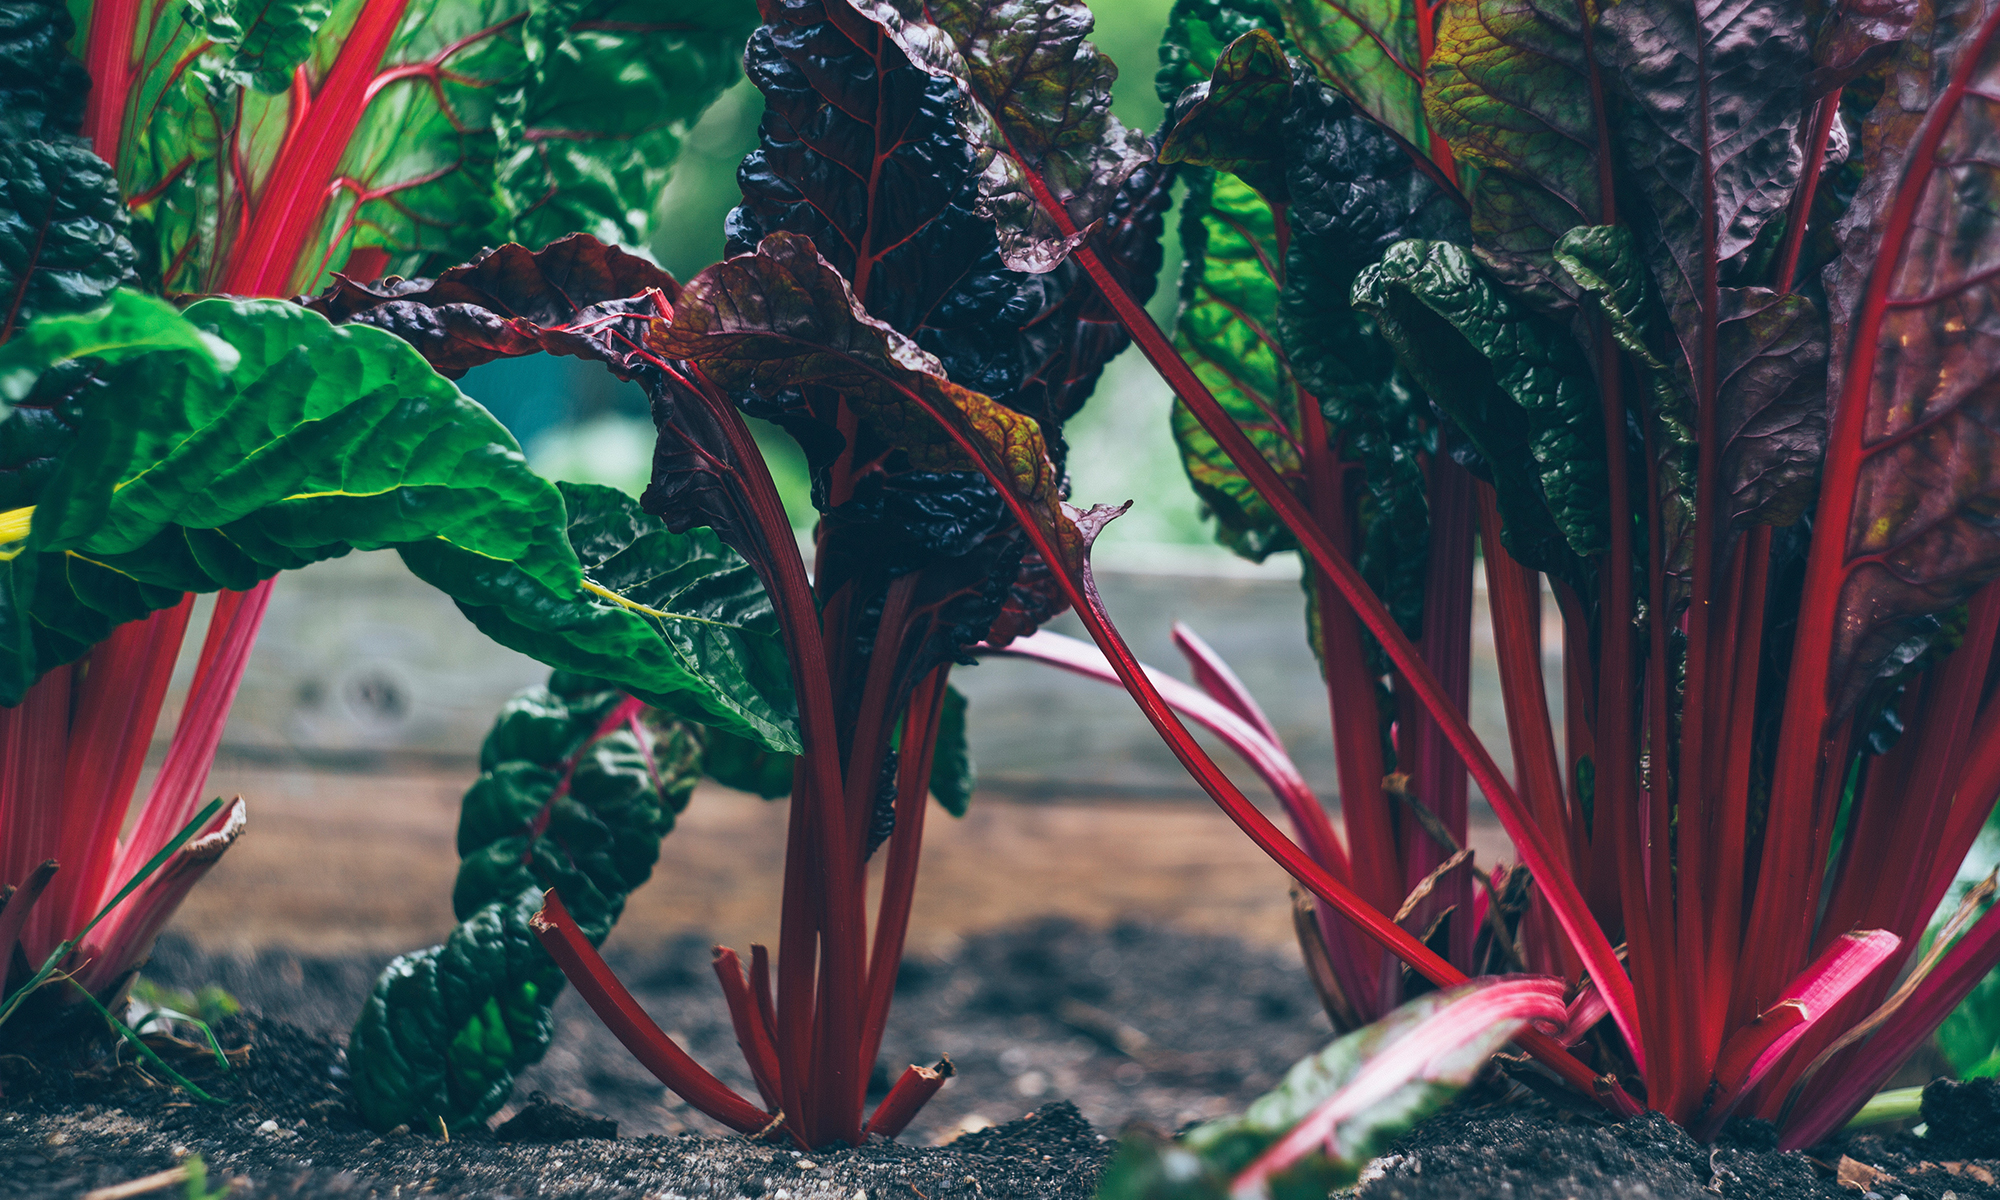
From the garden: the last tomatoes of the season, garlic, chilies, scallions

Cauliflower Masala
(adapted from Singapore Food )

1 head cauliflower, separated into florets
2 tbs. olive oil
1 tbs. butter or canola oil
½ tsp. brown mustard seed
½ tsp. cumin
pinch fenugreek
½ tsp. turmeric
3 slices fresh ginger, minced
2 cloves garlic, finely chopped
1 onion, diced
1 tomato, chopped
1 fresh green chili, sliced
Salt to taste

1.    Toss cauliflower florets and olive oil together. Season with salt.  Lay cauliflower in a single layer on a baking sheet and roast in a 425F oven for 20 minutes, or until cauliflower is deeply browned on the underside.
2.    Heat butter over medium heat in a medium skillet.  Add onions, garlic and ginger and sauté for 5 minutes, or until soft.  Add mustard seeds cumin, fenugreek and turmeric.  Continue cooking for 1 minute until spices are aromatic.  Remove from heat and add tomatoes and chilies.
3.    When cauliflower is cooked, toss with tomatoes and spices.

Eggplant Curry

Eggplant-curry
I didn’t write much about eggplant this summer – not that I didn’t grow, cook or eat them… but I didn’t have much to add to the conversation.  I blew my wad of knowledge and recipes last summer. 

When I cleaned the garden of all the tomato plants, I also dug up the eggplant plants and harvested the last few.  I was determined to get out of my rut and try something different. 

The tomato jam was simmering on the stove-top with an Indian-style aroma to it.  I decided to follow that scent, and began looking through my Singapore cookbook for ideas (the only book I own with any Indian recipes).  I found a Sri Lankan curry recipe that seemed perfect.  With a side of naan, it made the perfect accompaniment to the swordfish and green tomato jam.

Eggplant Curry
(loosely adapted from Singapore Food )
 
4 small eggplants, cut in quarters lengthwise, and then into 1 ½ inch slices
1 tbs. plain oil
1 small onion, chopped
3 cloves garlic, chopped
1 tsp. salt
1/8 tsp. turmeric
½ tsp coriander
¼ tsp. cumin
1/8 tsp. ground fennel
¼ tsp. mustard seed
Pinch (or more) cayenne pepper
1 cup coconut milk
½ cup water
½ lime, juiced

1.     Heat a large skillet over high heat.  Add oil and then eggplant in a single layer.  Let eggplant sit so that it can brown on the bottom side for about 4 minutes. 
2.    Add onions and garlic to the pan and continue cooking, stirring occasionally, for about 3 minutes, until onions start to soften.
3.    Add spices and salt and stir to coat eggplant.
4.    Add coconut milk and water and simmer for about 10 minutes or until eggplant is tender.
5.    Season with lime juice just before serving.

Green Tomatoes and Jam

Green-tomato-jam
Summer is officially over.

With threats of the first frost looming and the race to get the garlic in the ground, I spent the weekend playing in the garden.  I gathered all the tomatoes – green, red and everything in between.    In between digging up the tomato plants and preparing the soil for garlic, I made green tomato jam.

I scoured the web for recipes: a theme emerged – simmer chopped tomatoes with sugar and vinegar.  Some called for additions of apples and/or raisins.  Spicing ranged from ginger to cinnamon to a medley of warm spices. I decide to use an old recipe for green mango chutney.  I had used it with great success substituting in strawberries and apples, so I figured green tomatoes would work well too!

Did it ever. Wow!  I served it last night with swordfish – seasoned with lime and dusted with chick pea flour. The chick pea flour elicited enough of an Indian flare that paired perfectly with the chutney.  I preserved the remainder into ½ pint jars. 

Green Tomato Jam

6 cups chopped green tomatoes
2 cups sugar, brown
1 small onion, diced
2 cups vinegar – cider
1 in. piece of fresh ginger, peeled and chopped
6 garlic cloves, chopped
1 – 2 jalapenos, chopped
1 tsp. cinnamon

Put sugar and vinegar in sauce pan. Bring to a boil, stirring until sugar has dissolved. Add tomatoes and remaining ingredients. Simmer over low heat until chutney is reduced and thick, stirring occasionally, about 1 hour.

Here are canning instructions… reposted from here.

Preserving Tomatoes in Jars
The one thing to remember when canning tomatoes is that you need to boil everything. Boil the jars, boil the tomatoes, boil the tomatoes in the jar. The first two boil are necessary to sterilize the jars and the tomatoes, the third boil is to create a vacuum seal in the jar.

So to be clear, the process goes like this:

1. Purchase canning jars. I prefer the wide mouth because they are easier to fill. Consider buying a variety of sizes. Even if you are only canning one kind of sauce, the variety will enable you to maximize your tomatoes – if a recipe calls for a small amount of tomato; you open a small jar, instead of opening a large jar that may not be completely used. Also, buy a pair of “canning tongs”. These tongs are specially designed to lift the jars out of the water.

2. Wash the jars. Put the lids in one pot and the jars in another pot. The pot for the jars should be deep enough that the jars can be covered by at least on inch of water.

3. Cover the lids completely with water and put them on the stove. Bring to a boil, and turn off the heat. Let them sit in the water until you’re ready to use them.

4. Cover the jars completely with water and bring them to a boil. Continue boiling them for 10 minutes.

5. Meanwhile, bring the tomatoes to a boil, and continue cooking them for at least 10 minutes. Even if you smoked the tomatoes, you still need to boil them.

6. Remove the jars from the water, draining the water out. Fill each jar with tomatoes, leaving about ½ inch at the top. With a clean towel, wipe the lip of each jar clean.

7. Drain the water from the lids and cover each jar. Seal with the metal band.

8. Return the jars to the boiling water and let boil for 10 minutes. Remove from the water and let stand for 20 minutes. Remove the band and test the lids – if it comes off easily, then the seal did not work and you must repeat the process. If the lid is tight, then you are all set!

Laziness – Thwarted (Recipe: Chicken Tikka Masala)

With all the holiday mayhem, I craved a simple dinner. The convenience food aisle at the supermarket beckoned my lazy alter-ego, and my taste buds responded with a cry out for Chicken Tikka Masala. Unfortunately, the market no longer carried my favorite brand of Indian simmer sauces, the prepared sauces that only require the addition of meat to create a complete “freshly prepared” meal.

I was left to my own devices… and a semi-well-stocked pantry.

I started with a recipe from Alosha’s Kitchen…and chicken from the freezer, canned tomatoes from the summer and left-over cream from lord-knows-what. But as I scanned the ingredient list, I realized modifications would be necessary.

I didn’t have yogurt to marinate the chicken, but I did have a scootch of left-over sour cream from this year’s latke-fest. I didn’t have garam malsala – an Indian spice blend – but did have most of the ingredients. And the recipe called for grilling the chicken first before simmering it – and I had no interest in adding the extra step of precooking the chicken, much less digging out the grill from under its blanket of snow. Instead, I added some smoked onions to the sauce to give it that extra depth.

This was a bit more labour intensive than I planned, but still only 20 minutes from start to finish. All-in-all a delicious dish!

From the garden: canned tomatoes and jalapenos

Here’s the original recipe with my modifications.
Chicken Tikka Masala 
adapted from What's for Dinner via Alosha's Kitchen

Marinade

1 cup plain yogurt (I used 2 tbs. sour cream)
2 tablespoons lemon juice
2 teaspoons cumin
2 teaspoons cinnamon
1 teaspoon red pepper flakes
1 teaspoon salt
1 teaspoon grated fresh ginger
1 1/2 pounds boneless, skinless chicken breast cut into strips or large cubes

Sauce

1 tablespoon butter
2 cloves garlic, minced
1/2 smoked onion
1 tsp. fresh ginger
1 jalapeno chile, minced (I used a smoked jalapeno leftover from the summer garden)
2 teaspoons ground coriander
1 teaspoon cumin
1 teaspoon garam masala (or 1/4 tsp. ground ginger + 1/4 tsp. ground cardamom + 1/8 tsp. clove + 1/4 tsp. cinnamon  +1/8 tsp. cumin)
1/2 teaspoon salt
1 8 oz. can tomato sauce
1 1/2 cups half-and-half (or 1/2 cup heavy cream + 1 cup chicken broth
1/2 cup chopped cilantro

In a small mixing bowl, combine everything on the marinade list, including the chicken. Marinate in the fridge for at least 2 hours (overnight is better.)

Melt the butter in a large skillet over medium heat. Add the garlic, onion, ginger and jalapeño, and stir for a minute. Add the chicken and lightly brown.  Stir in the seasonings, and salt. Add the tomato sauce, and stir for one minute. Add the half-and-half, and simmer, covered, until the sauce thickens and chicken is cooked through.

Serve with basmati rice or naan bread.  Garnish with chopped cilantro.

Happy New Year! Wishing you a sparkling and joyous year.

Spicy Chick Peas

Chickpeas

I have a few friends who make their food preferences very clear. Truthfully, I like that… with all the options of things to cook for dinner, I appreciate the focus this gives me. I know Dina likes Smoked Chicken salad, and Matthew likes lamb.

Last week, we planned a picnic at Tanglewood, and I knew what to bring: Smoked Chicken Salad for Dina, and Tandoori Lamb for Matthew. Sure, I had just made it a few times already in the past month, but why not make the guy happy.

I often serve the lamb with raita or mint chutney. But with the first jalapeno in the garden, I decided to make another recipe from Singapore Food, Spicy Chickpeas.

Spicy Chickpeas
1 teaspoon salt
2 tablespoons ghee or oil
1 onion, peeled and chopped
6 cloves garlic, chopped
1 tablespoon fresh ginger
1 green chili chopped
½ teaspoon ground cumin
½ teaspoon ground cardamom
1 teaspoon coriander
¼ teaspoon ground cloves
1 teaspoon ground cinnamon
3 cups cooked chickpeas
2 tomatoes, finely chopped
1 sprig cilantro for garnish

1. Heat a large skillet with oil. Add onions, garlic, ginger and jalapeno, and cook for 10 minutes or until onions soften. Add spices and cook until aromatic, about 2 minutes.

2. Add chickpeas and ½ cup of water. Cover and let simmer for about 10 minutes. Remove cover and continue cooking until liquid is absorbed.

3. Stir in tomatoes, and cook just until they lose their raw edge.

4. Remove from heat and stir in cilantro. Adjust seasoning with salt and pepper.

The Quest for Authentic (Recipe: Tandoori Chicken)

Tandoori lamb
When I travel abroad, I like to buy cookbooks that feature the local cuisine. Usually, they're unavailable in the US. And especially with the books purchased in Asia, they have not been tailored to the “western kitchen.” True or not, I think the recipes will be more authentic to the region. And I feel confident enough in both my cooking skills and ability to find the unusual ingredients in the Boston markets that I am unfettered by these recipes.

Thanks to the magic of the internet, Wendy Hutton's books are now available in the US. Her recipe for tandoori chicken is exceptional in flavor and tastes as good as anything I’ve eaten in a restaurant. I use this recipe for both lamb and chicken.

Mine little resembles in appearance the restaurant version since I don’t use food coloring and leave on the marinade when I cook it. I love the flavor of the marinade roasted in the butter and chicken juices, and could easily make a meal of those drippings slathered on naan. Since I don’t have a tandoori oven at home (and who does??), I cook it in a cast iron skillet on the charcoal grill outside. I was less pleased with her naan recipe and use the one from Stonyfield Farms that comes courtesy of Peter Franklin.

Tandoori Chicken
with no adaption from Singapore Food by Wendy Hutton

1 chicken, about 2 lbs.
1 tbs. melted butter or ghee

Marinade 1
1 tsp. salt
½ tsp. turmeric
½ tsp. chili powder
¼ tsp. white pepper
pinch cloves
1 tsp. crushed garlic
1 ½ tbs. lemon juice

Marinade 2
4 tbs. plain yogurt
1 heaping tbs. cilantro, pounded
1 heaping tbs. mint, pounded
1 tbs. cumin
½ tsp. salt
1 tsp. crushed fresh ginger
1 tsp. white vinegar
¼ tsp. cinnamon
1/3 tsp. cardamom
few drops of red food coloring (opt.)

1. Remove feet, head and skin from the chicken and make deep cuts in the thighs and breasts. Combine all ingredients for marinade 1 and rub well into the chicken. Leave in the refrigerator for 3 hours.

2. Combine ingredients for marinade 2 and rub evenly all over the chicken, making sure some of the marinade penetrates the slits. Leave in refrigerator for at least 6 hours.

3. Brush grill with ghee or butter and cook chicken over hot coals, brushing from time to time.

Yogurt Flatbread (Naan)
1 cup warm water
1 packet dry, active yeast
1 cup Stonyfield plain yogurt
2 teaspoons salt
5-6 cups all purpose flour
4 tablespoons melted unsalted butter

1. In a large mixing bowl, or in the bowl of an electric mixer (i.e. Kitchen Aid), combine the water, yogurt and butter, and yeast. Mix well and let sit for 5 minutes.
2. Mix together the salt and flour, and gradually add to the liquids. If the dough becomes too stiff to mix, add a bit of warm water, 1 tbs. at a time. Knead by hand for 5-6 minutes, until dough is smooth and shiny.
3. Place the dough in a clean bowl, cover with plastic wrap, and let rest at room temperature for +/- 20 minutes.
4. Portion dough into 2 ounce pieces, and roll very thin (tortilla like thickness) with a rolling pin. Layer rolled-out pieces on flour dusted parchment or waxed paper until ready to cook.
5. The Naan may be cooked in a skillet (cast iron is best…heat to medium high heat, ungreased) or even on a barbecue grill. Cook about 2 minutes per side, or until desired level of doneness. Dough will bubble and rise a bit as it cooks. This is normal.
6. Serve warm.