Green Tomatoes and Jam

Green-tomato-jam
Summer is officially over.

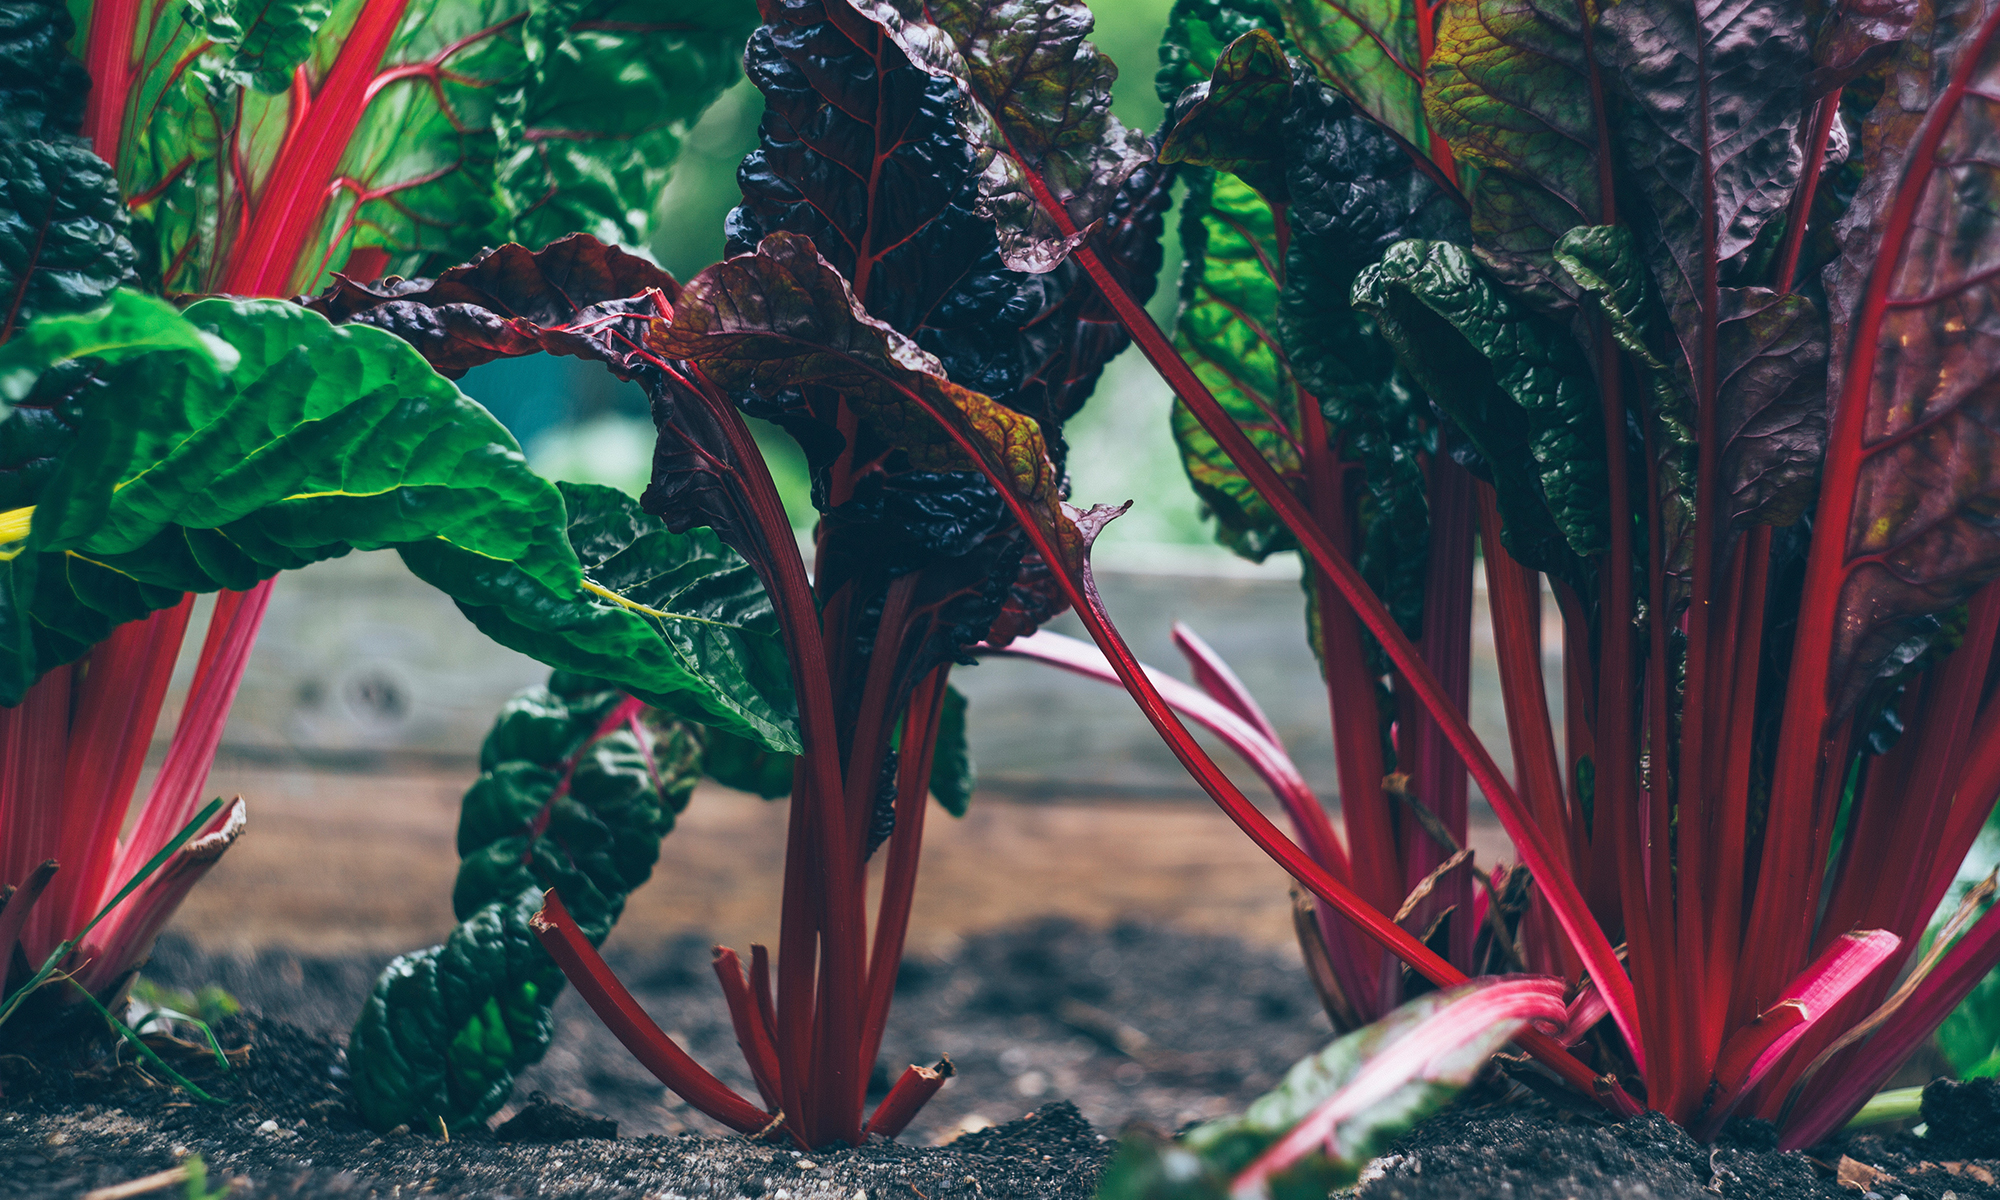
With threats of the first frost looming and the race to get the garlic in the ground, I spent the weekend playing in the garden.  I gathered all the tomatoes – green, red and everything in between.    In between digging up the tomato plants and preparing the soil for garlic, I made green tomato jam.

I scoured the web for recipes: a theme emerged – simmer chopped tomatoes with sugar and vinegar.  Some called for additions of apples and/or raisins.  Spicing ranged from ginger to cinnamon to a medley of warm spices. I decide to use an old recipe for green mango chutney.  I had used it with great success substituting in strawberries and apples, so I figured green tomatoes would work well too!

Did it ever. Wow!  I served it last night with swordfish – seasoned with lime and dusted with chick pea flour. The chick pea flour elicited enough of an Indian flare that paired perfectly with the chutney.  I preserved the remainder into ½ pint jars. 

Green Tomato Jam

6 cups chopped green tomatoes
2 cups sugar, brown
1 small onion, diced
2 cups vinegar – cider
1 in. piece of fresh ginger, peeled and chopped
6 garlic cloves, chopped
1 – 2 jalapenos, chopped
1 tsp. cinnamon

Put sugar and vinegar in sauce pan. Bring to a boil, stirring until sugar has dissolved. Add tomatoes and remaining ingredients. Simmer over low heat until chutney is reduced and thick, stirring occasionally, about 1 hour.

Here are canning instructions… reposted from here.

Preserving Tomatoes in Jars
The one thing to remember when canning tomatoes is that you need to boil everything. Boil the jars, boil the tomatoes, boil the tomatoes in the jar. The first two boil are necessary to sterilize the jars and the tomatoes, the third boil is to create a vacuum seal in the jar.

So to be clear, the process goes like this:

1. Purchase canning jars. I prefer the wide mouth because they are easier to fill. Consider buying a variety of sizes. Even if you are only canning one kind of sauce, the variety will enable you to maximize your tomatoes – if a recipe calls for a small amount of tomato; you open a small jar, instead of opening a large jar that may not be completely used. Also, buy a pair of “canning tongs”. These tongs are specially designed to lift the jars out of the water.

2. Wash the jars. Put the lids in one pot and the jars in another pot. The pot for the jars should be deep enough that the jars can be covered by at least on inch of water.

3. Cover the lids completely with water and put them on the stove. Bring to a boil, and turn off the heat. Let them sit in the water until you’re ready to use them.

4. Cover the jars completely with water and bring them to a boil. Continue boiling them for 10 minutes.

5. Meanwhile, bring the tomatoes to a boil, and continue cooking them for at least 10 minutes. Even if you smoked the tomatoes, you still need to boil them.

6. Remove the jars from the water, draining the water out. Fill each jar with tomatoes, leaving about ½ inch at the top. With a clean towel, wipe the lip of each jar clean.

7. Drain the water from the lids and cover each jar. Seal with the metal band.

8. Return the jars to the boiling water and let boil for 10 minutes. Remove from the water and let stand for 20 minutes. Remove the band and test the lids – if it comes off easily, then the seal did not work and you must repeat the process. If the lid is tight, then you are all set!

Julia’s Hot Sauce

Chilies
A terrible thing happened the other day: I ran out of Lan Chi Chile Garlic Paste.  I scoured the streets of Chinatown looking for a replacement jar – I even hit the Korean Markets with hopes that they would have an errant Chinese product.  No luck.

I didn’t realize the level of distress this would cause until I set out to make  spicy mayo for sushi.  I substituted Rooster brand chili garlic sauce.  The labels are almost identical: chili, garlic, oil, salt (though the Rooster brand does have a bit of vinegar).  But the flavors are miles apart.  My need for Lan Chi reached fever pitch.

Finally, I found a supply at the Whole Foods.  Of course, it was almost triple the price of what I would find in Chinatown.  The price difference only amounted to $2, so I decided to let go of my principals and chalk it up to convenience and time saved hunting.

Yesterday, as I made my own hot-sauce, I pondered how three simple ingredients could taste so different.   Much of this depends on the variety of chilies and how they are treated.

Knowing that each variety of chile has a different type and intensity of heat, I bought 4 different varieties: Serrano, Fresno, Jalapeno and Anaheim.  To add sweetness, depth (and mellow the heat a bit), I added an onion, a few cloves of garlic, a sweet red bell pepper and a tomato.

I roasted it all in the oven until the chilies blistered and browned.  I pureed it with cider vinegar and salt. 

My hot sauce has a pop of sweetness in the beginning that gives way to a lingering heat.  It’s definitely hot but wouldn’t win any prizes at East Coast Grill’s Hell Night (which, by the way, is next week and all four nights are sold out).

Vinegar based hot sauces will keep for many months in the refrigerator.  But to play it safe, I decided to freeze half.  I would have canned it, but I ran out of jars.
Frozen-tabasco

From the garden: garlic, tomato
From the Farmers’ Market: chilies, onions, red bell pepper

Julia’s Hot Sauce
8 chilies
1 onion
1 bulb garlic
½ red bell pepper
1 large tomato
1 – 2 tbs. canola oil
¼ – ½ cup vinegar
Salt

  1. Remove the stems from the chilies.  Peel the onion, and cut into chunks.  Peel the garlic.  Cut the red pepper into quarters.  Remove the stem from the tomato and cut into large chunks.
  2. Toss the vegetables in oil and roast in a 375F oven for 20 – 30 minutes until the chilies are blistered and lightly browned.
  3. Put everything in the blender and add just enough vinegar so that you can puree into a smooth paste/sauce.  Season with salt.
  4. Refrigerate, can or freeze.


Taramasalta: Greek Mayo?

Don't forget about the giveaway of Even’ Star Organic Farm Seeds. These heirloom seeds are of the highest quality, and are cultivated to yield the most flavorful, hardiest plants. All you need to do is leave a comment on my blog between now and Friday, February 27th at 5pm EST.

Who doesn’t love mayo? I use it in everything, though mostly as a base for something else. I’ll mix it with chipotles to make a dip for corn fritters or with herbs for green goddess salad dressing. Rarely do I just eat it on its own. Which is probably why I like taramsalata so much. It’s essentially mayo that is served with crackers. This Greek dip blends carp roe (fish eggs) with olive oil. Tarama, the actual carp roe, are bright orange and salted. Both the roe and the dip are sold in jars, usually in the cheese case.

The basic technique of making taramasalta is the same as mayonnaise, but the fish eggs are used in place of the chicken eggs. Starting with a spoon of tarama in the food processor, slowly drizzle in olive oil, until it becomes thick and pale orange. The flavor benefits from the addition of raw onions and lots of lemon juice. Most recipes will advise on blending in a slice of water-soaked bread (don’t ask me, I just do as I’m told). And Peter M. suggests also using a touch of smoked onion or liquid smoke. Since he is the authority on Greek food, I accept this as gospel.
Taramasalata
1 slice bread
1 heaping tablespoon tarama
1 1/2 cups oil – all olive oil or a 50-50 blend of olive and canola
1/2 small onion
1/4 cup lemon juice

1. Soak bread in water. Squeeze it out.

2. Put bread and tarama in the basin of a food processor. Turn motor on and let run for 30 seconds.

3. Slowly, slowly drizzle in the oil. When it starts to thicken, add the lemon juice and onions. Continue processing until all the oil is added.

4. Let sit overnight.

5. Serve with crackers or crusty bread.

Reduce, Reuse, Recycle: Black Bean Dip

It was only in the past few months, as I’ve been reading about sustainability and participating in the Cambridge Recycling Committee, that I finally understood the dictum, “Reduce, Reuse, Recycle.” You can see it on grocery bags at Whole Foods, or any sort of green initiative. Reuse and recycle are obvious – for example, the plastic water bottle you purchased – reuse it by refilling it with filtered water, instead of purchasing a new bottle, and when you are done with it, recycle it. People often justify wasteful behavior by explaining that they will recycle. “Yes, I took more paper napkins than I need, but I will recycle them, so it’s okay.” Reduce was a harder concept for me to grasp. Reduce means only taking as many paper napkins as you need. Sure, it’s great that you’ll recycle, but we must also consider the energy expended and the chemicals used to create the napkins – the tree that was cut down, the plant that processed the paper and packaged it, the truck that shipped the napkin to the supermarket, etc.

When it comes to food and entertaining, the mantra would be “Reduce, Reuse, Recycle, Compost.” With cooking, I find it much more challenging to reduce. In terms of shopping, the stores often dictate the quantities I purchase: I must buy a 1 cup container of sour cream, even though I will only use 2 tablespoons. I’ll admit it’s getting better: I can now buy chicken broth in one cup packages instead of one quart. Most grains are sold in bulk bins. Even celery is sold by the stalk. Most challenging is gauging what quantity to prepare for dinner parties, especially buffets.

So it happened when Dina and I hosted Mole cannoli – a feast of two of our favorite foods. The final guest count was a moving target – between the quest for finding a babysitter or the new boyfriend we didn’t realize would be coming. And we wanted a nice variety of moles, salads and garnishes. Needless to say, we did not do a very good job of reducing – there were ample leftovers. The best I could do was reuse and recycle. We ate leftovers for a few days, and the excess of black beans and mole sauces went into the freezer.

Last week, inspired by Lydia’s black bean dip post, I pulled the black beans out of the freezer. I intended to make the dip for a friend’s party, but as I set out to make the recipe, I realized I didn’t have most of the ingredients on hand. But! I did have ½ cup of leftover green mole from that same evening that generated the black beans. I pureed the two together and, Voila! Black Bean dip. (P.S. The sour cream on top was leftover from another dinner the previous week)

Guacamole

Avocados

The strangest thing happened at the market the other day: I found perfectly ripe avocados! Lots of them! And they weren’t bruised or overripe.

Purchasing avocados can be a dicey proposition at best. I typically plan my shopping so that I purchase avocados 4 days before I need them. I buy them obviously under-ripe and leave them on my counter at home to gently ripen. Too often, “ripe” avocados at the market are mushy from other shoppers pressing them to test for ripeness. After several days of this, the avocados aren’t so much ripe as they are bruised. With guests coming for cocktails that night, I instantly filled my basket with 3 of them to make guacamole.

This was an unexpected addition to my Italian themed menu. With that in mind, I made the guacamole with a European accent… seasoning with basil and lemon instead of the typical cilantro and lime. For texture and a nuanced flavor, I added finely diced celery and scallions.

3 avocadoes
3 tbs. finely diced celery
¼ cup chopped basil
3 scallions, cut into rounds
1 tbs. lemon juice
1 large tomato, diced
Salt and pepper to taste
Guac

Spicy Mayo

Spicy-mayo

When I make sushi at home, I usually shop at the Kotobukiya Market. The fish is reliably fresh and the selection is great. The problem is, when I decide to make sushi, I’m usually already hungry, so I need a little snack. They have little rice balls with savory toppings wrapped in seaweed. For $1.50, it’s a great tie-me-over. Toppings include: miso, spicy tuna, nuto, and salmon. After trying them all, I decided I like the tuna best.

So much so, that I’ll make it at home for myself all the time as a go-to lunch. Maybe it sounds strange to serve tuna salad with rice, but think about a spicy tuna maki roll.

Spicy Mayonnaise
1 teaspoon Lan Chi chili-garlic paste (more or less, to taste)
2 tablespoons Hellman’s (sorry, Lydia… no Miracle Whip here)

Mix the spicy mayo with drained, canned tuna. Serve over steamed rice with nori sheets.

The Spicy Mayo also makes a great rub for grilled corn.
Grilled corn

More Adventures in Smoking: Bluefish

Bluefish_01-01_0989

There are several truths in my culinary world: everything fried tastes better and everything smoked tastes better. Obviously, there are exceptions to the rule – thinking about all the fresh vegetables coming out of the garden (good!) and about that smoked oil (bad!).

Bluefish fits perfectly into that rule. Some people enjoy it fresh, but with a strong, oily flavor it’s better suited to smoking and more universally liked that way. I love having little snacks in the fridge for when unexpected guests come over, and smoked bluefish is a great option. Whole Foods sells smoked bluefish pâté but I was wholly disappointed to discover it contains high fructose corn syrup. The only solution is to make my own.

Smoked Bluefish Pâté
To smoke bluefish: Season ½ pound filet with salt, pepper and a little sugar. Start a charcoal fire on the grill. Meanwhile, soak wood chips in water. When charcoal fire starts to fade, prepare to smoke and move quickly: Drain wood chips and toss on top of the embers. Replace the grate on top of the grill and put the bluefish on the grate… away from the fire. Close the grill and the vents on top – leave the vents on the bottom open. Let fish smoke for 30 minutes or more.

In a food processor fitted with a plastic blade, combine bluefish with 4 ounces cream cheese, 1 tablespoon brandy, 1 teaspoon lemon juice, salt and black pepper. Pulse to combine. Stir in chopped scallions. Serve with crackers.

All Purpose Summer

Dreamy-green-goddess

I always have a stash of Green Goddess in the fridge. It’s a terrific, all-purpose summer (and really, anytime) condiment:

– a salad dressing with cherry tomatoes, romaine and cucumbers

– a sauce for grilled salmon.

– A sauce for grilled steak

– With corn cakes, cherry tomatoes and soft shell crabs.

– A dressing for pasta salad with lobster and corn.

– A dip for crudités

– Instead of ketchup for hamburgers

– A dressing for Cobb salad with bacon, avocadoes, grilled chicken and lettuce.

– A spread for smoked salmon canapés.

Now that my garden is in full force, I have plenty of parsley, tarragon and scallions. If I had lettuces, I would add arugula or spinach, too.

Dreamy Green Goddess
1 tbs. capers
1 cup spinach or arugula, washed and picked over
2 bunches scallions, washed, slice green only in 1/2 inch lengths
1 bunch flat parsley, washed, leaves picked from the stem
1 bunch tarragon leaves picked from the stem
1/2 cup sour cream
2 cup mayonnaise
2 tbs. white wine vinegar
2 tsp. kosher salt
1 tsp. cracked black pepper

1. Puree capers, spinach, scallions, herbs, and sour cream in a food processor
2. Fold in mayonnaise, and season with vinegar, salt and pepper

Digging for Gold

Dug-up-ginger
I love experimenting with Asian cuisine, especially Chinese recipes. I try to keep my pantry stocked with all sorts of spices and condiments so that when the mood strikes, I’m prepared to follow any direction. Friends have often commented that my refrigerator looks like it belongs to a Chinese grandmother and not a Jewish thirty-something. In the summer, my “pantry” is further supplied by growing scallions, cilantro and ginger in my garden. Yes, ginger.

We’ve all experienced this… we go to the market and buy a knob of ginger knowing that we only need an inch of it for any given recipe. The rest gets buried in the bottom of the vegetable crisper. And while it’s not so much waste that we should feel guilty, we still hope to use it up before it turns shriveled and mold. Some have suggested freezing ginger, but this sufficiently alters the composition that when eventually cooking with it, the aromas are a little more difficult to coax out.

During the summer, the best storage method is in the ground. I take a regular, ole supermarket hand of ginger and bury it in the garden. Invariably, I forget the exact location. The next time a recipe calls for ginger, I forage in the dirt until I find it. Fortunately, after a few weeks, the ginger as it continues to grow, shoots out sprouts to announce its location.

Ginger in the ground

After I break off what I need, I re-bury it in the ground again. This resilient rhizome continues to grow despite the multiple disruptions.

You can see the sprouts are attached to young ginger. The skin is thinner than "older" ginger, the flavor is more mild and the ginger itself is less fiberous.

A note of caution: One winter, I experimented with growing ginger in a pot indoors, and leaving a hand outside, buried. The ginger inside turned mushy, fiberous and hollow: a disaster. The wintered-over ginger was equally disastrous. If you've had success growing ginger in the winter in a snowy climate, I'd love to hear about it.

For more insight on fresh ginger, visit Lydia's blogs: The Perfect Pantry and Nine Cooks.
Thanks, Lydia, for taking great photos!

Peanut Dipping Sauce

This is great for an Asian style crudités or Chicken Satay.

5 tbs. fresh ginger, chopped

3 tbs. lemon grass, chopped

3 tbs. garlic, chopped

3 tbs. shallots, chopped

1tbs peanut oil

chicken stock

10 oz. raw peanuts, toasted

1 tbs. mirin

½ lime, juiced

2 tbs. rice wine vinegar

3 tbs. soy sauce

2 tbs fresh cilantro chopped

1. Sweat 3 tbs. of ginger with lemon grass, garlic and shallots in peanut oil

2. Puree above in a food processor with peanuts, remaining ginger, and chicken stock to thin.

3. Season with lime juice, rice vinegar, mirin and soy sauce. Adjust seasoning to taste.

4. Stir in fresh cilantro