I have a few friends who make their food preferences very clear. Truthfully, I like that… with all the options of things to cook for dinner, I appreciate the focus this gives me. I know Dina likes Smoked Chicken salad, and Matthew likes lamb.
Last week, we planned a picnic at Tanglewood, and I knew what to bring: Smoked Chicken Salad for Dina, and Tandoori Lamb for Matthew. Sure, I had just made it a few times already in the past month, but why not make the guy happy.
I often serve the lamb with raita or mint chutney. But with the first jalapeno in the garden, I decided to make another recipe from Singapore Food, Spicy Chickpeas.
Spicy Chickpeas 1 teaspoon salt 2 tablespoons ghee or oil 1 onion, peeled and chopped 6 cloves garlic, chopped 1 tablespoon fresh ginger 1 green chili chopped ½ teaspoon ground cumin ½ teaspoon ground cardamom 1 teaspoon coriander ¼ teaspoon ground cloves 1 teaspoon ground cinnamon 3 cups cooked chickpeas 2 tomatoes, finely chopped 1 sprig cilantro for garnish
1. Heat a large skillet with oil. Add onions, garlic, ginger and jalapeno, and cook for 10 minutes or until onions soften. Add spices and cook until aromatic, about 2 minutes.
2. Add chickpeas and ½ cup of water. Cover and let simmer for about 10 minutes. Remove cover and continue cooking until liquid is absorbed.
3. Stir in tomatoes, and cook just until they lose their raw edge.
4. Remove from heat and stir in cilantro. Adjust seasoning with salt and pepper.
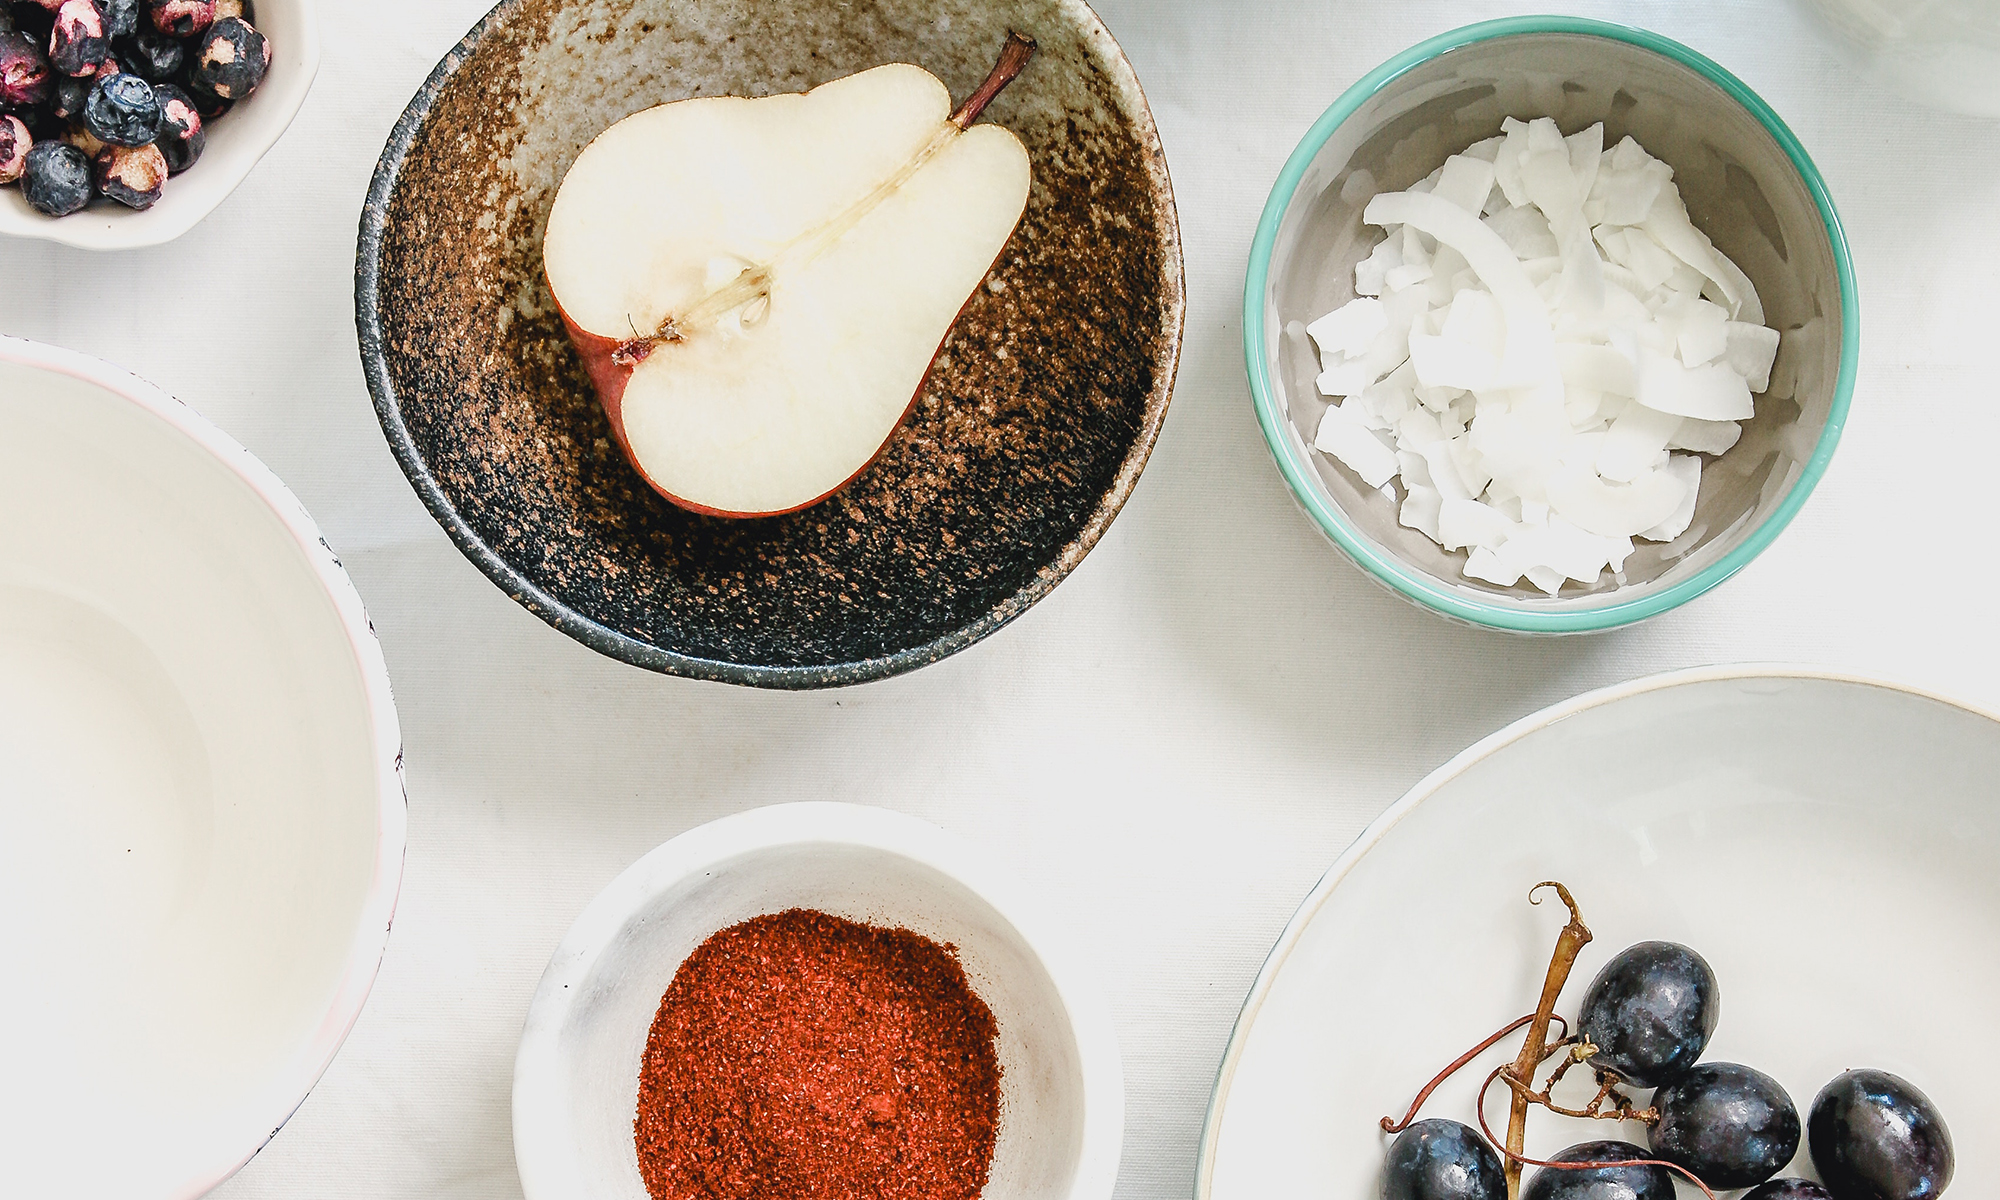
For as long as I’ve been cooking, cinnamon has been an integral part of my pantry… its sweet and spicy scent enhances so many dishes, both sweet and savory. I add it to chocolate desserts for a little kick or blueberries for a warm accent. Since I’m not much of a baker, I more often use it in savory dishes: Moroccan Style Chicken, Italian-Style Braised Chicken or Grilled Lamb Kebabs.
Beyond my staple recipes, I never really thought about cinnamon beyond the basic ground or sticks I keep in 4 oz. jars in the spice drawer. I first learned about Vietnamese Cinnamon just a few months ago, when reading White on Rice Couple's blog…. I was intrigued! First, because of its particularly spicy flavor, it seemed better suited to my style of cooking. Second, I knew I’d be traveling to Vietnam, so I’d have a chance to buy at its source.
Indeed I purchased several quills of cinnamon on my recent trip. When I returned home, I scoured on-line and in my cookbook library for recipes that use cinnamon, but little other spicing. I wanted the cinnamon to really be able to shine. Then, as I was procrastinating one day, reading “Equal Opportunity Kitchen” I noticed that Psychgrad had cinnamon rolls on her list of recipes she’d like to try. This seemed perfect… and even more fun, I thought we could cook together! I invited Psychgrad over for a virtual cooking party.
Cinnamon Rolls are a spin-off from Brioche or Challah. All three use a similar enriched yeast dough; the richness coming from either butter or oil, and eggs. The cinnamon roll dough gets an extra kick from the swirls of sugar and butter in the middle.
The Vietnamese quills of cinnamon, which come from the bark of a variety of evergreen tree, are huge – 15 inches long and 4 inches around.
I used my coffee bean grinder (which I cleaned first, of course) to break down the sticks into a coarse powder. I’ve normally kept my pantry stocked with both ground and stick cinnamon, and pull out the jar that is necessary for a given recipe. I’ve never actually ground my own cinnamon, so my initial thought with the coarse grind was that this is a liability. In fact, I rather liked the little bits of cinnamon sprinkled throughout – they offered an unexpectedly pleasant, spicy burst.
I further modified the traditional cinnamon bun recipe by adding a ½ teaspoon of cinnamon to the actual dough – ignoring Penzy’s recommendation to use less of the Vietnamese variety than what a recipe suggests of the usual variety.
Be careful with these… if you’re like me, and can’t tolerate a lot of sugar, you could be in trouble… the spicy sweetness is addictive. The neighbors have been complaining about the noise from me bouncing off the walls with too much sugar.
½ cup warm water 2 ¼ teaspoons dry yeast ½ cup milk ¼ cup sugar ½ stick butter 1 teaspoon salt ½ teaspoon cinnamon
2 eggs 3 ½ cups flour
1 ½ sticks unsalted butter 1 ¼ cups brown sugar 1 tablespoon ground cinnamon 1 tablespoon melted butter
1. In a small bowl, combine warm water and yeast. Stir to dissolve. Let sit for 10 minutes to let the yeast activate.
2. In a small skillet, melt the butter with the sugar. Removed from heat and whisk in the milk. Stir until sugar is dissolved.
3. Combine milk/butter mix, yeast and eggs in an electric mixing bowl fitted with a dough hook. Add ½ cup flour and begin mixing. Add salt and cinnamon.
4. Continue mixing and adding flour until the dough comes together in a firm ball, you may not need all the flour… or you could need a little extra depending on the day’s humidity.
5. Knead the dough for an additional 5 minutes or until it’s smooth and elastic.
6. Let dough sit covered in a warm area until doubled in volume. About one hour.
7. Meanwhile, melt remaining butter with ¾ cup of brown sugar over low heat. Stir until combined and sugar is dissolved. Pour into a 13 x 9 inch pyrex dish. Mix together remaining sugar and cinnamon 8. When dough is doubled, roll it out on a well floured table into a rectangle, about ½ inch thick and 18 x 14 inches. Brush with butter. Sprinke sugar mix on top.
Tightly roll up dough. Cut into 1 inch slices. Put slices in baking sheet. You don’t need to crowd the pan as the rolls will expand as they rise and bake.
Pre Rise….
Post Rise…. 9. You can bake the rolls immediately, or refrigerate them overnight and bake first thing in the morning. Bake at 375 for 20 minutes. 10. Let cool for 5 minutes before flipping out of pan. Serve warm with coffee. I'm submitting this recipe to Southern Grace's Cinnamon Celebration.
A few years ago, I was driving through the Eastern Shore of Maryland and drove past a Perdue truck. If you have ever seen this, I can assure you, you will never eat commercially processed chicken again. The flat-bed truck transported the chickens, each in an individual cage, 20 cages high. The top chicken is, literally, living high on the hog. The poor chickens on the bottom were coated in droppings from the 19 layers on top. And the birds in the middle are breathing in a toxic fume.
It’s no wonder we have to worry about salmonella and other diseases in commercial chicken.
Farmer Brett also raises chickens. By contrast, these chickens are truly free-range. In fact, these chickens have more roaming room than most urban dwellers. And they eat better than most of us too – feasting on a rich diet of organic produce (the non-salable produce), weeds, grain and left-over food from the house. The chickens never receive antibiotics because they are not exposed to disease. Nor do they need growth hormones – they grow the old-fashioned way – with a healthy diet and plenty of exercise.
The chickens serve an important function for the farm. In addition to the obvious eggs and eventual meat, the chickens also help prepare the soil by weeding and creating "natural" compost. The chicken coops are strategically positioned around the barn with adjustable fencing that allows Brett to move the chickens. The chickens happily peck away at the weeds leaving a barren plot. To supplement their diet of weeds and grains, they act as a repository for non-salable produce and left-over food scraps from the house (all the things the rest of us would compost). In exchange, they enrich the soil with nitrogen generated from their, ahem, droppings. Further soil amendments are not required.
Let’s be honest, though, Brett raises chickens for the eggs and the meat. The soil enhancement is a bonus. Once the hens reach menopause, and stop laying eggs, they are “converted” into stewing chickens. As one might expect, the meat has more flavor — the result of all that exercise. The “meat”, the primary portion we eat from animals, is muscle – and they’ve developed just like ours when we go to the gym. The meat is darker (from all the blood flow) and with more texture (a euphemism for tougher). The eggs have a firmer texture too. They cook more quickly and fluffy than eggs purchased at the supermarket. The yolks are deep yellow, almost orange.
Over the years, I have taught many aspiring chefs and home cooks how to butcher a chicken. It’s pretty straightforward, I tell them, as long as you cut in the right place: the ligaments are soft and the bones thin. My first attempt at cutting up a chicken from the farm was surprisingly difficult. After a few struggled attempts of redefining butchery, I realized that all the exercise that makes the meat more flavorful, also makes the ligaments and bones stronger.
A fryer chicken, even in the free-range environment, still has some tenderness, because they’re only 6 weeks old. As such, they don’t require as much special attention when cooking. These menopausal hens, at 8 months, need a slow cooking to tenderize and soften the meat.
Here’s my favorite recipe for stewing chicken. I love the simplicity of it, and I usually have everything in my pantry so I can make it on a whim.
Harrira Stew (serve 4) serve with raisin cous cous 1 1/2 pound boneless chicken meat, cubed (preferably dark meat) 1 onion, chopped 2 cloves garlic, chopped 3 tomatoes, diced, or 10 oz. canned tomatoes 2 1/2 pts. chicken stock or canned broth 1/2 tsp. cinnamon 1/2 tsp. ground ginger 1/2 tsp. ground cumin 8 oz. canned chick peas chopped cilantro red chili flakes or harissa (opt)
Put chicken, onion, garlic, and stock in a large pot. Bring to a boil over high heat. Add spices, tomatoes and chick peas. Reduce heat to simmer, and continue cooking until chicken is done, approximately 30 minutes. Garnish with cilantro and red chili flakes or harissa.
Raisin Cous Cous 2 cups cous cous 2 1/4 cup water or chicken broth 1 tsp. salt 1 shallot, chopped 1/3 cup raisin
Put raisins, shallots, water and salt in a pot. Bring to a boil. Pour in cous-cous. Stir to mix and cover the pot. Remove pot from heat, let stand for 5 minutes. Fluff cous cous with a fork.
Put everything in a pan. Heat over low heat for about 5 minutes, or until garlic starts to brown. Remove from heat immediately so the garlic does not burn.